Unity Catalog setup guide
This page covers the initial Unity Catalog setup for workspace admins in a new Databricks workspace, including:
- Confirming that your workspace is enabled for Unity Catalog
- Managing workspace access and identities
- Creating Unity Catalog-compliant compute resources
- Creating a catalog and schema for your data
- Granting users the privileges they need
Before you begin
Before starting, familiarize yourself with the following Unity Catalog concepts:
- Metastore: The top-level Unity Catalog container, scoped to a single cloud region. It holds all securable objects: catalogs, storage credentials, external locations, and more. See Metastore.
- Catalog: The highest-level data container object within a metastore. Catalogs hold schemas, which in turn contain tables, views, volumes, and functions. See Catalog.
- Admin roles: Unity Catalog has three main admin roles, account admin, workspace admin, and metastore admin, each with a different scope and responsibilities. See Admin privileges in Unity Catalog.
You also need the following:
- A Databricks workspace on the Premium plan or above.
- Workspace admin privileges. You might need account admin privileges in the following cases:
- If your workspace doesn't have compute resources yet, you need account admin privileges to verify that Unity Catalog is enabled via the account console in Step 1: Confirm that your workspace is enabled for Unity Catalog.
- If your workspace isn't attached to a Unity Catalog metastore, you need account admin privileges to attach it.
- If a metastore doesn't exist, you need account admin privileges to create it.
Step 1: Confirm that your workspace is enabled for Unity Catalog
Use one of the following methods to confirm that your workspace is attached to a Unity Catalog metastore.
- Use the account console
- Run a SQL query
This method requires account admin privileges.
- As a Databricks account admin, log into the account console.
- Click
 Workspaces.
 - Find your workspace and check the Metastore column. If a metastore name is present, your workspace is enabled for Unity Catalog.
This method doesn't require admin privileges, but does require a Unity Catalog-compliant compute resource. Step 3: Create Unity Catalog-compliant compute guides you through creating UC-compliant compute resources.
Run the following command in the SQL query editor or a notebook attached to a compute resource:
SELECT CURRENT_METASTORE();
If the query returns a metastore ID, your workspace is enabled for Unity Catalog.

If your workspace is not enabled for Unity Catalog, see Upgrade a Databricks workspace to Unity Catalog.
Step 2: Manage workspace access and identities
Workspace admins can add users and groups, assign admin roles, and manage service principals.
Add users
Add individual users who need access to this workspace. For instructions, see Manage users.
Organize users into groups
Databricks recommends managing access through groups rather than individual users. Granting privileges to a group applies them to all members, which reduces administrative overhead as your team grows.
- If your organization already has groups in an identity provider (IdP): Sync them to Databricks using automatic identity management or SCIM provisioning so that group membership stays in sync automatically. See Automatic identity management.
- If you don't have groups yet: As a workspace admin, create account-level groups by navigating to Settings > Identity and access > Manage next to Groups. See Manage groups.
Assign admin roles
Workspace admins can perform most day-to-day administrative tasks: adding and removing users, managing compute, configuring workspace settings, and granting access to data. This role is appropriate for members of a central data platform or IT team who are responsible for maintaining the workspace. Be selective about who receives this role. Workspace admins have broad access to workspace resources and settings.
Usually, the workspace admin role is the only administrator role you need to assign. Optionally, you can assign metastore admins for special use cases. For example, you might assign this role to a dedicated data governance team or a small group of senior platform engineers if you need to:
- Delegate catalog creation to non-workspace admins.
- Manage the init script and JAR allowlist.
- Receive shared data through OpenSharing.
- Transfer object ownership when a team member leaves.
For instructions on assigning these roles, see Admin privileges in Unity Catalog.
Step 3: Create Unity Catalog-compliant compute
To run Unity Catalog workloads, compute resources must meet Unity Catalog security requirements. The following table shows which compute types are compliant:
Compute type | UC-compliant |
|---|---|
SQL warehouse | Yes |
Serverless compute (notebooks, jobs, pipelines) | Yes |
Cluster — Single user access mode | Yes |
Cluster — Shared access mode | Yes |
Cluster — No isolation shared access mode | No |
To create UC-compliant compute:
- SQL warehouse: See Create a SQL warehouse.
- Serverless compute: See Connect to serverless compute.
- Cluster: When configuring a cluster, select Single user or Shared as the access mode. See Access modes.
As a workspace admin, you can restrict cluster creation to admins only, or use cluster policies to let users create their own Unity Catalog-compliant clusters. See Compute permissions and Create and manage compute policies.
Step 4: Create catalogs and schemas
Catalogs are the primary unit of data isolation in Unity Catalog. All schemas, tables, volumes, views, and functions live in catalogs.
When to create a new catalog
New workspaces are automatically provisioned with a workspace catalog — by default, this catalog is named after your workspace. To check whether you have a workspace catalog, click ![]() Catalog in the sidebar and look for a catalog matching your workspace name. If it exists, you might not need to create additional catalogs right away.
Catalog in the sidebar and look for a catalog matching your workspace name. If it exists, you might not need to create additional catalogs right away.
Over time, consider creating new catalogs as your usage grows, organized around logical boundaries such as:
- Teams or business units: separate catalogs for engineering, finance, and marketing
- Environments: separate
dev,staging, andprodcatalogs to isolate development from production data - Projects: a dedicated catalog per major data product or initiative
If your organization's data boundaries are already well-defined, you can create catalogs now.
Create a catalog
To create a catalog, run the following SQL.
CREATE CATALOG IF NOT EXISTS <catalog-name>;
Managed data in this catalog is stored in the metastore's default managed storage location. To use a different location, specify a MANAGED LOCATION. See Connect to cloud object storage using Unity Catalog.
Then, create a schema to organize your tables and other data objects:
CREATE SCHEMA IF NOT EXISTS <catalog-name>.<schema-name>;
For detailed instructions and how to use Catalog Explorer, see Create catalogs and Create schemas.
Step 5: Grant privileges to users
In Unity Catalog, users have no access to data by default. Workspace admins can grant privileges to securable objects across the workspace. Databricks recommends granting privileges to groups rather than individual users. This makes access easier to manage as your team grows.
Enable data discovery
Databricks recommends granting the BROWSE privilege on all catalogs to the All account users group. BROWSE allows users to see that objects exist and view their metadata in Catalog Explorer without granting access to the underlying data. This enables your users to discover data and request access without requiring admins to grant permissions preemptively.
GRANT BROWSE ON CATALOG <catalog-name> TO `account users`;
Grant data access
To access data in Unity Catalog, users typically need the specific privilege for the operation (such as SELECT to read a table) and the appropriate usage privileges (such as USE CATALOG on the parent catalog, and USE SCHEMA on the parent schema). See Unity Catalog permissions model concepts.
Grant these privileges only to the users and groups that need access to specific catalogs and schemas. For example, to grant read-only access to a schema, use the following SQL:
GRANT USE CATALOG ON CATALOG <catalog-name> TO `<group-name>`;
GRANT USE SCHEMA ON SCHEMA <catalog-name>.<schema-name> TO `<group-name>`;
GRANT SELECT ON SCHEMA <catalog-name>.<schema-name> TO `<group-name>`;
For read-write access:
GRANT USE CATALOG ON CATALOG <catalog-name> TO `<group-name>`;
GRANT USE SCHEMA ON SCHEMA <catalog-name>.<schema-name> TO `<group-name>`;
GRANT SELECT, MODIFY ON SCHEMA <catalog-name>.<schema-name> TO `<group-name>`;
Access patterns change over time. Use the following pages as a reference when managing privileges in Unity Catalog:
- Unity Catalog permissions model concepts: Explains the object hierarchy, ownership, privilege inheritance, and how the Unity Catalog permissions model works.
- Unity Catalog privileges reference: Lists every privilege in Unity Catalog, what securable objects it applies to, and what it allows.
- Manage privileges in Unity Catalog: Covers how to grant, revoke, and inspect privileges on securable objects using SQL or Catalog Explorer.
Setup checklist
If you've completed all five steps, Unity Catalog is set up in your workspace and your users can start working with data. Use the following checklist to confirm everything is in place:
- Unity Catalog is enabled, meaning a Unity Catalog metastore is attached to your workspace. See Step 1: Confirm that your workspace is enabled for Unity Catalog.
- Users are added to the workspace and have appropriate roles. See Step 2: Manage workspace access and identities.
- Unity Catalog-compliant compute is available. See Step 3: Create Unity Catalog-compliant compute.
- Catalogs and schemas are created to organize your data. See Step 4: Create catalogs and schemas.
- Users can access the intended catalogs. See Step 5: Grant privileges to users.
Next steps
With Unity Catalog set up, you can start applying more advanced governance capabilities to your workspace.
Attribute-based access control
Attribute-based access control (ABAC) lets you define dynamic, fine-grained access policies based on attributes of the data and the user accessing it. Instead of managing permissions table by table, you write policies that automatically enforce row-level filtering and column-level masking. For example, you can hide sensitive columns from users outside a specific region or mask PII for non-privileged roles.

Data classification
Data classification uses an AI agent to automatically scan your catalog and tag sensitive data such as PII, financial information, and credentials. After classification, tags can integrate directly with ABAC policies, allowing you to apply governance controls based on what the data actually contains rather than managing access object by object.

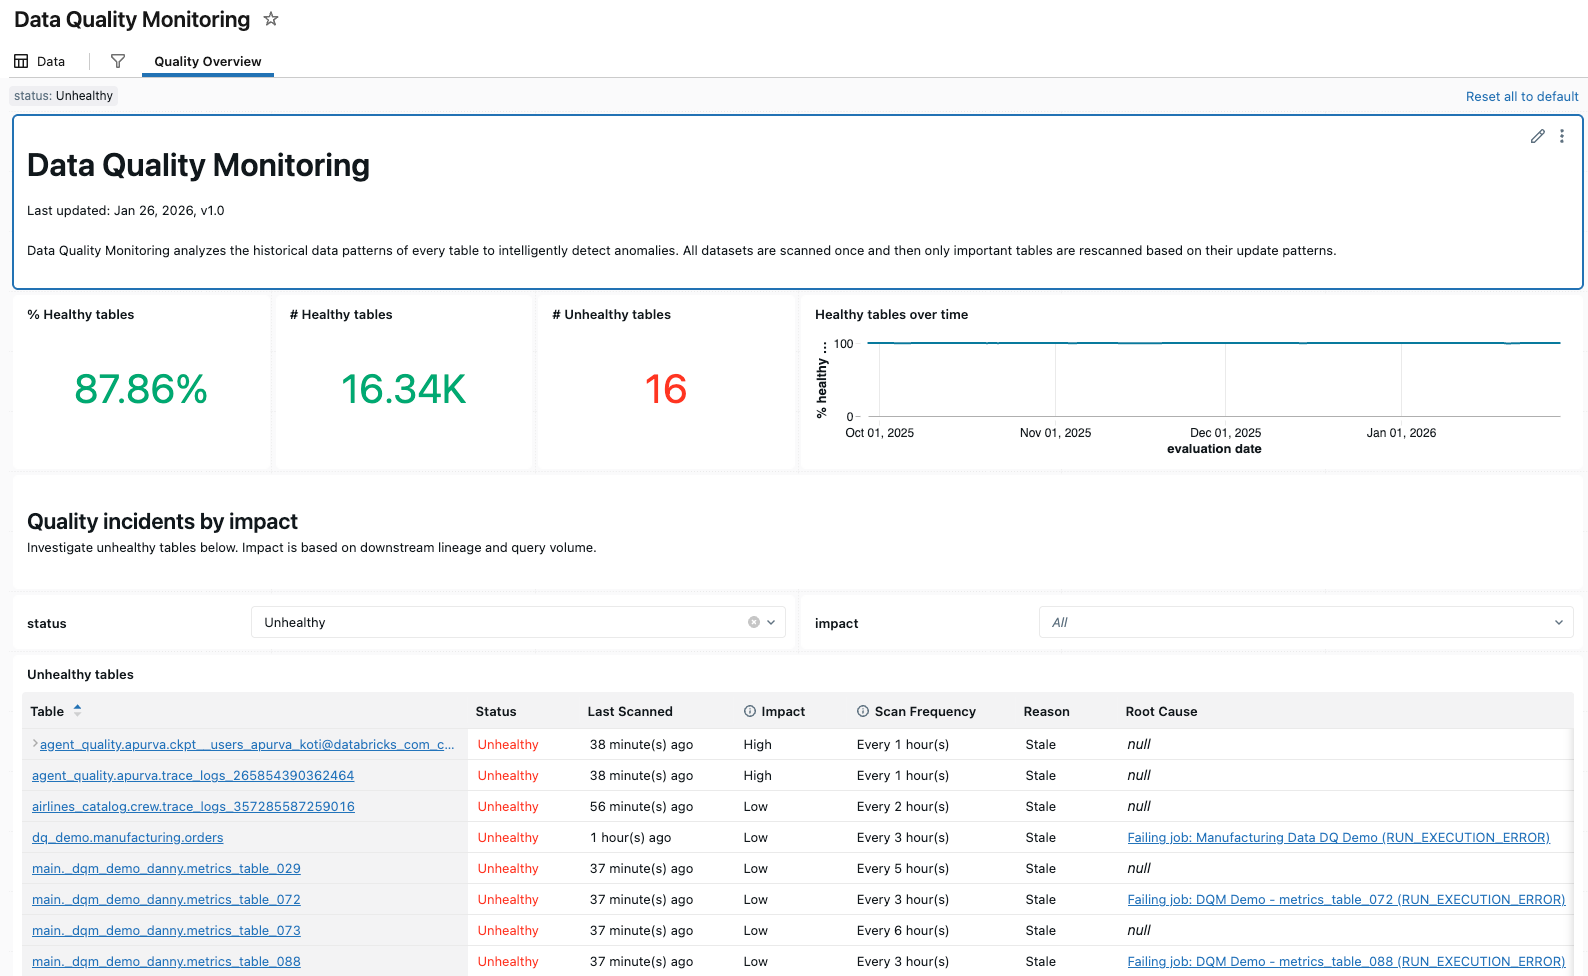
Data quality monitoring
Data quality monitoring provides anomaly detection across all tables in a schema and data profiling at the table level. Anomaly detection automatically monitors freshness and completeness using historical data patterns, surfacing issues without manual configuration. Data profiling captures statistical distributions over time, enabling you to track data integrity and set alerts for unexpected changes.
AI governance with Unity AI Gateway
Unity AI Gateway extends Unity Catalog governance to AI. It provides enterprise governance for LLM endpoints, agents, and MCP servers, allowing you to implement access control, audit logging, and observability across all AI interactions in a unified UI.