パイプラインの単体テスト
ベータ版
この機能はベータ版です。
DatabricksでのPython単体テストに関する一般的な情報については、Python単体テストを参照してください。
LakeFlow Pipelines は、ウェブベースのLakeFlowパイプラインエディターでのPython単体テストの記述をサポートしています。これにより、モックデータを使用してPythonまたはSQLの変換ロジックを検証できます。パイプラインテストフレームワークを使用すると、エッジケースをテストし、独自のパイプラインAPI (Auto CDC、ストリーミングテーブル、期待値、アペンドフロー) を検証し、サポートされているテーブル識別子操作に対してモック入力を使用して反復できます。テストを実行する前に、分離制限事項を確認してください。
- 分離されたテスト実行 : フレームワークは、パイプラインのdefaultカタログ内の一時的なテストスキーマにテーブル操作をリダイレクトするSparkSessionを提供します。これにより、本番運用テーブルに影響を与えることなく、入力データをモックし、テスト出力を書き込むことができます。分離は、名前でテーブルを参照する操作に適用されます。制限事項を参照してください。
- 柔軟なテストスコープ :テストSparkSessionを使用して、パイプラインのコンピュートで、パイプラインのサブセット(個々のテーブル、依存テーブルのチェーン、またはパイプライン全体)を実行します。
- 結果の検証 :標準のpytestアサーションを使用して、テストで作成された分離された出力テーブルの結果を検証します。
単体テストを使用するタイミング
一般的な使用例は次のとおりです。
- 新しい変換ロジックの検証: 本番運用データに対して実行する前に、変換が期待されるスキーマ、行数、集計、ビジネスロジックを生成することをテストしてください。
- Auto CDC仕様のテスト :モックデータを使用して、Auto CDCフロー定義が、挿入、更新、削除、およびSCD (slowly changing dimensions) タイプといった変更イベントを正しく処理していることを検証します。
- 期待値とデータ品質ルールの検証 : 期待値が適切に不合格となり、データが有効な場合には合格することを確認してください。
- 依存するテーブル間でのテスト :変換チェーン(例:ブロンズ、シルバー、ゴールド)をテストし、データがパイプライングラフを介して正しく流れることを検証します。
要件
-
**パイプライン
Ownerアクセス許可**に加え、パイプラインのdefaultカタログに対する**USE CATALOGおよびCREATE SCHEMAの特権**。フレームワークは、テストが実行される一時的なテストスキーマを作成するために、これらの特権を必要とします。**パイプライン**のアクセス許可を確認または設定するには、**パイプライン**を開き、**共有**をクリックします。**パイプライン**の**
OwnerIS OWNER** () である必要があります;CAN RUNおよびCAN MANAGEではテストを実行するには不十分です。「パイプラインの権限の構成」を参照してください。カタログ特権を確認または設定するには、Catalog Explorer でカタログを開き、 「Permissions」 tabを選択して、
USE CATALOGとCREATE SCHEMAがあることを確認します。カタログ所有者、メタストア管理者、またはMANAGE特権を持つユーザーは、SQL を含めてそれらを付与できます。SQLGRANT USE CATALOG, CREATE SCHEMA ON CATALOG <catalog_name> TO `<principal>`;詳細については、「Unity Catalog権限リファレンス」を参照してください。
-
パイプラインはトリガー(非連続)モードで設定する必要があります。
-
パイプラインは プレビュー チャンネルを使用する必要があります。単体テストはベータ版で、プレビューでのみご利用いただけます。
-
Spark Connect はサポートされていません。
分離された状態を保つテストコードを作成する
テスト分離は、**名前で**テーブルを参照するテーブル操作を対象とします。分離をバイパスする操作は、テストコード内だけでなく、選択した出力によって実行される任意のパイプラインコード(その推移的依存関係を含む)内でも発生する可能性があります。安全に見えるテストファイルでも、パスまたはコネクタによって読み書きを行うパイプラインフローが実行され、それが本番運用データに作用する可能性があります。テストが本番運用データやメタデータに影響を与えないようにするには、次のルールに従ってください。
- すべてのテーブルを名前で (
catalog.schema.table) 参照し、すべての入力を名前でモックします。パス (/Volumes/...、dbfs:/...、s3://...、abfss://...) による読み書きはせず、KafkaやAuto Loaderなどのコネクタからは読み取らないでください。これらは分離をバイパスし、実際の**本番運用**システムに作用します。 - ガバナンスまたは所有権ステートメント (たとえば、
GRANT、REVOKE、ALTER ... OWNER TO、SET/UNSET TAGS、またはCREATE/DROP POLICY) を実行しないでください。これらは実際の**本番運用**セキュリティ保護可能オブジェクトに対して実行されます。 - カタログまたはスキーマ(
CREATE CATALOG、CREATE SCHEMA)を作成しないでください。これらは、実際のUnity Catalogメタストアに到達します。 - グラフにパスベースの入力、コネクタ、命令型書き込み、またはその他の外部副作用が含まれている場合は、パイプライン全体を実行しないでください。依存関係がサポートされているカタログテーブル操作を使用し、モック入力に置き換えられている出力のみを選択してください。
詳細については、 制限事項 を参照してください。
制限事項:
一部の操作はテスト分離をバイパスし、実際の**本番運用**データまたはメタデータに作用する可能性があります。テストを実行する前に、以下の制限事項を確認してください。
テストの分離はテーブル名のみによって行われます。
-
パスまたはコネクタによる読み書きはしないでください。 分離は、テーブルを名前で参照する操作のみをリダイレクトします (例:
spark.read.table("catalog.schema.table")またはdf.write.saveAsTable("catalog.schema.table"))。パスまたはコネクタによって処理される操作は、分離をバイパスし、実際の本番運用システムに直接作用します:- パスによる書き込み (例:
df.write.save("/Volumes/...")、dbfs:/パス、またはs3://...やabfss://...のようなクラウドまたは外部ロケーションパス) は、実際の本番運用ストレージに書き込み、本番運用データを上書きする可能性があります。 - パスによる読み取り (例:
spark.read.load(path)またはspark.read.format("delta").load(path))では、モックの代わりに実際の**本番運用**データが返されます。 - コネクタからの読み取り は、実際の 本番運用 のソースに接続します。これには、 Kafka (実際のブローカーから読み取ります) および Auto Loader (
cloudFiles、実際のクラウドストレージパスから読み取ります) が含まれます。どちらもモックデータにはリダイレクトされません。
- パスによる書き込み (例:
-
パイプライン単体テストから
event_log()テーブル値関数を使用しないでください。 テストモードでは、event_log()はテスト ランのイベント log にリダイレクトされません。本番運用または以前に登録されたイベントLogsが返される可能性があるため、それに対するアサーションは本番運用データを読み取る可能性があります。代わりに、ランによって返されたevent_log_table_nameを使用し、test_sparkを通じてクエリーしてください。event_log_table_nameはNoneになる可能性があるため (たとえば、イベントログのテーブル名を解決できない場合)、クエリーの前に確認してください:Pythonstatus = test_pipeline.run(test_spark, set(["catalog.schema.table"]))
assert status.event_log_table_name is not None
events = test_spark.table(status.event_log_table_name)更新に失敗した原因を診断することが目的である場合は、イベントログを読む前に
status.is_successをアサートしないでください。更新が失敗した理由を理解するために、イベント log を検査することがよくあります。
ガバナンスおよびDDL操作
- カタログ、スキーマ、権限、所有権、タグ、およびポリシーのミューテーションはサポートされていません。 これには
CREATE/DROP/ALTER CATALOG、CREATE/DROP/ALTER SCHEMA(SET MANAGED LOCATIONを含む)、GRANT/REVOKE、ALTER ... OWNER TO、SET/UNSET TAGS、およびCREATE/DROP POLICYが含まれます。test_sparkを介して実行される一部の SQL 形式は、多層防御として拒否されます;その他の形式、または直接 APIs を介して呼び出される同じ操作は、実際の本番運用オブジェクトにアクセスできます。これらのガードを分離境界として信頼しないでください。これらのステートメントは、テスト コードと、選択された出力によって実行されるパイプライン コードから除外してください。
運用上の制限事項
- 並列実行はサポートされていません : テストとパイプラインの更新を同時に実行することはサポートされておらず、システムはそれを防止しません。両者の間には連携がないため、並列実行するとリソースの競合が発生し、本番運用環境の更新のパフォーマンスが著しく低下したり、テストが起動に失敗したりする可能性があります。パイプラインが更新を実行している間にテストを起動したり(またはテストの実行中に更新を起動したり)しないでください。テストを実行する前に、進行中の更新が完了するまで待機してください。
- 異常終了後の一時スキーマ : 各テストランは、パイプラインのdefaultカタログに一時スキーマ(
redirecting_<id>という名前)を作成し、ランの終了時に自動的に削除します。ランが異常終了した場合 (たとえば、ランの途中でコンピュートが失われた場合)、一時スキーマが残され、ランのモックテーブルと出力テーブルが保持されることがあります。これは本番運用データに影響しません。ストレージを再利用するには、パイプラインのdefaultカタログ内で名前がredirecting_で始まる残りのスキーマを手動で削除します。 - テストランはコンピュートを消費します : テストランはパイプラインのコンピュートで実行され、通常のパイプラインの更新として請求されます。テストランには個別のメーター測定はありません。
- 完全な更新はサポートされていません : 選択的更新のみが利用可能です。
test_pipeline.run()は、選択した出力(または何も選択しない場合はすべての出力)を更新します。完全な更新と完全な更新の選択は実装されていません。
オーサリングと忠実性の制限事項
- エディタのみでの実行 : テストはWebベースのLakeFlow Pipelines Editorから実行する必要があります。
- Python テストのみ: テストは Python で記述する必要があります。SQLパイプラインをテストできますが、テスト自体は Python で記述する必要があります。
- ガバナンスの忠実度 :模擬データは、置き換えられる本番運用テーブルに定義されている行フィルターや列マスクを継承しません。テスト結果は、提供した模擬入力を正確に反映しており、管理された本番運用データでの同じクエリーの動作とは異なる場合があります。
ステップ 1: パイプライン設定を更新する
パイプラインをトリガー モード、 PREVIEW チャンネルで実行するように設定してください。
- UIでパイプラインを開き、 設定 > 詳細設定 > チャンネル > プレビュー をクリックします。
- パイプライン モードを トリガー に設定します(連続は使用しないでください)。
または、パイプライン設定JSONを直接編集:
"continuous": false,
"channel": "PREVIEW"
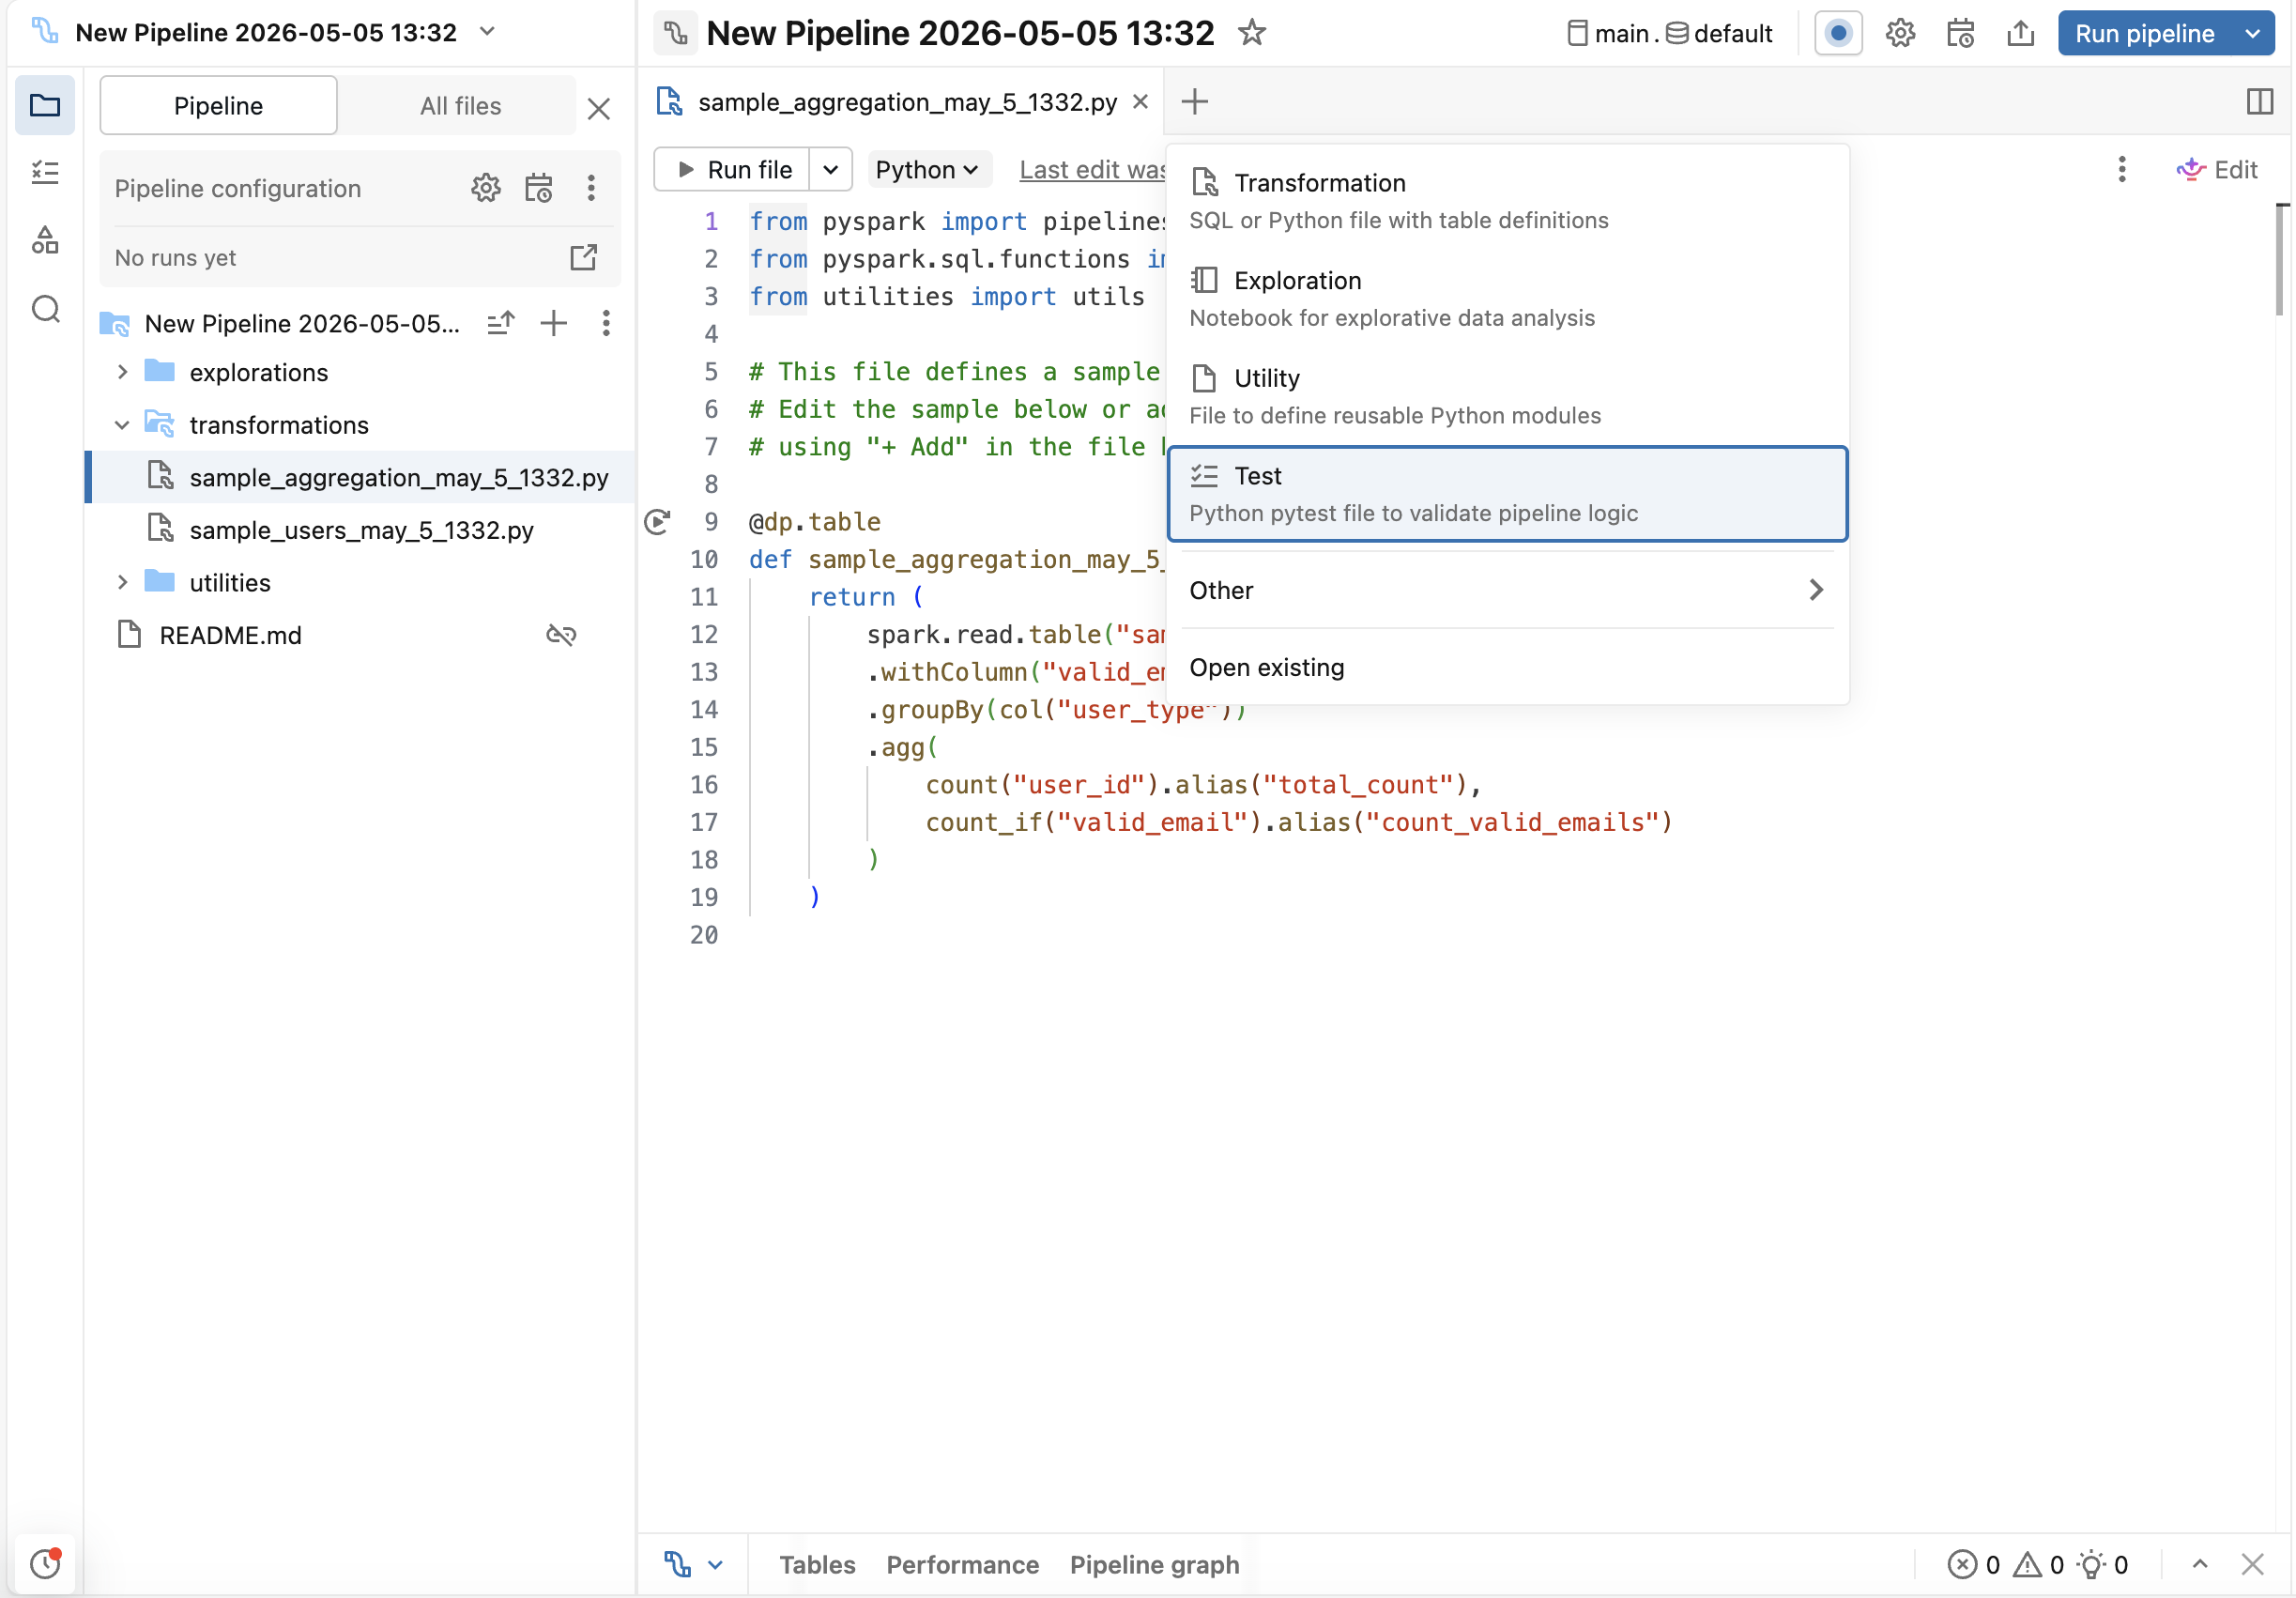
ステップ 2:テストファイルを作成する
LakeFlow Pipelines Editor で、 + (追加) ボタンをクリックし、 [テスト] を選択します。これにより、テスト ファイル(tests フォルダーが存在しない場合は、 フォルダーも)が作成されますが、これはパイプラインのソース コードには含まれません。tests フォルダーを自分で作成する必要はありません。
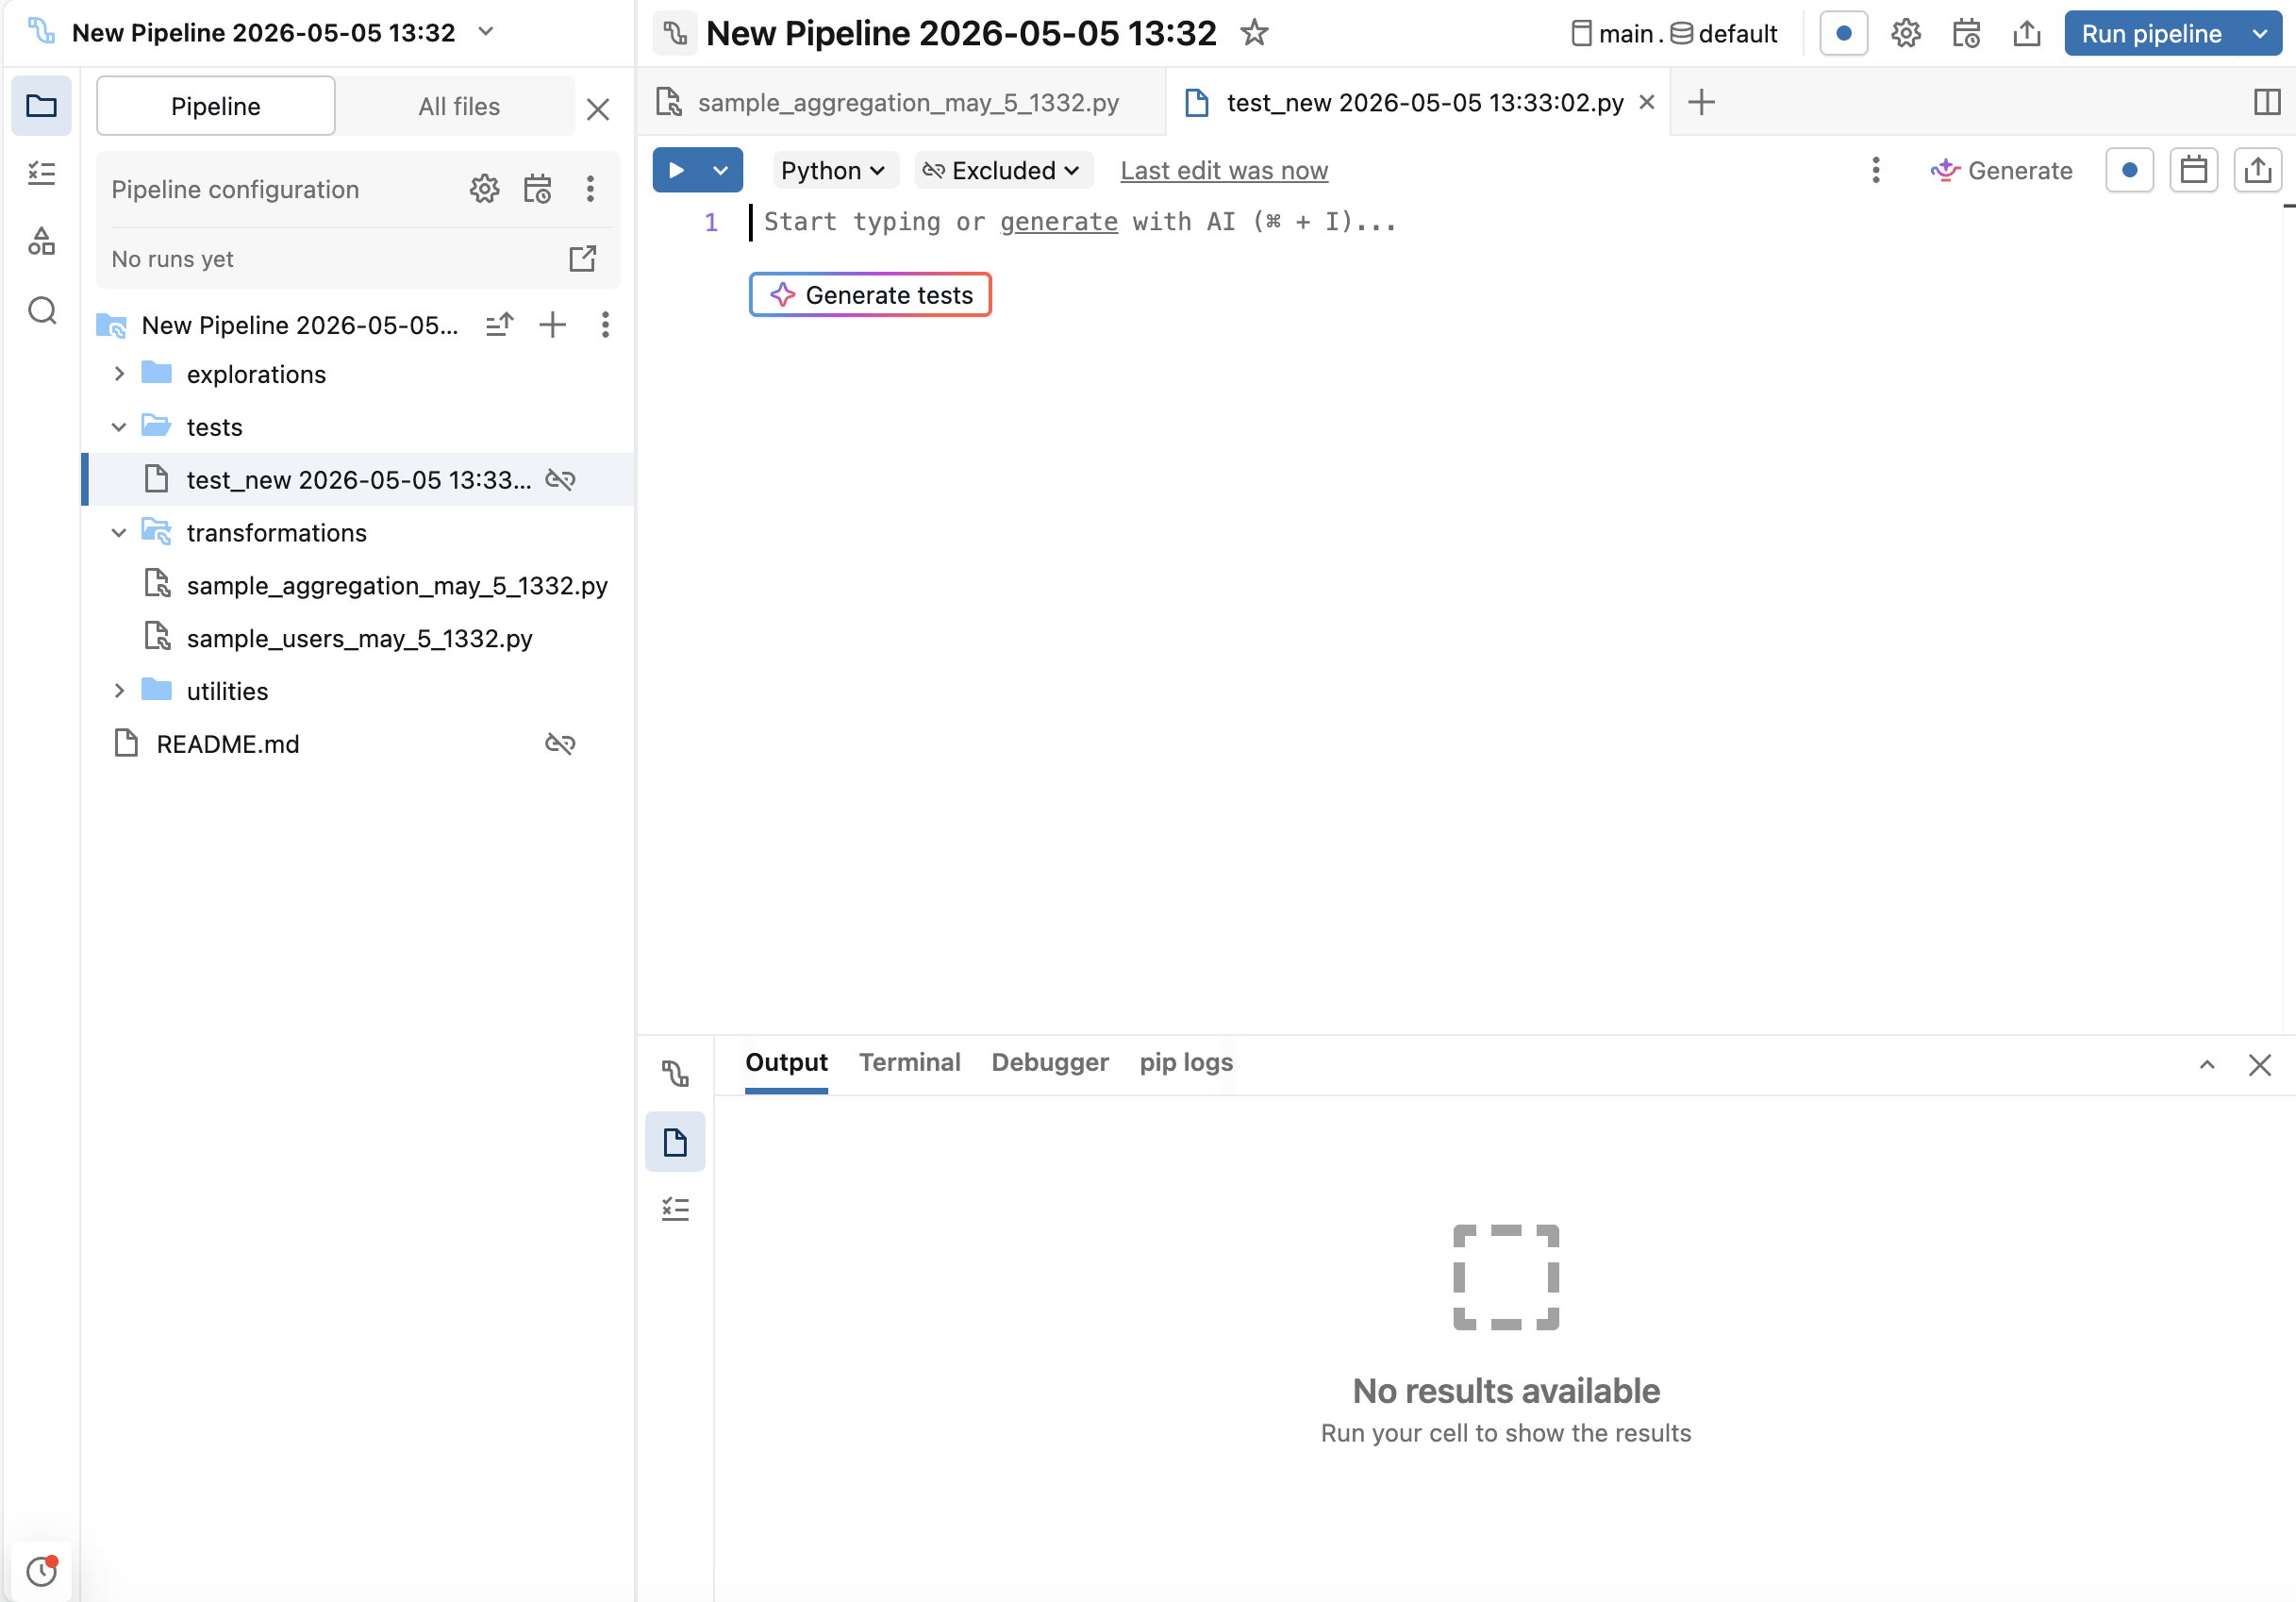
ステップ 3: テストを生成
Genie Codeはテストスキャフォールディングを生成できます:
-
テストファイル内で、 テストを生成 ボタンをクリックします。
-
または、Genie Codeエージェントモードで
/testsを使用します。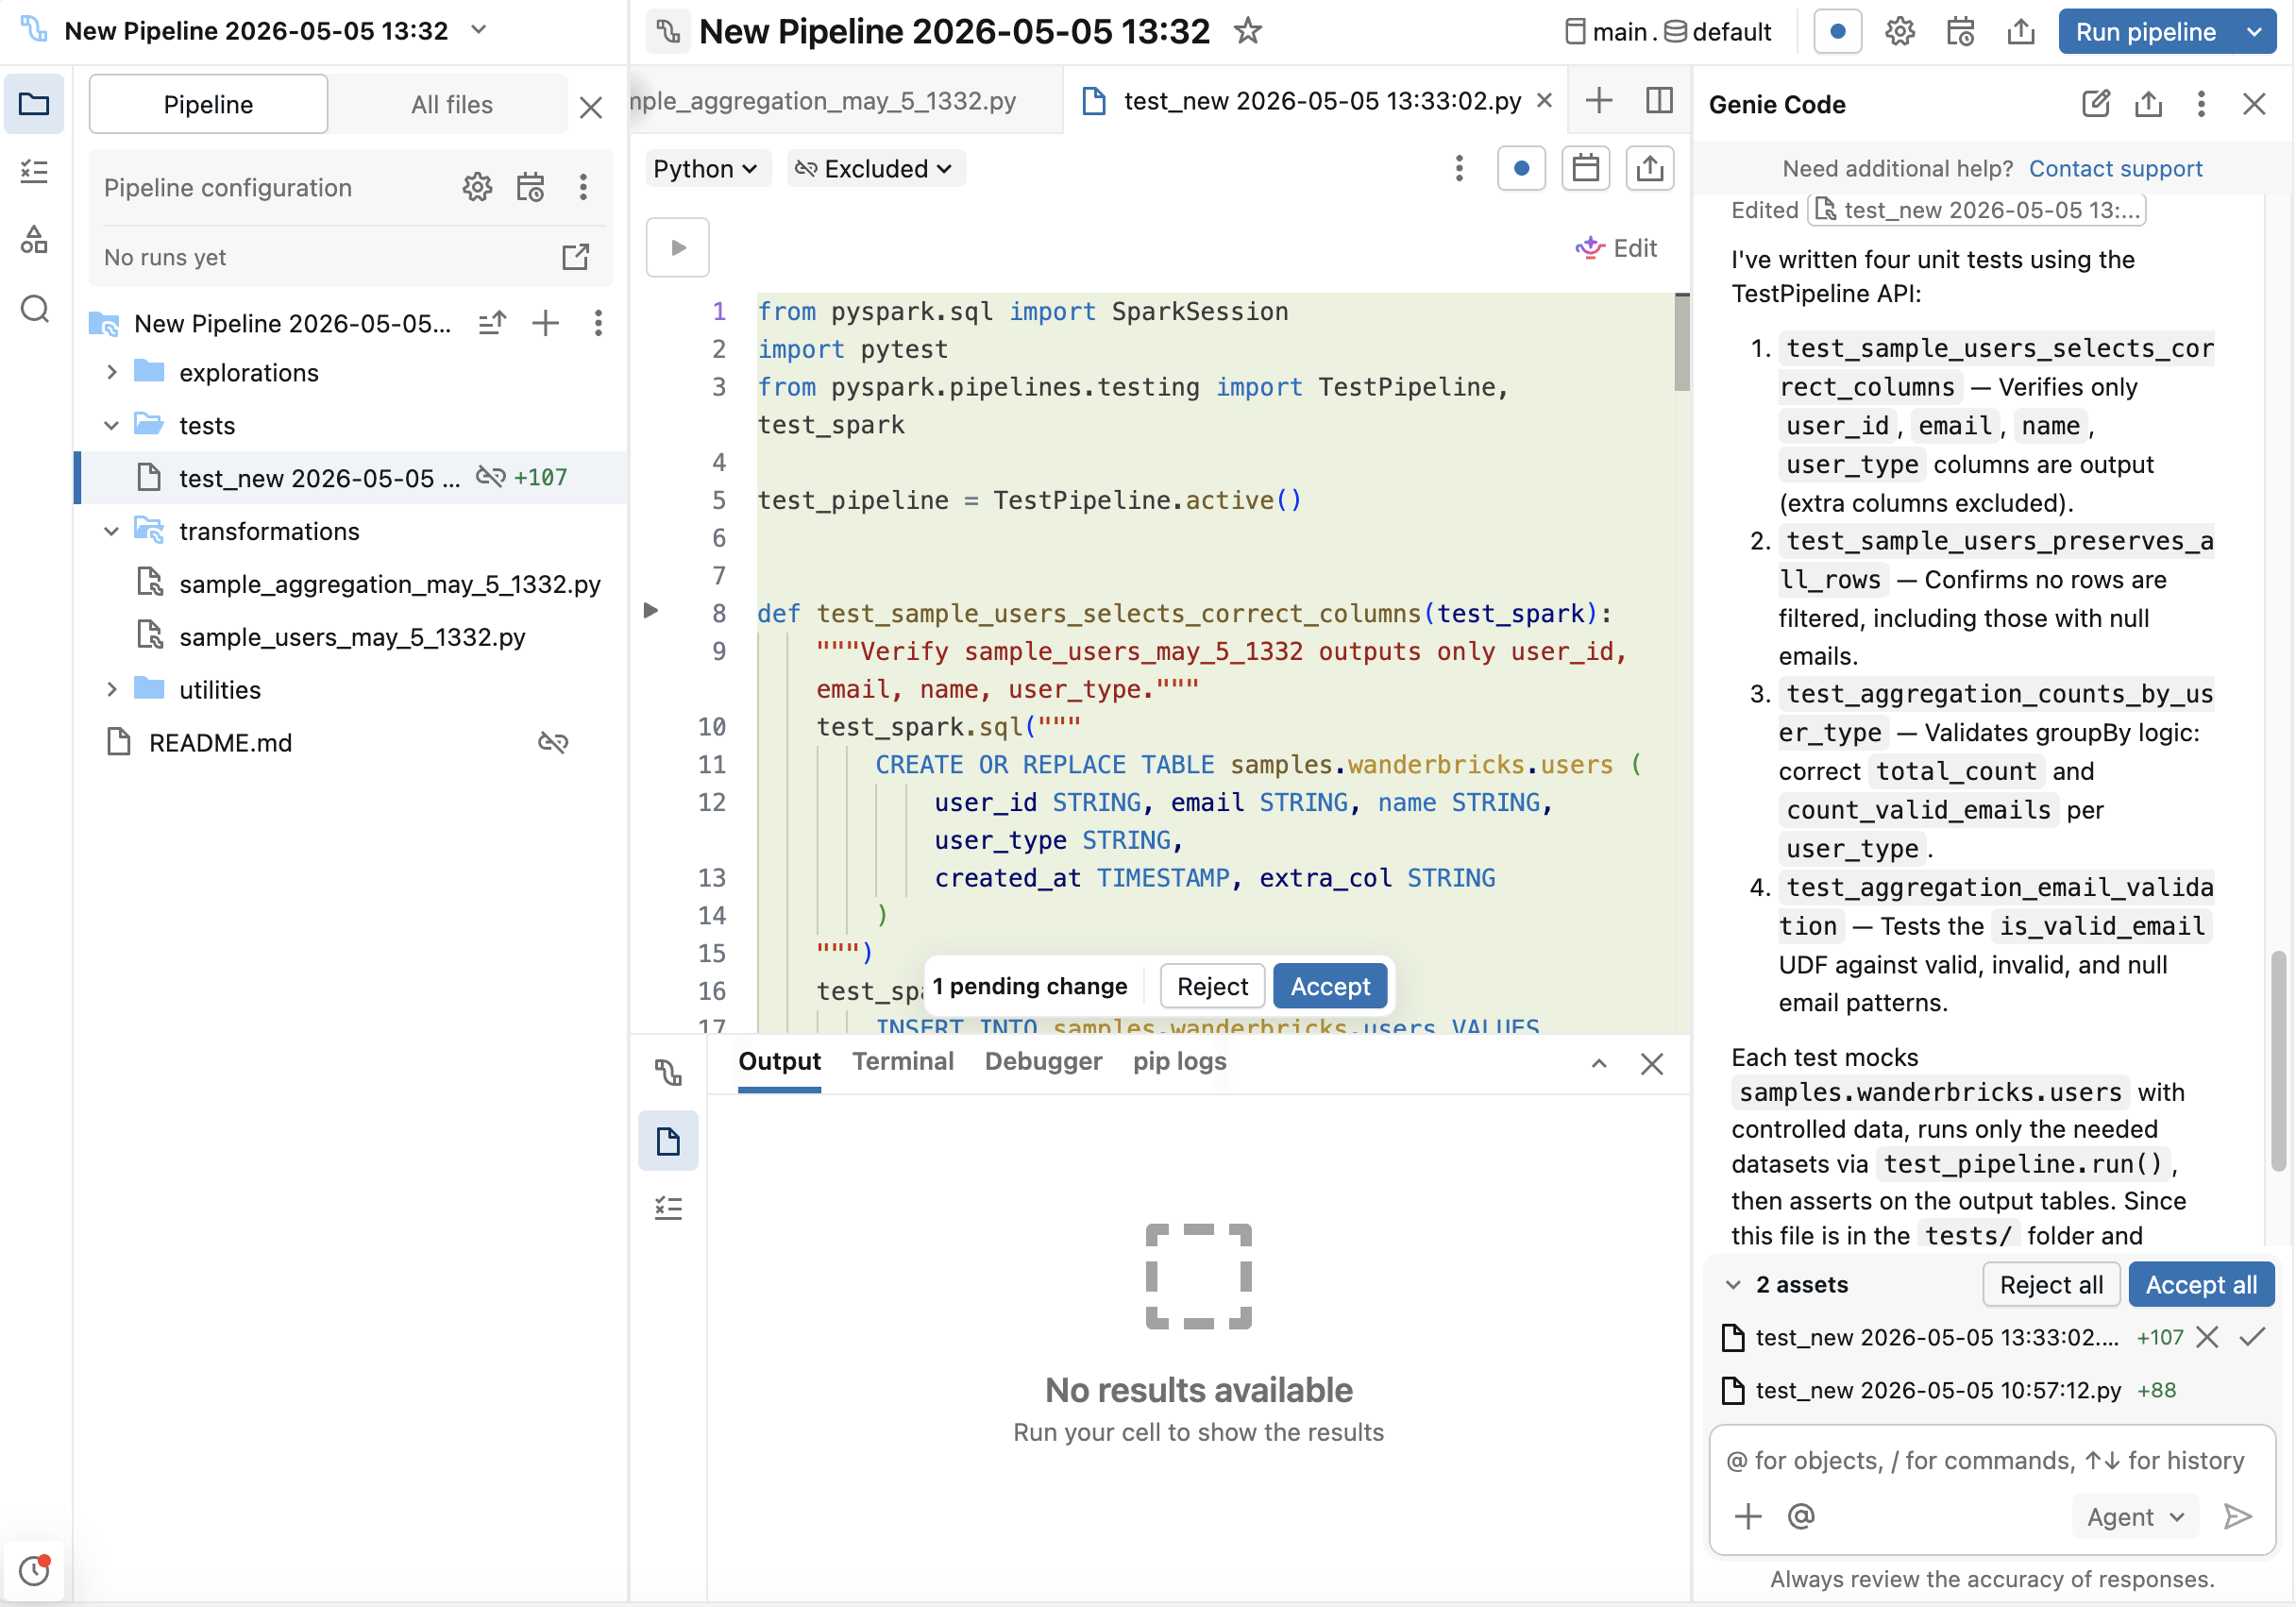
Genie Codeを使用してボイラープレートを生成し、その後、エッジケースに合わせてカスタマイズしてください。
または、テストコードを自分で書くこともできます。各テストファイルの先頭に以下のインポートを追加してください。
import pytest
from pyspark.pipelines.testing import TestPipeline, test_spark

test_pipeline = TestPipeline.active()
ステップ 4: テストを実行する
Lakeflow Pipelines Editorからテストを実行します:
- 個別のテストを実行するには、テスト機能の横にあるガターの
 (play) ボタンをクリックします。
 - テストファイルの上部にある ファイル内のテストを実行 をクリックして、そのファイル内のすべてのテストを実行します。
テスト結果(成功または失敗)はエディターの下部パネルに表示されます。失敗をデバッグするには、アサーションエラーを確認します。
API のテスト
API | 説明 |
|---|---|
| Lakeflow Pipelines Editorで現在編集されているパイプラインの |
| パイプラインの更新を同期的に実行し、テーブル名が指定されている場合は、選択的な更新を行います。パイプラインの実行が成功するか、例外で終了した後に返されます。 |
| カタログテーブルのリダイレクト機能を備えたテストSparkSessionを作成します。これは、**名前で**テーブルを参照するテーブルの読み取りと書き込み(例: |
モックデータの作成
入力データをSQLまたはcreateDataFrameを使用してモックできます:
# Option 1: Using SQL
test_spark.sql("""
    CREATE TABLE catalog.schema.table_name AS
    SELECT * FROM VALUES
        (1, 'value1'),
        (2, 'value2')
    AS t(id, name)
""")

# Option 2: Using createDataFrame
df = test_spark.createDataFrame(
    [(1, 'value1'), (2, 'value2')],
    schema=["id", "name"]
)
df.write.saveAsTable("catalog.schema.table_name")
より大量の現実的な合成データを生成するには、Faker ライブラリを使用できます。まずパイプラインで%pip install fakerを実行し、その後、FakerベースのUDFからDataFrameを構築してください。
# Option 3: Using Faker for synthetic data
from pyspark.sql import functions as F
from faker import Faker

fake = Faker()
fake_firstname = F.udf(fake.first_name)
fake_lastname = F.udf(fake.last_name)
fake_email = F.udf(fake.ascii_company_email)

df = (
    test_spark.range(0, 100)
    .withColumn("firstname", fake_firstname())
    .withColumn("lastname", fake_lastname())
    .withColumn("email", fake_email())
)
df.write.saveAsTable("catalog.schema.table_name")
パイプラインまたは特定のテーブルを実行します。
# Run specific tables
test_pipeline.run(test_spark, set(["catalog.schema.table1", "catalog.schema.table2"]))

# Run all tables in the pipeline
test_pipeline.run(test_spark)
例
例 1: 行数、スキーマ、および NULL 処理の集計検証
目的 : ユーザー集計がタイプ別にユーザーを正しくカウントし、Null値のEメールを処理し、予期されるスキーマを生成すること。
パイプライン変換:
これらの変換は、シンプルな2テーブルのパイプラインを作成します: usersはユーザー データを選択し、countsはユーザーをタイプ別にグループ化し、ユーザーの総数と有効なEメールをカウントします。
from pyspark import pipelines as dp
from pyspark.sql.functions import col, count, count_if

@dp.table
def users():
    return (
        spark.read.table("catalog.schema.wanderbricks_users")
        .select("user_id", "email", "name", "user_type")
    )

@dp.table
def counts():
    return (
        spark.read.table("catalog.schema.users")
        .withColumn("valid_email", col("email").isNotNull())
        .groupBy("user_type")
        .agg(
            count("user_id").alias("total_count"),
            count_if("valid_email").alias("count_valid_emails")
        )
    )
テスト :
これらのテストは、意図的なnull値を含むモックユーザーデータを作成し、パイプラインを分離して実行することで、行数、スキーマ構造、Null処理、および集計ロジックを検証します。
import pytest
from pyspark.pipelines.testing import TestPipeline, test_spark
from pyspark.testing import assertDataFrameEqual

test_pipeline = TestPipeline.active()

# Mock data fixture
def mock_users(session):
    session.sql("""
        CREATE TABLE catalog.schema.wanderbricks_users AS
        SELECT * FROM VALUES
            (1, 'alice@example.com', 'Alice', 'admin'),
            (2, NULL, 'Bob', 'user'),
            (3, 'charlie@example.com', 'Charlie', 'user'),
            (4, NULL, 'Dana', 'admin')
        AS t(user_id, email, name, user_type)
    """)

# Test 1: Row count
def test_users_row_count(test_spark):
    mock_users(test_spark)
    test_pipeline.run(test_spark, set(["catalog.schema.users"]))
    result = test_spark.table("catalog.schema.users")
    assert result.count() == 4

# Test 2: Schema validation
def test_users_schema(test_spark):
    mock_users(test_spark)
    test_pipeline.run(test_spark, set(["catalog.schema.users"]))
    result = test_spark.table("catalog.schema.users")
    expected_fields = {"user_id", "email", "name", "user_type"}
    actual_fields = set(f.name for f in result.schema.fields)
    assert expected_fields == actual_fields

# Test 3: Null handling
def test_users_null_handling(test_spark):
    mock_users(test_spark)
    test_pipeline.run(test_spark, set(["catalog.schema.users"]))
    result = test_spark.table("catalog.schema.users")
    null_emails = result.filter("email IS NULL").count()
    assert null_emails == 2

# Test 4: Aggregation
def test_counts(test_spark):
    mock_users(test_spark)
    # Run both tables since counts depends on users
    test_pipeline.run(test_spark, set(["catalog.schema.users", "catalog.schema.counts"]))
    result = test_spark.table("catalog.schema.counts")
    # Check counts for each user_type
    admin_row = result.filter("user_type = 'admin'").collect()[0]
    user_row = result.filter("user_type = 'user'").collect()[0]
    assert admin_row["total_count"] == 2
    assert admin_row["count_valid_emails"] == 1
    assert user_row["total_count"] == 2
    assert user_row["count_valid_emails"] == 1

# Test 5: Full DataFrame comparison with assertDataFrameEqual
def test_counts_full_dataframe(test_spark):
    mock_users(test_spark)
    test_pipeline.run(test_spark, set(["catalog.schema.users", "catalog.schema.counts"]))
    result = test_spark.table("catalog.schema.counts")
    expected = test_spark.createDataFrame(
        [("admin", 2, 1), ("user", 2, 1)],
        schema=["user_type", "total_count", "count_valid_emails"]
    )
    assertDataFrameEqual(result, expected)
例 2: Auto CDC テスト
目標:Auto CDC がインサートと更新を含むチェンジフィードを正しく処理することを検証します。
パイプライン変換 :
この変換は、変更フィードからAuto CDCを設定し、ストリーミングの変更を読み取り、SCD Type 1としてターゲットテーブルに適用します(最新バージョンのみを保持します)。
from pyspark import pipelines as dp
from pyspark.sql.functions import col

@dp.view
def users():
    return spark.readStream.table("catalog.schema.change_feed")

dp.create_streaming_table("target_autocdc")
dp.create_auto_cdc_flow(
    target="target_autocdc",
    source="users",
    keys=["userId"],
    sequence_by=col("ts"),
    stored_as_scd_type=1
)
テスト :
最初のテストでは、同じuserIdに対して複数のレコードを持つモック変更フィードを作成し(更新をシミュレートしています)、ターゲットには最新のレコードのみが保持されることを検証します。2番目のテストは、パイプラインを実行し、変更フィードにイベントを追加し、パイプラインを再度実行することで、遅延イベントや順不同イベントをシミュレートします。
import pytest
from pyspark.pipelines.testing import TestPipeline, test_spark

test_pipeline = TestPipeline.active()

# Test 1: Standard inserts and updates
def test_auto_cdc_flow(test_spark):
    # Create a mock change feed table
    test_spark.sql("""
        CREATE TABLE catalog.schema.change_feed AS
        SELECT * FROM VALUES
            (1, 'Alice', 1000),
            (2, 'Bob', 1001),
            (1, 'Alice Updated', 1002)
        AS t(userId, name, ts)
    """)
    # Run the pipeline
    test_pipeline.run(test_spark, set(["catalog.schema.target_autocdc"]))
    # Read the output
    result = test_spark.table("catalog.schema.target_autocdc")
    # Verify two users exist
    user_ids = set(row["userId"] for row in result.collect())
    assert user_ids == {1, 2}
    # Verify latest record for userId=1 has ts=1002
    latest_user1 = result.filter("userId = 1").collect()[0]
    assert latest_user1["ts"] == 1002
    assert latest_user1["name"] == "Alice Updated"
    # Verify userId=2 has ts=1001
    user2 = result.filter("userId = 2").collect()[0]
    assert user2["ts"] == 1001

# Test 2: Late-arriving and out-of-order events
def test_auto_cdc_late_arriving(test_spark):
    # First batch of change events
    test_spark.sql("""
        CREATE TABLE catalog.schema.change_feed AS
        SELECT * FROM VALUES
            (1, 'Alice', 1000),
            (2, 'Bob', 1001)
        AS t(userId, name, ts)
    """)
    # Run the pipeline with the initial batch
    test_pipeline.run(test_spark, set(["catalog.schema.target_autocdc"]))

    # Append late-arriving events to the change feed:
    # - A newer event for userId=1 (ts=1003) that arrived after the first run
    # - A stale event for userId=2 (ts=999) with a timestamp older than what is already applied
    test_spark.sql("""
        INSERT INTO catalog.schema.change_feed VALUES
            (1, 'Alice Updated', 1003),
            (2, 'Bob (stale)', 999)
    """)
    # Re-run the pipeline. sequence_by=ts ensures stale events do not overwrite newer state.
    test_pipeline.run(test_spark, set(["catalog.schema.target_autocdc"]))

    result = test_spark.table("catalog.schema.target_autocdc")
    # userId=1 should reflect the newer late-arriving event
    alice = result.filter("userId = 1").collect()[0]
    assert alice["ts"] == 1003
    assert alice["name"] == "Alice Updated"
    # userId=2 should be unchanged: the stale event with an older ts is ignored
    bob = result.filter("userId = 2").collect()[0]
    assert bob["ts"] == 1001
    assert bob["name"] == "Bob"
例3:スナップショットからのAuto CDCテスト
目標 : CDC が、挿入、更新、削除を含むスナップショットの変更内容を正しく処理していることを検証します。
パイプライン変換 :
この変換は、スナップショットからAuto CDCを設定します。これにより、スナップショットテーブルからデータを読み込み、完全な履歴を保持するSCDタイプ2として、時間の経過に伴う変更を追跡します。
from pyspark import pipelines as dp

@dp.view(name="source")
def source():
    return spark.read.table("catalog.schema.snapshot")

dp.create_streaming_table("catalog.schema.target")
dp.create_auto_cdc_from_snapshot_flow(
    target="target",
    source="source",
    keys=["userId"],
    stored_as_scd_type=2
)
テスト :
このテストでは、初期のスナップショットを作成し、パイプラインを実行し、次に、新しいデータを切り捨てて挿入することでスナップショットの更新をシミュレートし、CDCがすべての変更をキャプチャすることを検証します。
import pytest
from pyspark.pipelines.testing import TestPipeline, test_spark

test_pipeline = TestPipeline.active()

def test_auto_cdc_from_snapshot_flow(test_spark):
    # Create initial snapshot
    test_spark.sql("""
        CREATE TABLE catalog.schema.snapshot AS
        SELECT * FROM VALUES
            (1, 'Alice', '2024-01-01'),
            (2, 'Bob', '2024-01-02')
        AS t(userId, name, created_at)
    """)
    # Run the pipeline
    test_pipeline.run(test_spark, set(["catalog.schema.target"]))
    # Simulate a new snapshot by truncating and inserting updated data
    test_spark.sql("TRUNCATE TABLE catalog.schema.snapshot")
    test_spark.sql("INSERT INTO catalog.schema.snapshot VALUES (2, 'Bob', '2024-01-03')")
    test_pipeline.run(test_spark, set(["catalog.schema.target"]))
    # Verify SCD Type 2: should have 3 rows (original Alice, original Bob, updated Bob)
    result = test_spark.table("catalog.schema.target")
    assert result.count() == 3
    user_ids = [row["userId"] for row in result.collect()]
    assert set(user_ids) == {1, 2}
例 4: 結合とエクスペクテーションのテスト
目的 :結合が正しく機能し、エクスペクテーションが無効なデータをフィルターすることを検証します。
パイプライン変換 :
この変換は、プロパティ画像をアメニティと結合し、2024年1月以前にアップロードされた画像をフィルターで除外する条件を適用します。
from pyspark import pipelines as dp

@dp.table
@dp.expect_or_drop("uploaded after Jan 2024", "uploaded_at > '2024-01-01'")
def property_images_amenities_join():
    return (
        spark.read.table("catalog.schema.property_images")
        .join(
            spark.read.table("catalog.schema.property_amenities"),
            on="property_id",
            how="inner"
        )
    )
テスト :
これらのテストは、結合が正しい行数を生成し、エクスペクテーションが無効なアップロード日のレコードを正常にフィルターで除外することを確認します。
import pytest
from pyspark.pipelines.testing import TestPipeline, test_spark

test_pipeline = TestPipeline.active()

# Mock property datasets
def mock_properties(session):
    session.sql("""
        CREATE TABLE catalog.schema.property_images AS
        SELECT * FROM VALUES
            (101, 'img1.jpg', '2024-02-01'),
            (102, 'img2.jpg', '2024-01-15'),
            (103, 'img3.jpg', '2024-12-20')
        AS t(property_id, image_url, uploaded_at)
    """)
    session.sql("""
        CREATE TABLE catalog.schema.property_amenities AS
        SELECT * FROM VALUES
            (101, 'wifi'),
            (102, 'pool'),
            (103, 'parking')
        AS t(property_id, amenity)
    """)

# Test 1: Join
def test_property_join(test_spark):
    mock_properties(test_spark)
    test_pipeline.run(test_spark, set(["catalog.schema.property_images_amenities_join"]))
    result = test_spark.table("catalog.schema.property_images_amenities_join")
    # Should have 3 rows after join
    assert result.count() == 3
    # Check all property_ids are present
    property_ids = set(row["property_id"] for row in result.collect())
    assert property_ids == {101, 102, 103}

# Test 2: Expectation
def test_property_expectation(test_spark):
    mock_properties(test_spark)
    # Add a row with uploaded_at before Jan 2024
    test_spark.sql("""
        INSERT INTO catalog.schema.property_images VALUES (104, 'img4.jpg', '2023-12-31')
    """)
    # Add a matching row in the amenities table for the join
    test_spark.sql("""
        INSERT INTO catalog.schema.property_amenities VALUES (104, 'gym')
    """)
    test_pipeline.run(test_spark, set(["catalog.schema.property_images_amenities_join"]))
    result = test_spark.table("catalog.schema.property_images_amenities_join")
    # Only property_ids with uploaded_at > '2024-01-01' should be present
    valid_ids = set(row["property_id"] for row in result.collect())
    assert 104 not in valid_ids
    assert valid_ids == {101, 102, 103}