Version history in notebooks
This article describes how you can manage versions in Databricks notebooks.
Databricks notebooks maintain a history of notebook versions, allowing you to view and restore previous snapshots of a notebook. You can perform the following actions on versions: add descriptions, restore and delete versions, and clear version history.
You can also sync your work in Databricks with a remote Git repository.
View version history
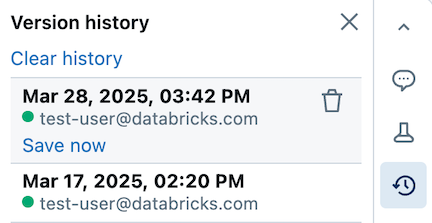
To access notebook versions, click ![]() in the right sidebar. The notebook version history appears.
in the right sidebar. The notebook version history appears.
Add a description
To add a description to the latest version:
-
Click the version.
-
Click Save now.
-
In the Save version dialog, enter a version description.
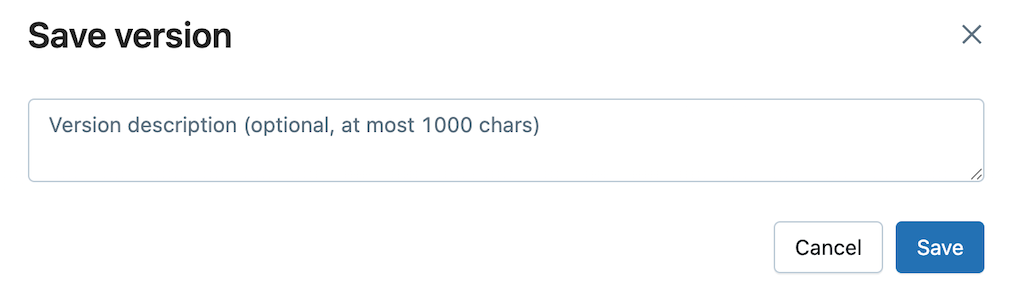
-
Click Save. The notebook version is saved with the entered description.
Restore a version
To restore a version:
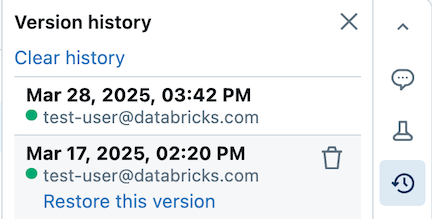
-
Click the version.
-
Click Restore this version.
-
Click Confirm. The selected version becomes the latest version of the notebook.
Delete a version
To delete a version entry:
-
Click the version.
-
Click the trash icon
 .
.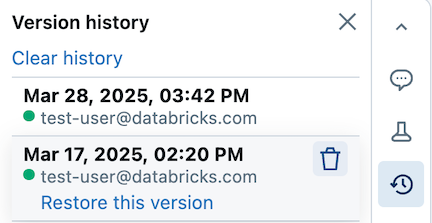
-
Click Yes, erase. The selected version is deleted from the history.
Clear version history
The version history cannot be recovered after it has been cleared.
To clear the version history for a notebook:
- Under Version history, click Clear history.
- Click Yes, clear. The notebook version history is cleared.
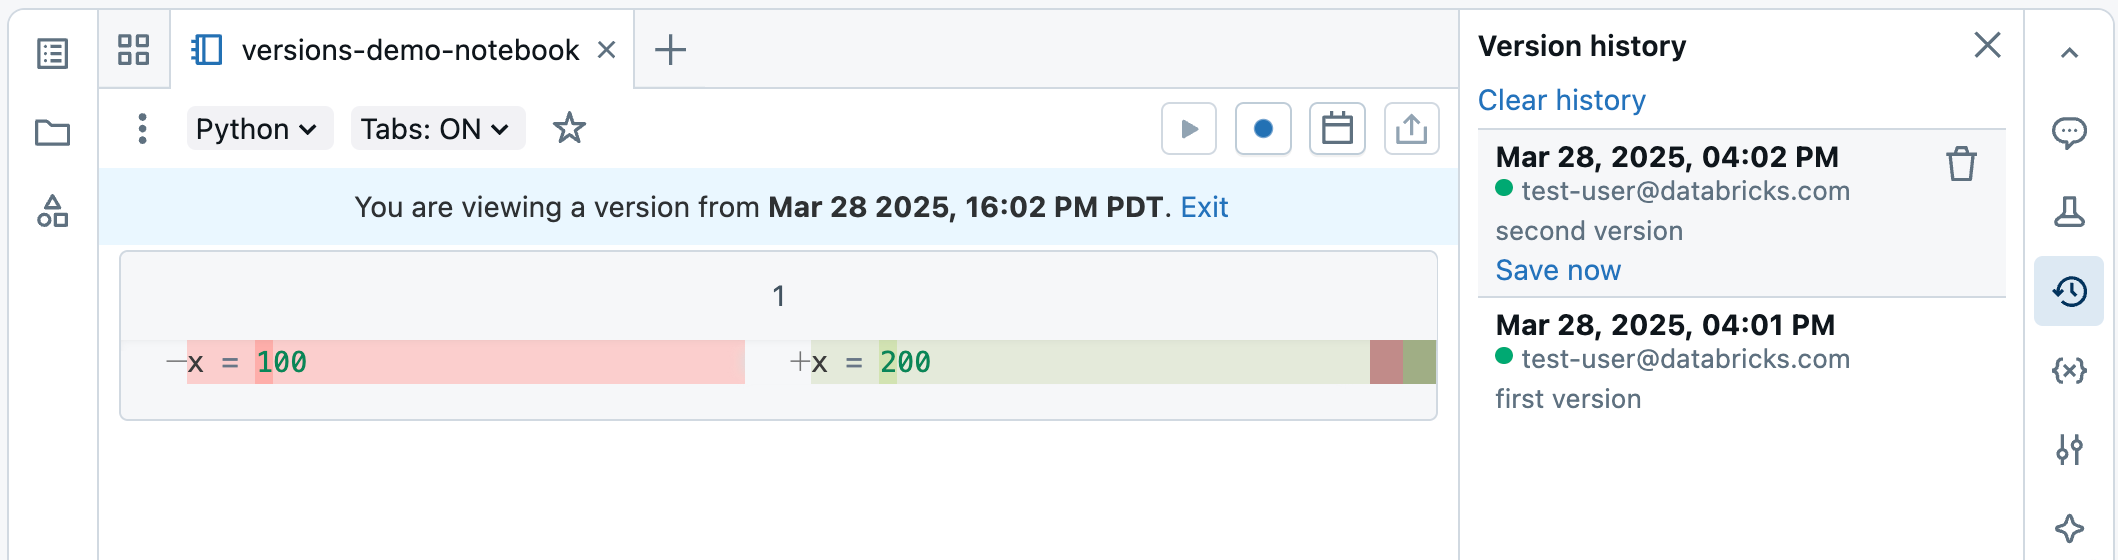
Side-by-side diff in version history
When you display previous notebook versions, the editor displays side-by-side diffs with color highlighting.