CI/CD with Databricks Git folders
Use Databricks Git folders in your CI/CD flows to keep work in source control and integrate it with your data engineering workflows. For a broader overview of CI/CD with Databricks, see CI/CD on Databricks.
Usage flows
Automation for Git folders centers on initial folder configuration and on the Databricks Repos REST API for automating Git operations from Databricks jobs. Before you build automation:
- Review the remote Git repositories you will use.
- Choose the right repos and branches for each stage (development, integration, staging, production).
There are three main flows:
- Admin flow: A Databricks workspace admin creates top-level folders to host production Git folders. The admin clones a repository and branch when creating each folder and can name them by purpose (for example, "Production", "Test", or "Staging"). See Create a production Git folder.
- User flow: A user creates a Git folder under
/Workspace/Users/<email>/from a remote repository, works on a user-specific branch, and pushes commits to the remote. See Collaborate using Git folders. - Merge flow: After pushing from a Git folder, users open pull requests (PRs). When a PR is merged, automation can pull changes into production Git folders using the Databricks Repos API.
Collaborate using Git folders
Collaborate with others by pulling and pushing changes from the Databricks UI. A common pattern is to use a feature or development branch to aggregate work.
To collaborate on a feature branch:
- Clone your existing Git repository to your Databricks workspace.
- In the Git folders UI, create a feature branch from the main branch. You can use multiple feature branches as needed.
- Edit Databricks notebooks and other files in the repo.
- Commit and push your changes to the remote repository.
- Other contributors can clone the repo into their own user folder. They work on a branch, change notebooks and files in the Git folder, then commit and push to the remote.
- When ready, create a PR on your Git provider, review with your team, and merge into the deployment branch.
Databricks recommends that each developer work on their own branch. For resolving merge conflicts, see Resolve merge conflicts.
Choose a CI/CD approach
Databricks recommends Declarative Automation Bundles to package and deploy CI/CD workflows. If you prefer to deploy only code into the workspace, you can use a production Git folder instead. For a broader CI/CD overview, see CI/CD on Databricks.
Define resources such as jobs and pipelines in source using bundles, then create, deploy, and manage them in workspace Git folders. See Collaborate on bundles in the workspace.
Create a production Git folder
Production Git folders are different from user-level Git folders under /Workspace/Users/. User-level folders are local checkouts where users develop and push changes. Production Git folders are created by admins outside user folders, hold deployment branches, and are the source for automated workflows. They should be updated only by automation when PRs are merged into deployment branches. Restrict production Git folders to run-only access for most users. Allow only admins and Databricks service principals to edit them.
To create a production Git folder:
-
Choose the Git repository and branch for deployment.
-
Create or use a service principal and configure a Git credential so it can access that repository.
-
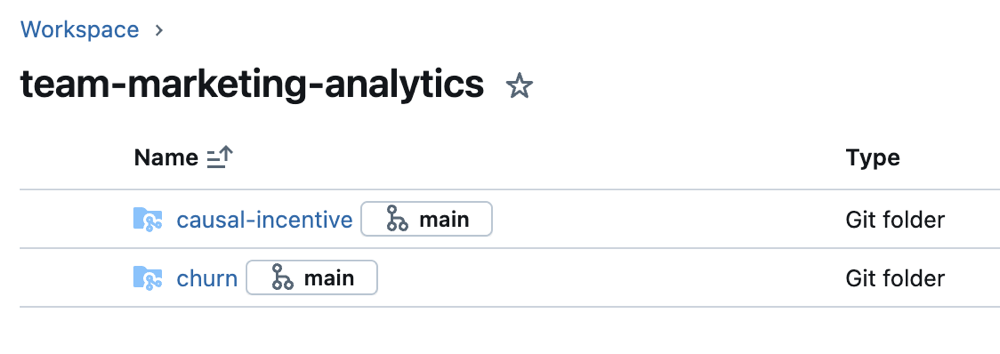
Create a Databricks Git folder for the repo and branch in a subfolder under Workspace (for example, per project, team, or stage).
-
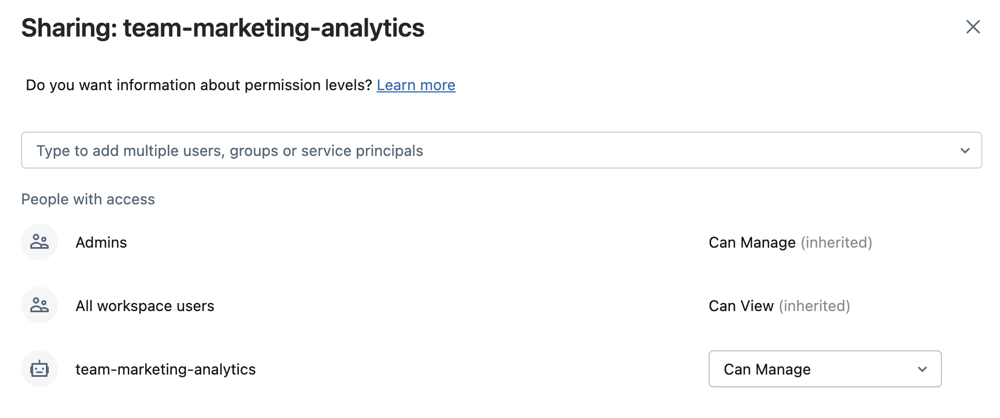
Select the folder, then Share (or right-click Share (Permissions) in the Workspace tree).
-
Assign permissions levels:
- Can Run for project users who need to run workflows.
- Can Run for any Databricks service principal that runs automation against this folder.
- Optionally Can View for all workspace users to support discovery and sharing.
-
Click Add.
-
Keep the production Git folder in sync with the remote branch using one of these options:
- External CI/CD: Use tools such as GitHub Actions to pull the latest commits when a PR is merged into the deployment branch. For an example, see Run a CI/CD workflow that updates a Git folder.
- Scheduled job: If external CI/CD isn't available, run a scheduled job that updates the Git folder. Use a simple notebook that runs on a schedule:
Pythonfrom databricks.sdk import WorkspaceClient
w = WorkspaceClient()
w.repos.update(w.workspace.get_status(path="<git-folder-workspace-full-path>").object_id, branch="<branch-name>")
For more information about automating with the Repos API, see the Databricks REST API documentation for Repos.