Migrate an agent from Model Serving to Databricks Apps
Migrate an existing AI agent from a Model Serving endpoint to Databricks Apps.
Databricks recommends authoring agents on Databricks Apps since it provides the following advantages over Model Serving:
- Rapid iteration: Iterate on agent code and deployment configuration in seconds, with local debugging and full transparency into logs and agent behavior.
- Git-based versioning and CI/CD: Package and version modular Python agent code with Git, and deploy with Declarative Automation Bundles.
- AI coding assistant support: Use AI coding assistants to develop and migrate your agent locally.
- Scalable async agents: Build asynchronous agents with native Python async patterns for higher concurrency.
- Flexible server customization: Use any framework or stack, add custom routes and middleware, and configure user and agent authentication to LLM endpoints and tools.
- MLflow tracing: Use MLflow git-based logged models and real-time tracing to monitor agent behavior.
- Built-in chat UI: Conversational agent templates include a ready-to-use chat interface with streaming, authentication, and persistent history.
Requirements
- An existing agent deployed on a Model Serving endpoint.
- The Databricks CLI installed and authenticated. See Install or update the Databricks CLI.
- Python 3.11 or later.
- The
uvpackage manager. See uv installation. - Databricks Apps enabled in your workspace. See Set up your Databricks Apps workspace and development environment.
Clone the migration template
The migration template provides the scaffolding for developing and deploying an agent on Databricks Apps, along with agent skill files that teach AI coding assistants how to perform each migration step.
Clone the template and go to the folder:
git clone https://github.com/databricks/app-templates.git
cd app-templates/agent-migration-from-model-serving
The template folder contains:
AGENTS.md: Instructions for AI coding assistants describing the migration workflowskills/: Skill files for each migration step, executed in sequence by the assistantagent_server/: The scaffolding of the target Databricks Apps agent with placeholder code for the@invoke()and@stream()handlersdatabricks.yml: A Declarative Automation Bundles configuration template with placeholder resource declarations
AI-assisted migration (recommended)
AI-assisted migration is the recommended way to use this template. An AI coding assistant reads AGENTS.md and the skill files and automatically handles the code and configuration changes.
- Open the template folder in an AI coding assistant such as Cursor, GitHub Copilot, or Claude.
- Ask the assistant to perform the migration by providing your endpoint name:
"Migrate my Model Serving endpoint `my-agent-endpoint` to a Databricks App"
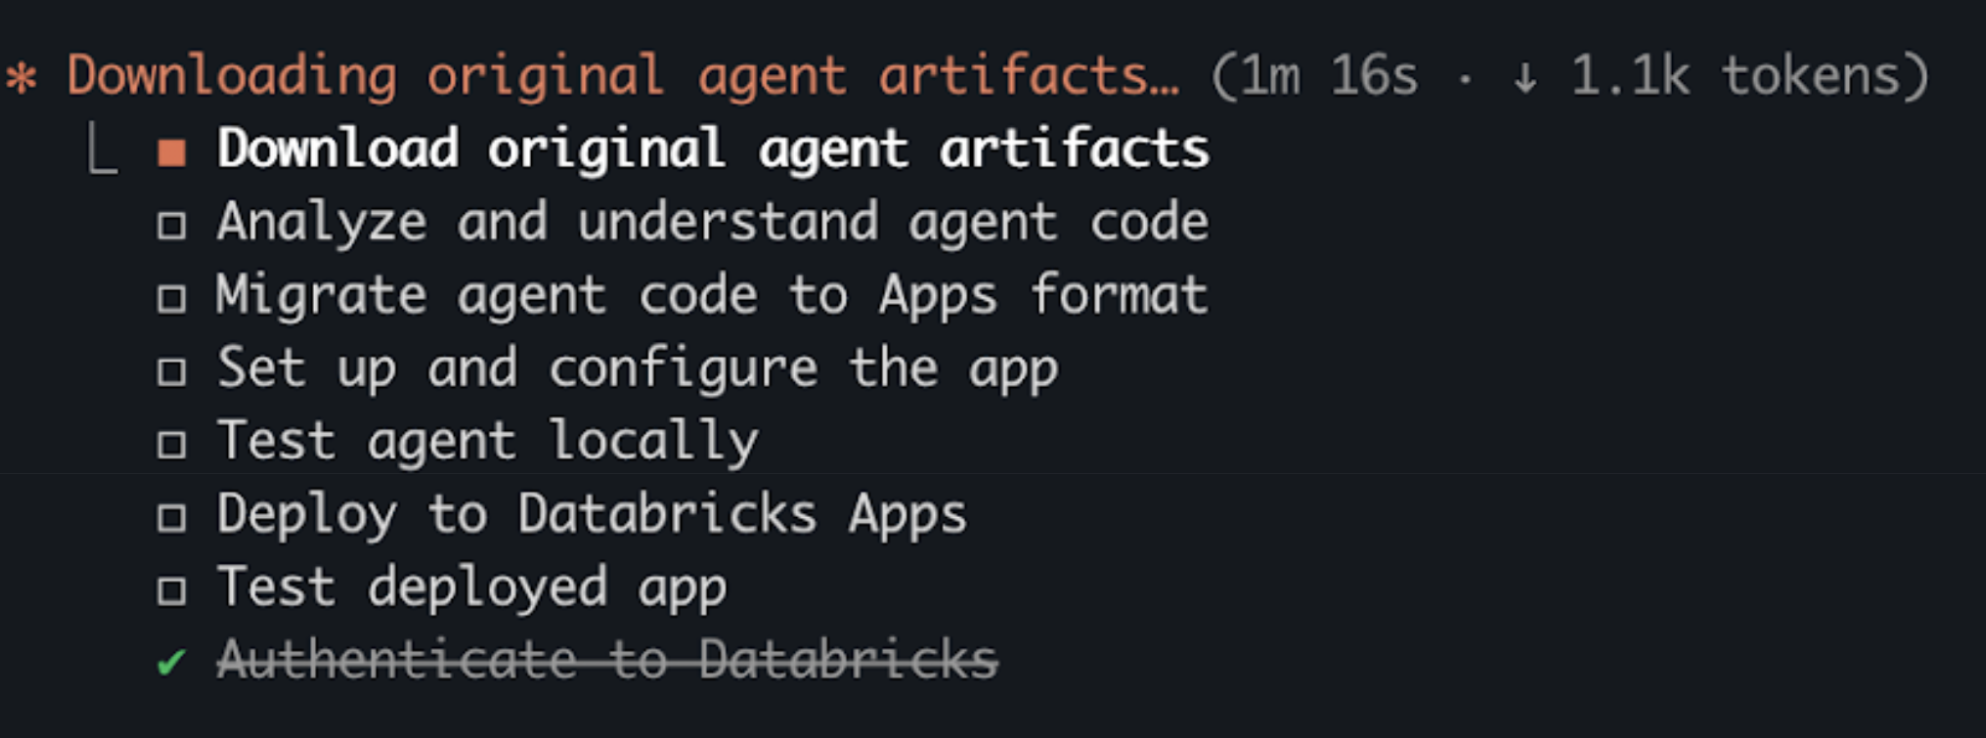
- The assistant generates a migration plan and executes each step:
Manual migration
Databricks recommends using AI coding assistants to perform the migration. If you prefer to migrate without an AI coding assistant, the following high-level steps describe the process.
These steps are a high-level overview and do not cover all migration scenarios, such as stateful agents, async vs. sync tradeoffs, Unity Catalog artifact access, or complex resource configurations.
Use an AI coding assistant to help with migration or see the migrate-from-model-serving skill in the template for more detailed information.
Step 1. Download agent artifacts
- Get the model name and version from your endpoint:
databricks serving-endpoints get <endpoint-name> --output json
- Find
served_entities[0].entity_name(model name) andentity_versionin the response, then download the artifacts:
DATABRICKS_CONFIG_PROFILE=<profile> uv run --no-project \
  --with "mlflow[databricks]>=2.15.0" \
  python3 << 'EOF'
import mlflow
mlflow.set_tracking_uri("databricks")
mlflow.artifacts.download_artifacts(
    artifact_uri="models:/<model-name>/<version>",
    dst_path="./original_mlflow_model"
)
EOF
The downloaded folder contains:
MLmodel— resource declarations for the original agentcode/— the agent's Python source filesartifacts/— optional configuration files and promptsinput_example.json— a sample request for testing
Step 2. Migrate agent code
Copy all Python files from code/ to agent_server/ and any artifacts from artifacts/ to agent_server/artifacts/.
After moving files, update any relative imports and hardcoded file paths to reflect the new folder structure. Then rewrite agent_server/agent.py to use the pattern shown in Step 3.
Step 3. Transform agent code
On Model Serving, agents use a class-based ResponsesAgent with predict() and predict_stream() methods. On Databricks Apps, the MLflow AgentServer serves module-level functions decorated with @invoke() and @stream().
When you migrate, choose one of the following patterns:
- Async (recommended): Uses Python
async defandawaitto handle multiple requests concurrently. While one request waits for an LLM response, the server processes other requests. - Sync: Keeps synchronous Python patterns from your Model Serving agent. Choose this for a minimal migration or if your code relies on synchronous-only libraries.
- Model Serving (before)
- Apps — async (recommended)
- Apps — sync
The original class-based agent structure.
from mlflow.pyfunc import ResponsesAgent, ResponsesAgentRequest, ResponsesAgentResponse

class MyAgent(ResponsesAgent):
  def predict(self, request: ResponsesAgentRequest, params=None) -> ResponsesAgentResponse:
    # Synchronous implementation
    ...
    return ResponsesAgentResponse(output=outputs)

  def predict_stream(self, request: ResponsesAgentRequest, params=None):
    # Synchronous generator
    for chunk in ...:
      yield ResponsesAgentStreamEvent(...)
The primary agent logic lives in streaming(). The non_streaming() function collects its output and returns it as a single response.
from mlflow.genai.agent_server import invoke, stream
from mlflow.types.responses import (
  ResponsesAgentRequest,
  ResponsesAgentResponse,
  ResponsesAgentStreamEvent,
)

@invoke()
async def non_streaming(request: ResponsesAgentRequest) -> ResponsesAgentResponse:
  # Async implementation - typically calls streaming() and collects results
  outputs = [
    event.item
    async for event in streaming(request)
    if event.type == "response.output_item.done"
  ]
  return ResponsesAgentResponse(output=outputs)

@stream()
async def streaming(request: ResponsesAgentRequest) -> AsyncGenerator[ResponsesAgentStreamEvent, None]:
  # Async generator
  async for event in ...:
    yield event
Extract the class methods into decorated module-level functions with minimal structural changes.
from mlflow.genai.agent_server import invoke, stream
from mlflow.types.responses import (
  ResponsesAgentRequest,
  ResponsesAgentResponse,
  ResponsesAgentStreamEvent,
)

@invoke()
def non_streaming(request: ResponsesAgentRequest) -> ResponsesAgentResponse:
  # Same sync logic from original predict(), extracted from the class
  ...
  return ResponsesAgentResponse(output=outputs)

@stream()
def streaming(request: ResponsesAgentRequest):
  # Same sync generator from original predict_stream(), extracted from the class
  for chunk in ...:
    yield ResponsesAgentStreamEvent(...)
Step 4. Set up the app
Install dependencies and run the quickstart script to configure authentication, create the MLflow experiment, and generate the .env file.
Step 5. Test locally
Start the app server and verify the agent responds correctly before deploying.
Test with your original input_example.json using curl, then deploy after the agent responds as expected.
Step 6. Configure resources
Model Serving agents declare resources in an MLmodel file. Databricks Apps agents declare resources in the databricks.yml configuration file using Declarative Automation Bundles.
See Authentication for AI agents.
Map your resource declarations to the equivalent Declarative Automation Bundles format:
MLmodel resource type |
| Permission |
|---|---|---|
|
|
|
|
|
|
|
|
|
|
|
|
|
|
|
|
|
|
|
|
|
|
|
|
Step 7. Deploy the agent using Declarative Automation Bundles
Deploy your agent to Databricks Apps using Declarative Automation Bundles.
Before deploying, verify your folder structure looks like the following:
<working-directory>/
├── original_mlflow_model/    # Downloaded artifacts from Model Serving
│   ├── MLmodel
│   ├── code/
│   │   └── agent.py
│   ├── input_example.json
│   └── requirements.txt
│
└── <app-name>/               # New Databricks App (ready to deploy)
    ├── agent_server/
    │   ├── agent.py          # Migrated agent code
    │   └── ...
    ├── app.yaml
    ├── databricks.yml        # Bundle config with resources
    ├── pyproject.toml
    ├── requirements.txt
    └── ...
If your app includes both pyproject.toml and uv.lock, Databricks Apps uses uv to install dependencies. If requirements.txt is also present, it takes precedence and pip is used instead. See Define Python dependencies with uv.
-
Validate the bundle configuration:
Bashdatabricks bundle validate -
Deploy the bundle to your workspace (
bundle deployuploads the files but doesn't start the app):Bashdatabricks bundle deploy -
Start the app:
Bashdatabricks bundle run <app-resource-name>
Additional resources
After migrating your agent, see: