Troubleshoot ServiceNow ingestion
This page describes common issues with the ServiceNow connector in Databricks Lakeflow Connect and how to resolve them.
General pipeline troubleshooting
If a pipeline fails while executing, click the step that failed and confirm whether the error message gives sufficient information about the nature of the error.
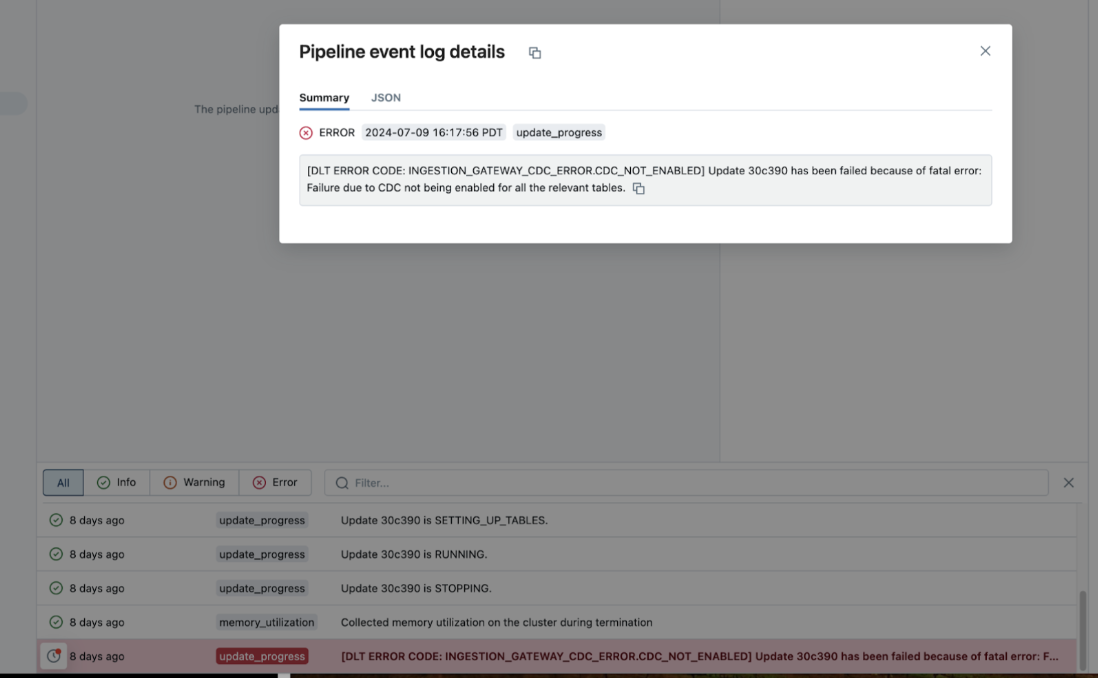
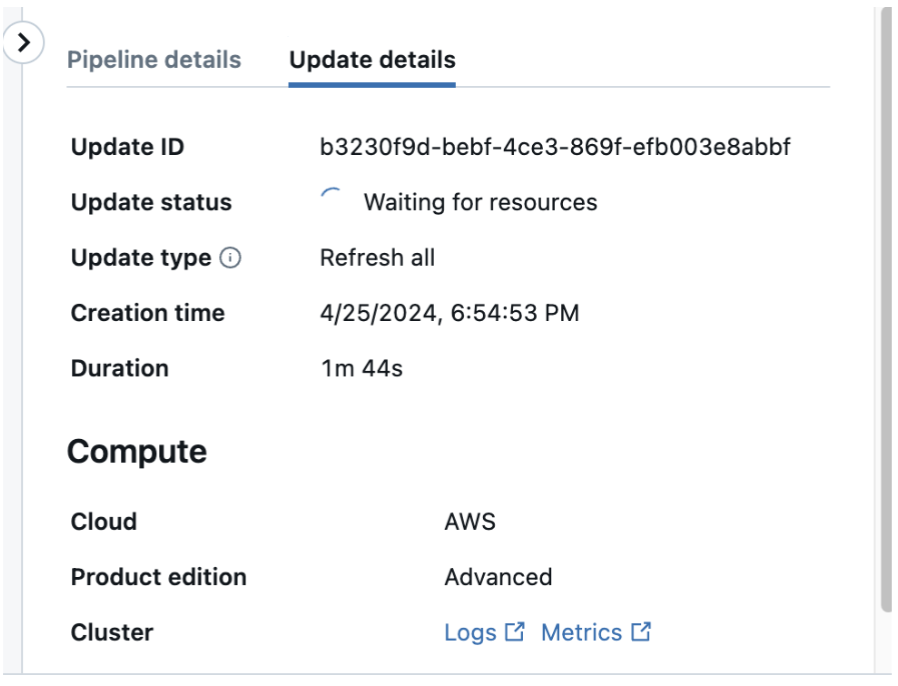
You can also check and download the cluster logs from the pipeline details page by clicking Update details in the right-hand panel, then Logs. Scan the logs for errors or exceptions.
Column selection using Databricks Asset Bundles
Issue:
You're unable to use the column selection feature when you create a managed ingestion pipeline using Databricks Asset Bundles.
Resolution:
Check your Databricks CLI version. If the version is below v0.251.0, reinstall the CLI.
Ingestion for a particular table is slow
As a first step, work with your ServiceNow administrator to enable indexing on the cursor column. The cursor column is selected from the following list, in order of preference: sys_updated_on (first choice), sys_created_on (second choice), sys_archived (third choice). Then, retry your ingestion pipeline. If the issue persists, file a ticket. For instructions on enabling indexing in ServiceNow, see the ServiceNow documentation.
Why don't I see the deletes that I expect to see?
Databricks uses the sys_audit_delete table to track deletes. It might take 3-5 minutes for deletes to appear in the sys_audit_delete table on the ServiceNow side. Wait a few minutes, then retry the pipeline. If the issue persists, file a support ticket.
Invalid redirect_uri error
This usually means that there is a typo in the redirect URL in ServiceNow. Try copying the URL and pasting it into a URL decoder of your choice. In the decoded URL, confirm that the redirect-uri parameter is in the following format:
https://<workspace>/login/oauth/servicenow.html
Authentication error
Error:
com.databricks.pipelines.execution.conduit.common.DataConnectorException: [SERVICENOW_CONNECTION_ERROR.OAUTH_TOKEN_EXCHANGE] Failed to authenticate to ServiceNow. This can be caused by issues with your UC credentials, ServiceNow OAuth setup, and more...
Step 1:
Confirm that you provided the correct username, password, client ID, and client secret when you created the Unity Catalog connection. The username and password for authentication to ServiceNow are not necessarily your personal username and password for SSO. These are the username and password values associated with a user that's intended for authentication and ingestion with external services.
- Catalog Explorer
- curl
-
In the sidebar of the Databricks workspace, click
 Catalog.
 -
At the top of the Catalog pane, click the
 gear icon and select Connections from the menu.
Alternatively, from the Quick access page, click the External data > button and go to the Connections tab.
-
Click the name of the connection.
Connection details are listed on the Overview tab.
Run the following curl request. Replace the items in brackets with your connection properties.
curl -X POST "https://<instance-id>.service-now.com/oauth_token.do" \
--header "Content-Type: application/x-www-form-urlencoded" \
--data-urlencode "grant_type=password" \
--data-urlencode "client_id=<client-id>" \
--data-urlencode "client_secret=<client-secret>" \
--data-urlencode "username=<username>" \
--data-urlencode "password=<password>"
If the request succeeds (you receive your access token, refresh token, and scope in the response), the credentials are correct. Proceed to the next troubleshooting step.
If the request fails, the following error message is returned:
{"error_description":"access_denied","error":"server_error"}
Step 2:
Confirm that the authenticating user has the admin role. Databricks also recommends that the authenticating user has the snc_read_only role to restrict permissions further.
Step 3:
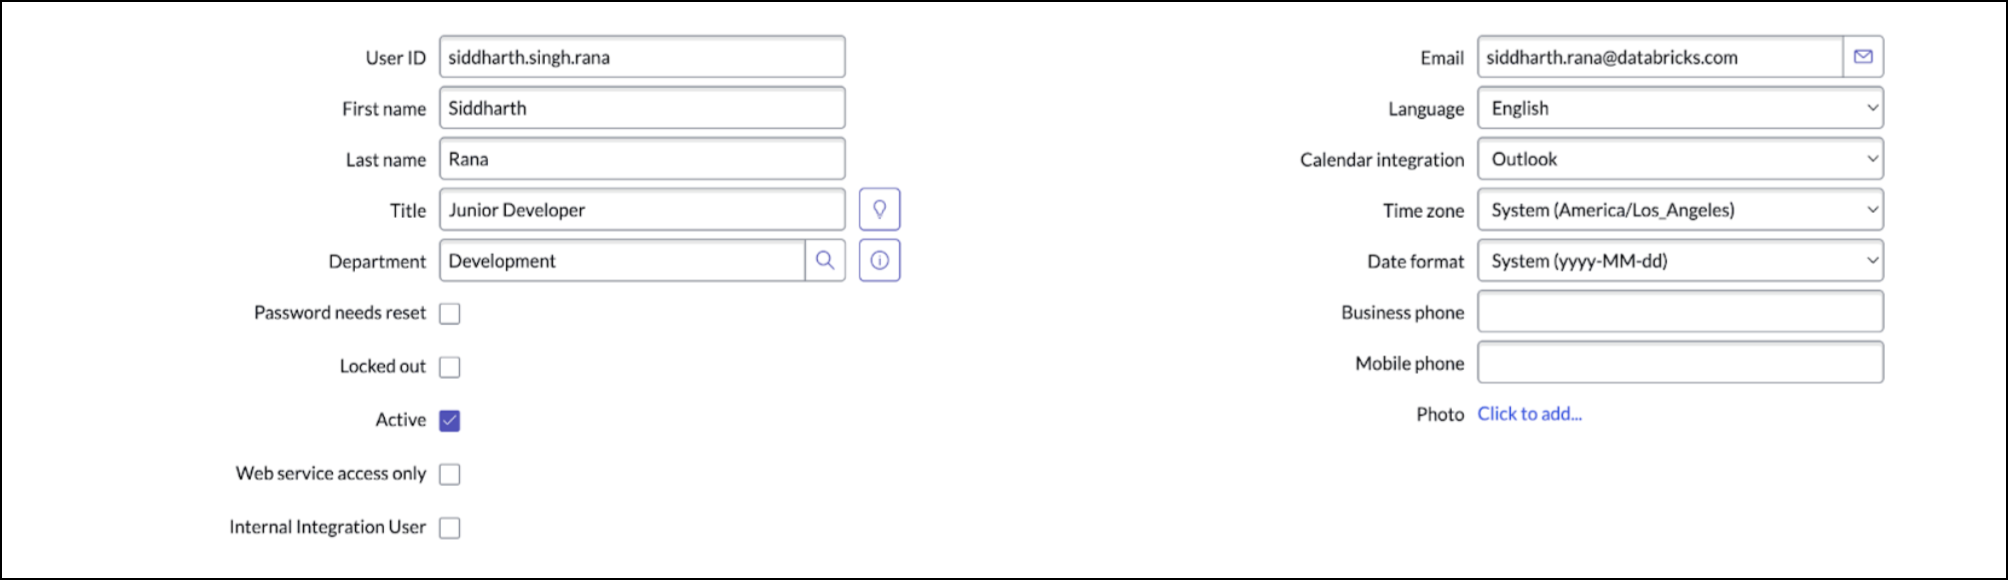
Confirm that the authenticating user is marked as Active:
-
In ServiceNow, click Organization > Users.
-
Select the user that you plan to use for authentication.
-
Confirm that the Active checkbox is selected.
Step 4:
Confirm that the OAuth 2.0 plugin in ServiceNow is active:
-
In ServiceNow, click System Definition > Plugins.
-
Run the following script in the Scripts - Background section:
var oauthActive = gs.getProperty('com.snc.platform.security.oauth.is.active');
gs.info('OAuth Active: ' + oauthActive);
If the script returns
true, the plugin installation was successful. If this script returnsfalse, uninstall and then reinstall it.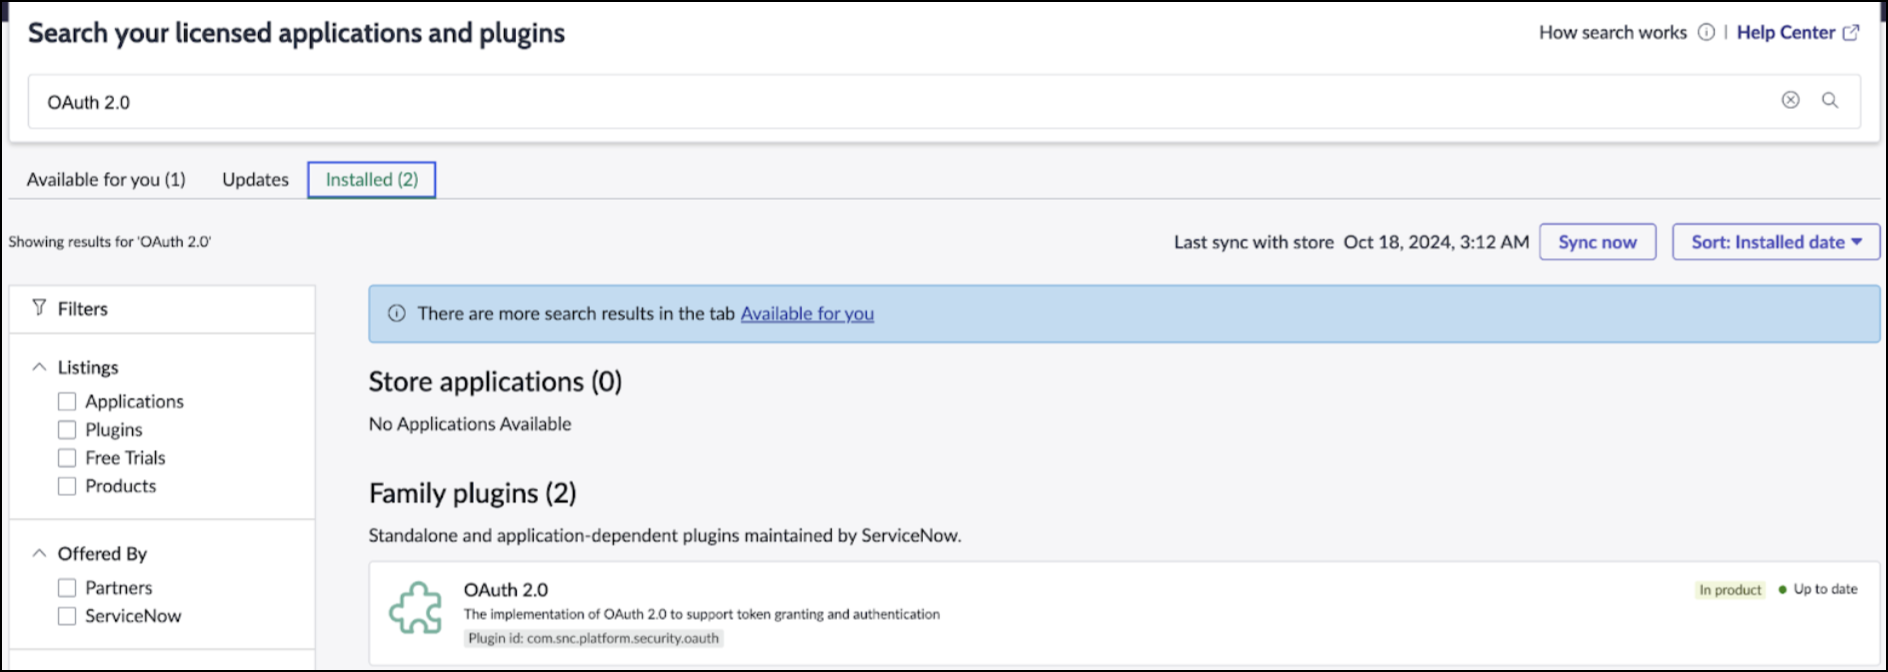
Step 5:
Confirm that multi-factor authentication (MFA) is properly configured. ServiceNow requires MFA by default for U2M OAuth. If you're experiencing authentication failures, confirm the following:
- You provided your second authentication method during sign-in.
- Authenticating users aren't blocked by MFA policies.
A ServiceNow administrator can exempt authenticating users from the MFA requirement. For instructions, see User exemption in the ServiceNow documentation.
Step 6:
Confirm that the OAuth endpoint is configured correctly:
-
In ServiceNow, visit System OAuth > Application Registry.
-
In the upper-right corner, click NEW.
-
In the OAuth application options, click Create an OAuth API endpoint for external clients.
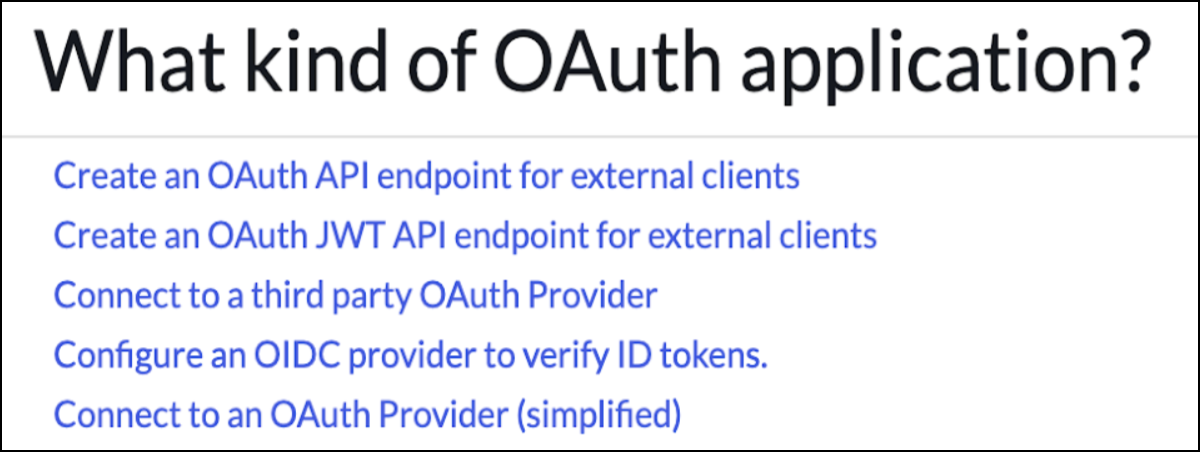
-
Confirm that the Active checkbox is selected.
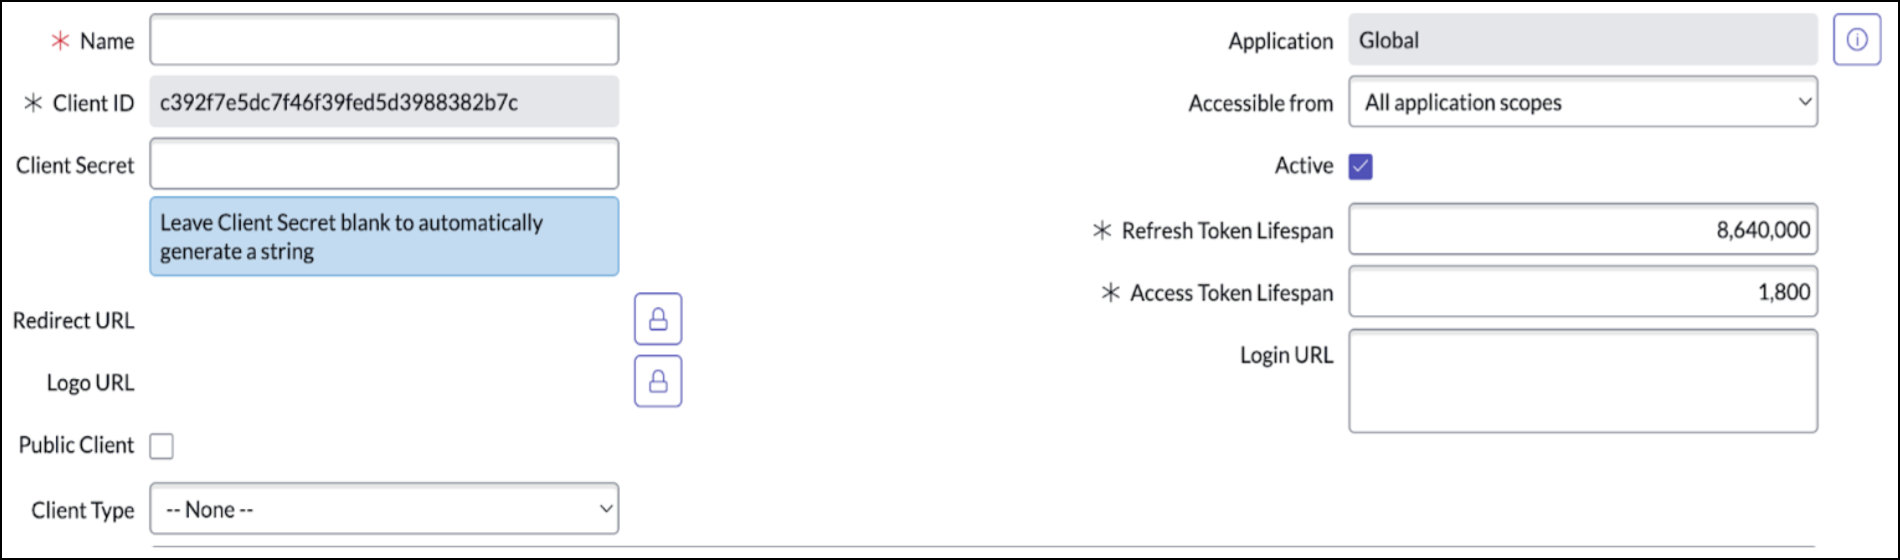
After you have successfully created the OAuth application, it appears in the list at System OAuth > Application Registry with the type OAuth Client.
Step 7:
If the issue persists after following these troubleshooting steps, file a support ticket.