Configure OAuth M2M for SharePoint ingestion
This feature is in Beta. Workspace admins can control access to this feature from the Previews page. See Manage Databricks previews.
For most users, Databricks recommends OAuth U2M: Databricks-managed, which requires no Azure app registration and is managed entirely by Databricks. Use M2M for fully automated production pipelines that run without user interaction.
Which permission model should I use?
M2M authentication supports the following permission models in Microsoft Azure:
- Sites.Read.All: Grants access to all SharePoint sites in your organization. This option has fewer setup steps but provides broader access.
- Sites.Selected: Grants access only to specific SharePoint sites. This requires additional configuration but follows the principle of least privilege.
Databricks recommends using Sites.Selected when possible to limit the service principal's access to only the sites you need to ingest.
Prerequisites
- Admin privileges in your Microsoft Entra ID tenant.
Sites.Read.All permissions
This option grants the service principal access to all SharePoint sites in your organization.
Step 1: Get the SharePoint site ID
- Visit the desired SharePoint site in your browser.
- Append
/_api/site/idto the URL. - Type Enter.
Step 2: Get SharePoint drive names (optional)
If you want to ingest all drives and documents in your SharePoint site, skip this step. If you only want to ingest a subset of the drives, you must collect their names.
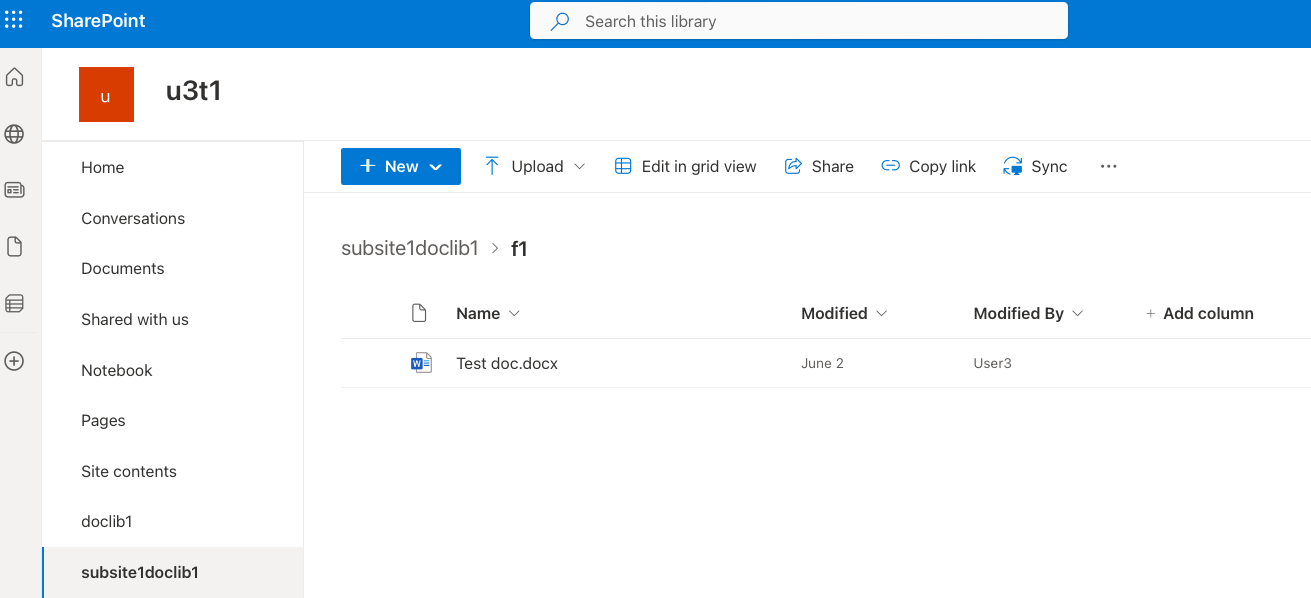
The drive names are listed in the left-hand menu. There's a default drive called Documents in each site. However, your organization might have additional drives. For example, the drives in the following screenshot include doclib1, subsite1doclib1, and more.
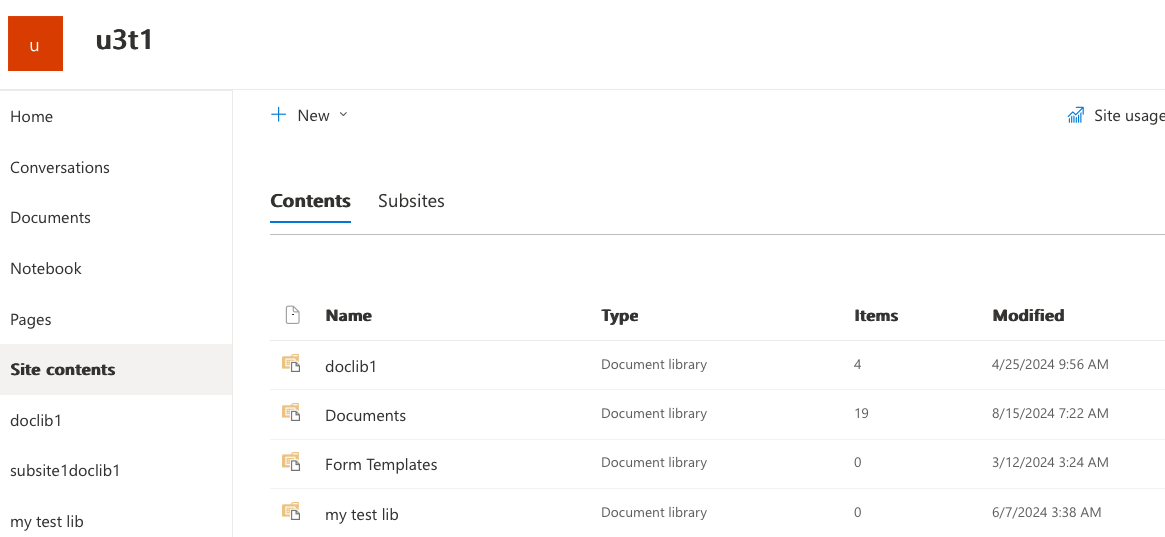
Some drives might be hidden from the list. The drive creator can configure this in the drive settings. In this case, hidden drives might be visible in the Site contents section.
Step 3: Create a Microsoft Entra ID application
This step creates an application registration that can access the SharePoint files using a service principal.
-
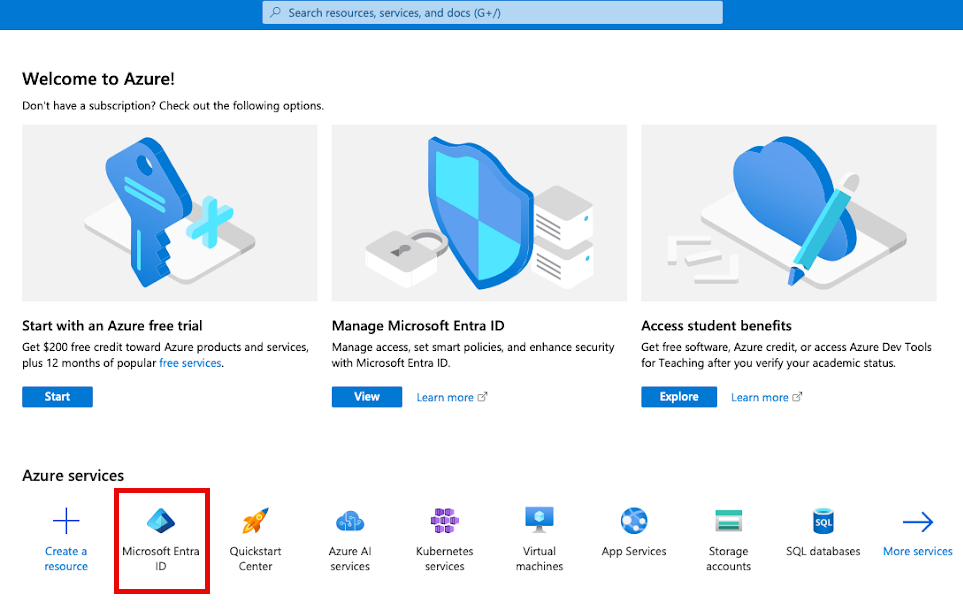
In the Microsoft Azure portal (https://portal.azure.com), click Microsoft Entra ID. You might have to search for "Microsoft Entra ID".
-
In the left sidebar, under the Manage section, click App Registrations.
-
Click New registration.

-
In the Register an application form, specify the following:
- A name for your application (for example, "Databricks SharePoint Ingestion").
- Whether you want other tenants to access this application.
You don't need to specify a redirect URL for M2M authentication.
-
Click Register. You're redirected to the app details page.
-
Make a note of the following values:
- Application (client) ID
- Directory (tenant) ID
-
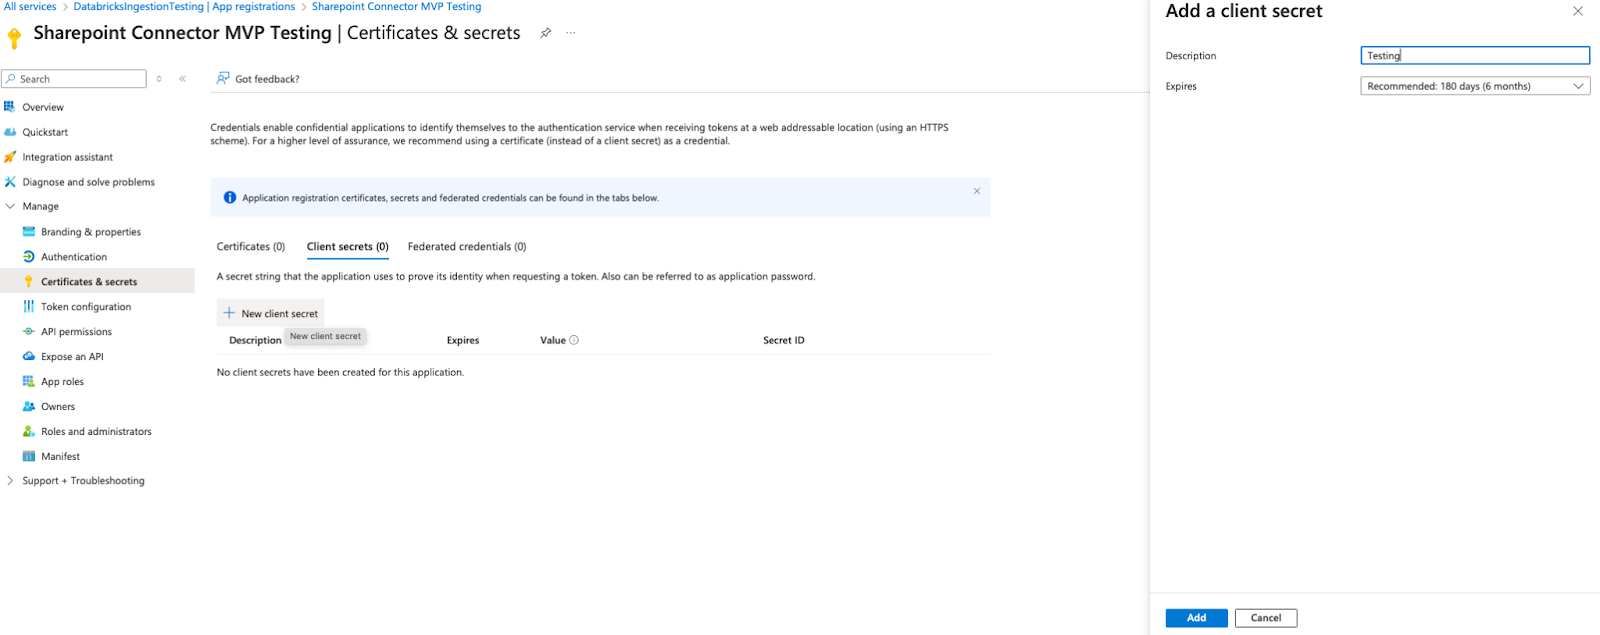
Click Client credentials : Add a certificate or secret.
-
Click + New client secret.
-
Add a description.
-
Click Add. The updated list of client secrets displays.
-
Copy the client secret value and store it securely. After you leave the page, you can't access the client secret.
Step 4: Configure API permissions
Grant the application the necessary permissions to read SharePoint files.
-
In the app registration page, click API permissions in the left-hand menu.
-
Click + Add a permission.
-
In the Request API permissions panel, click Microsoft Graph.
-
Click Application permissions.
-
Search for and select the following permissions:
- Sites.Read.All
- Files.Read.All
-
Click Add permissions.
-
Click Grant admin consent for [your organization].
-
Click Yes to confirm.
The permissions list shows a green checkmark in the Status column indicating admin consent has been granted.
Step 5: Create a connection in Databricks
-
In Catalog Explorer, click External data in the left-hand menu.
-
Click Create connection.
-
In the Create connection dialog, specify the following:
- Connection name: A unique name for your connection
- Connection type: Microsoft SharePoint
- Authentication type: OAuth Machine to Machine
- Client ID: The Application (client) ID from Step 3
- Client secret: The client secret value from Step 3
- Domain: Your SharePoint domain in the format
https://YOURINSTANCE.sharepoint.com - Tenant ID: The Directory (tenant) ID from Step 3
-
Click Create.
Sites.Selected permissions
This option restricts the service principal's access to specific SharePoint sites only.
Steps 1-3: Complete the basic setup
Follow Steps 1-3 in the Sites.Read.All section. These steps are the same for both permission models.
- Get the SharePoint site ID.
- Get SharePoint drive names (optional).
- Create a Microsoft Entra ID application.
Step 4: Configure API permissions for Sites.Selected
Grant the application restricted permissions that require additional site-specific authorization.
-
In the app registration page, click API permissions in the left-hand menu.
-
Click + Add a permission.
-
In the Request API permissions panel, click Microsoft Graph.
-
Click Application permissions.
-
Search for and select Sites.Selected.
-
Click Add permissions.
-
Click Grant admin consent for [your organization].
This step requires admin privileges in your Microsoft Entra ID tenant.
-
Click Yes to confirm.
The permissions list shows a green checkmark in the Status column indicating admin consent has been granted.
Step 4b: Grant site-specific permissions
After configuring Sites.Selected in Azure, you must explicitly grant the application access to specific SharePoint sites. You can do this using either Microsoft Graph Explorer or a Python notebook.
- Microsoft Graph Explorer
- Python notebook
-
Go to Microsoft Graph Explorer.
-
Sign in with an account that has admin permissions for your SharePoint site.
-
Click Modify permissions and consent to the required permissions (Sites.FullControl.All).
-
Change the HTTP method to POST.
-
Enter the following URL, replacing
{site_id}with your SharePoint site ID from Step 1:https://graph.microsoft.com/v1.0/sites/{site_id}/permissions -
In the Request body section, paste the following JSON, replacing the placeholder values:
JSON{
"roles": ["read"],
"grantedToIdentities": [
{
"application": {
"id": "<YOUR_CLIENT_ID>",
"displayName": "<YOUR_APP_NAME>"
}
}
]
}Replace:
<YOUR_CLIENT_ID>: The Application (client) ID from Step 3<YOUR_APP_NAME>: The name of your application registration
-
Click Run query.
A successful response indicates the permission has been granted.
-
Create a new notebook in your Databricks workspace.
-
Install the MSAL library by running the following command in a cell:
Python%pip install msal -
In a new cell, paste the following code and replace the placeholder values:
Pythonimport msal
import requests
# Configuration - Replace these values
TENANT_ID = "<YOUR_TENANT_ID>" # Directory (tenant) ID from Step 3
ADMIN_CLIENT_ID = "<ADMIN_CLIENT_ID>" # Client ID of an app with admin consent
ADMIN_CLIENT_SECRET = "<ADMIN_CLIENT_SECRET>" # Client secret of admin app
TARGET_APP_CLIENT_ID = "<TARGET_CLIENT_ID>" # Client ID from Step 3
TARGET_APP_DISPLAY_NAME = "<TARGET_APP_NAME>" # Name of your app
SITE_ID = "<YOUR_SITE_ID>" # SharePoint site ID from Step 1
# Authenticate using MSAL
authority = f"https://login.microsoftonline.com/{TENANT_ID}"
app = msal.ConfidentialClientApplication(
ADMIN_CLIENT_ID,
authority=authority,
client_credential=ADMIN_CLIENT_SECRET
)
# Acquire token
token_result = app.acquire_token_for_client(
scopes=["https://graph.microsoft.com/.default"]
)
if "access_token" in token_result:
access_token = token_result["access_token"]
# Grant site permissions
grant_url = f"https://graph.microsoft.com/v1.0/sites/{SITE_ID}/permissions"
headers = {
"Authorization": f"Bearer {access_token}",
"Content-Type": "application/json"
}
grant_payload = {
"roles": ["read"],
"grantedToIdentities": [
{
"application": {
"id": TARGET_APP_CLIENT_ID,
"displayName": TARGET_APP_DISPLAY_NAME
}
}
]
}
response = requests.post(grant_url, headers=headers, json=grant_payload)
if response.status_code in [200, 201]:
print("Successfully granted site permissions")
print(response.json())
else:
print(f"Error: {response.status_code}")
print(response.text)
else:
print("Failed to acquire token")
print(token_result.get("error"))
print(token_result.get("error_description")) -
Run the cell. A successful response indicates the permission has been granted.
Step 5: Create a connection in Databricks
Follow the Step 5: Create a connection in Databricks steps to create the connection in Databricks using the credentials from your application registration.