Configure OAuth U2M: Custom-managed for Microsoft SharePoint ingestion
This feature is in Beta. Workspace admins can control access to this feature from the Previews page. See Manage Databricks previews.
This page describes how to configure OAuth U2M: Custom-managed authentication for Microsoft SharePoint ingestion into Databricks. Use this method when your organization requires control over the OAuth application, such as for managing API rate limits or owning the app registration in your Azure tenant.
For most users, Databricks recommends OAuth U2M: Databricks-managed, which requires no Azure app registration.
Step 1: Get the SharePoint site ID
- Visit the desired SharePoint site in your browser.
- Append
/\_api/site/idto the URL. - Type Enter.
Step 2: Get SharePoint drive names (optional)
If you want to ingest all of the drives and documents in your SharePoint site, skip this step. However, if you only want to ingest a subset of the drives, you need to collect their names.
The drive names are listed in the left-hand menu. There is a default drive called Documents in each site. Your organization might have additional drives. For example, the drives in the following screenshot include doclib1, subsite1doclib1, and more.
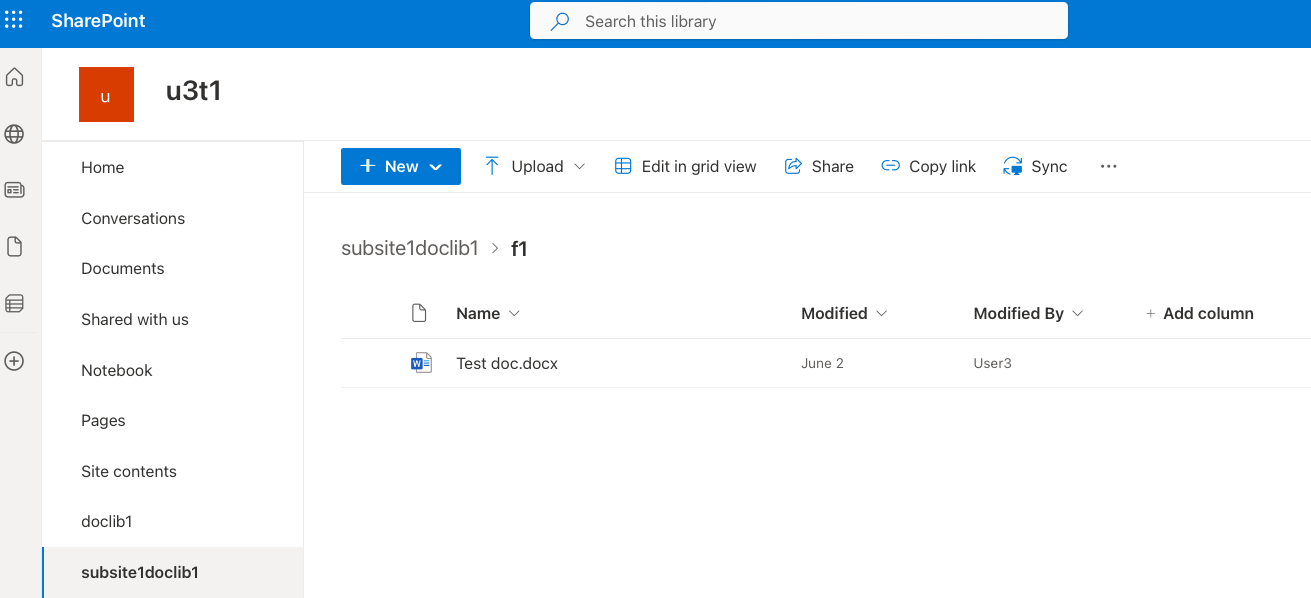
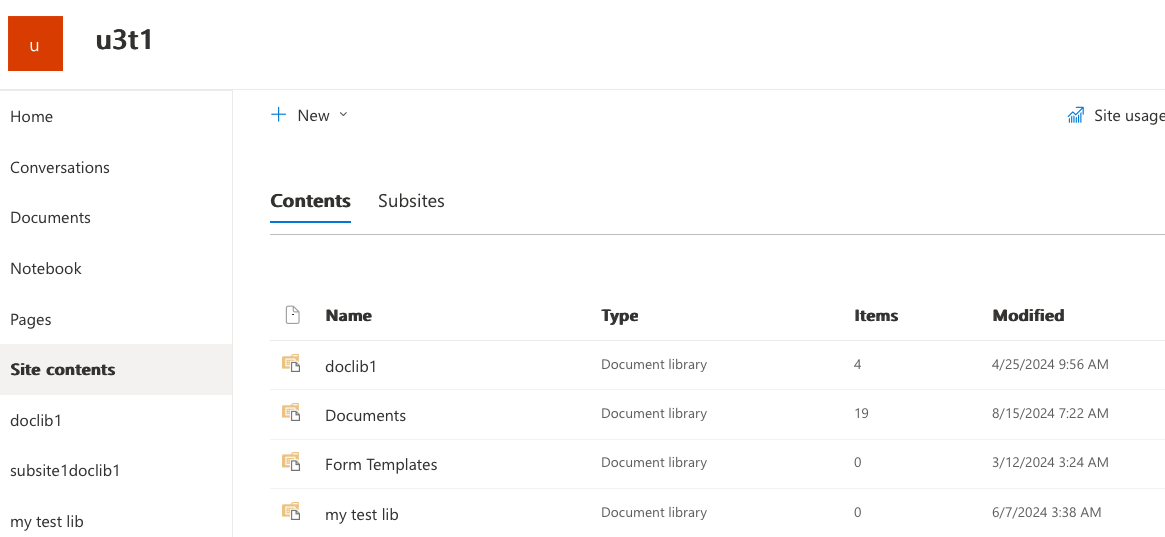
Some drives might be be hidden from the list. The drive creator can configure this in the drive settings. In this case, hidden drives might be visible in the Site contents section.
Step 3: Create a Microsoft Entra ID client
This step creates a client that can access the SharePoint files.
-
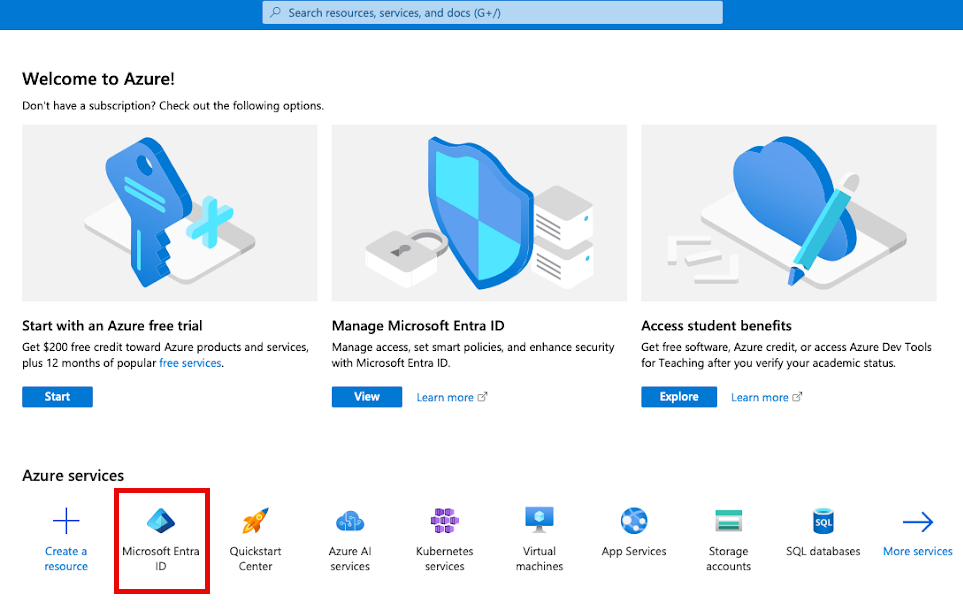
In the Microsoft Azure portal (https://portal.azure.com), click Microsoft Entra ID. You might have to search for "Microsoft Entra ID".
-
In the left-hand menu, under the Manage section, click App Registrations.
-
Click New registration.

-
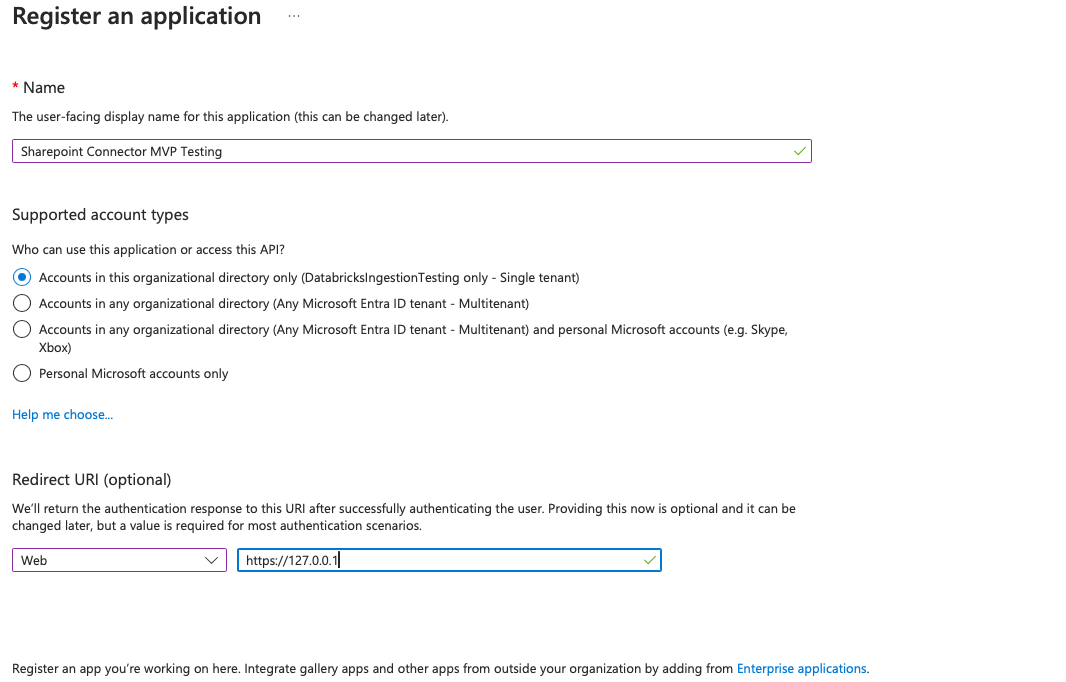
In the Register an application form, specify the following:
- Whether you want other tenants to access this application.
- The redirect URL in the following format:
<databricks-instance-url>/login/oauth/sharepoint.html
You're redirected to the app details page.
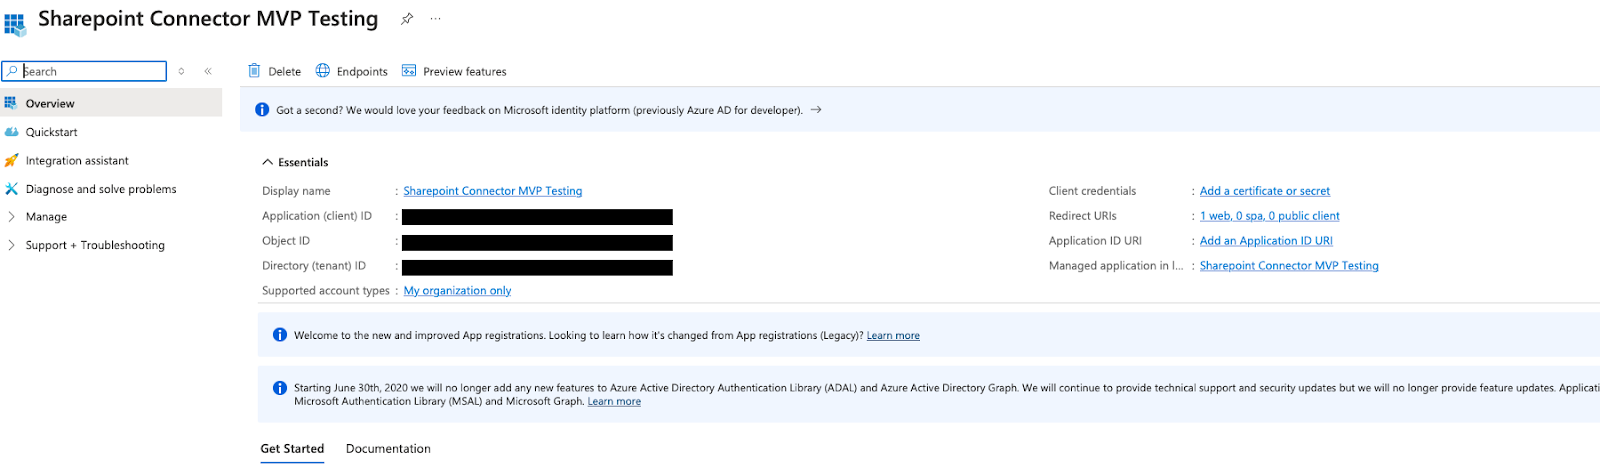
-
Make a note of the following values:
- Application (client) ID
- Directory (tenant) ID
-
Click Client credentials : Add a certificate or secret.
-
Click + New client secret.
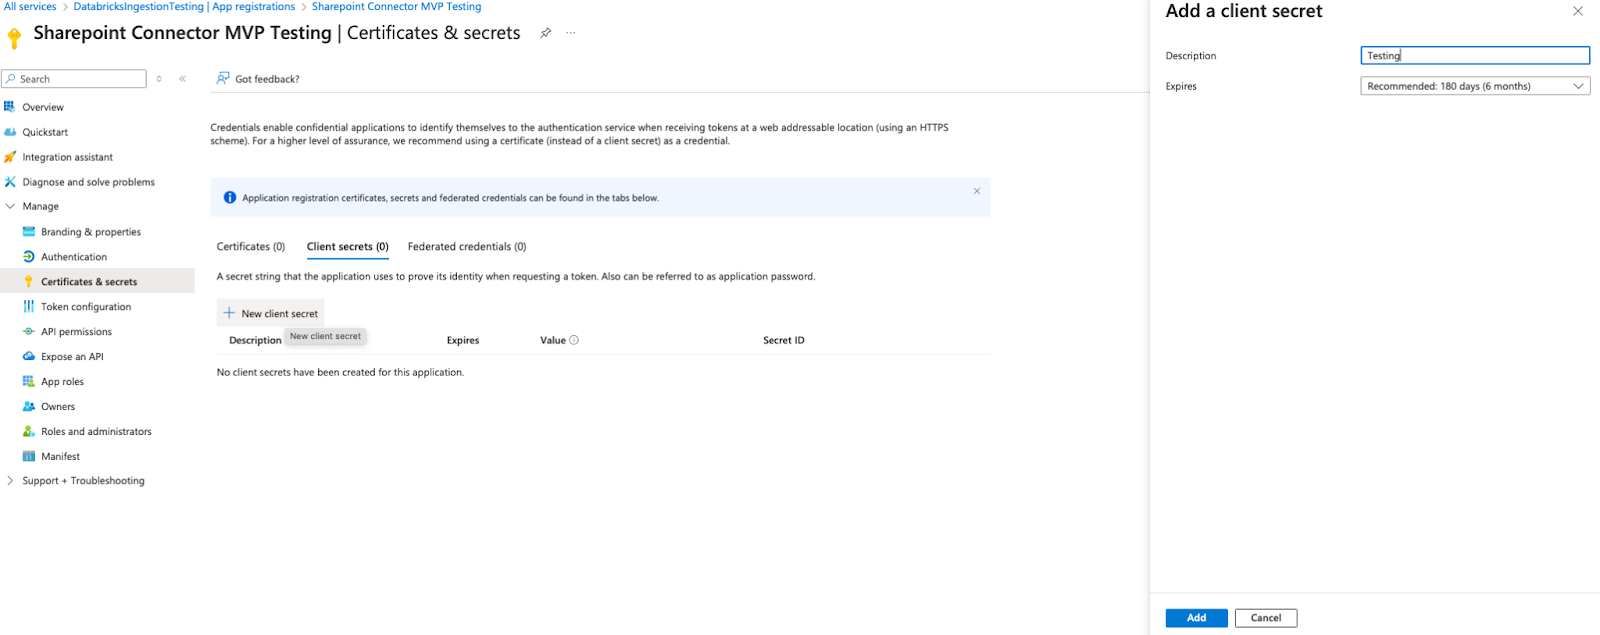
-
Add a description.
-
Click Add.
The updated list of client secrets displays.
-
Copy the client secret value and store it securely. After you leave the page, you can't access the client secret.
Next steps
- Create a connection to store the authentication details that you've obtained.
- Create an ingestion pipeline.