Tracing Groq
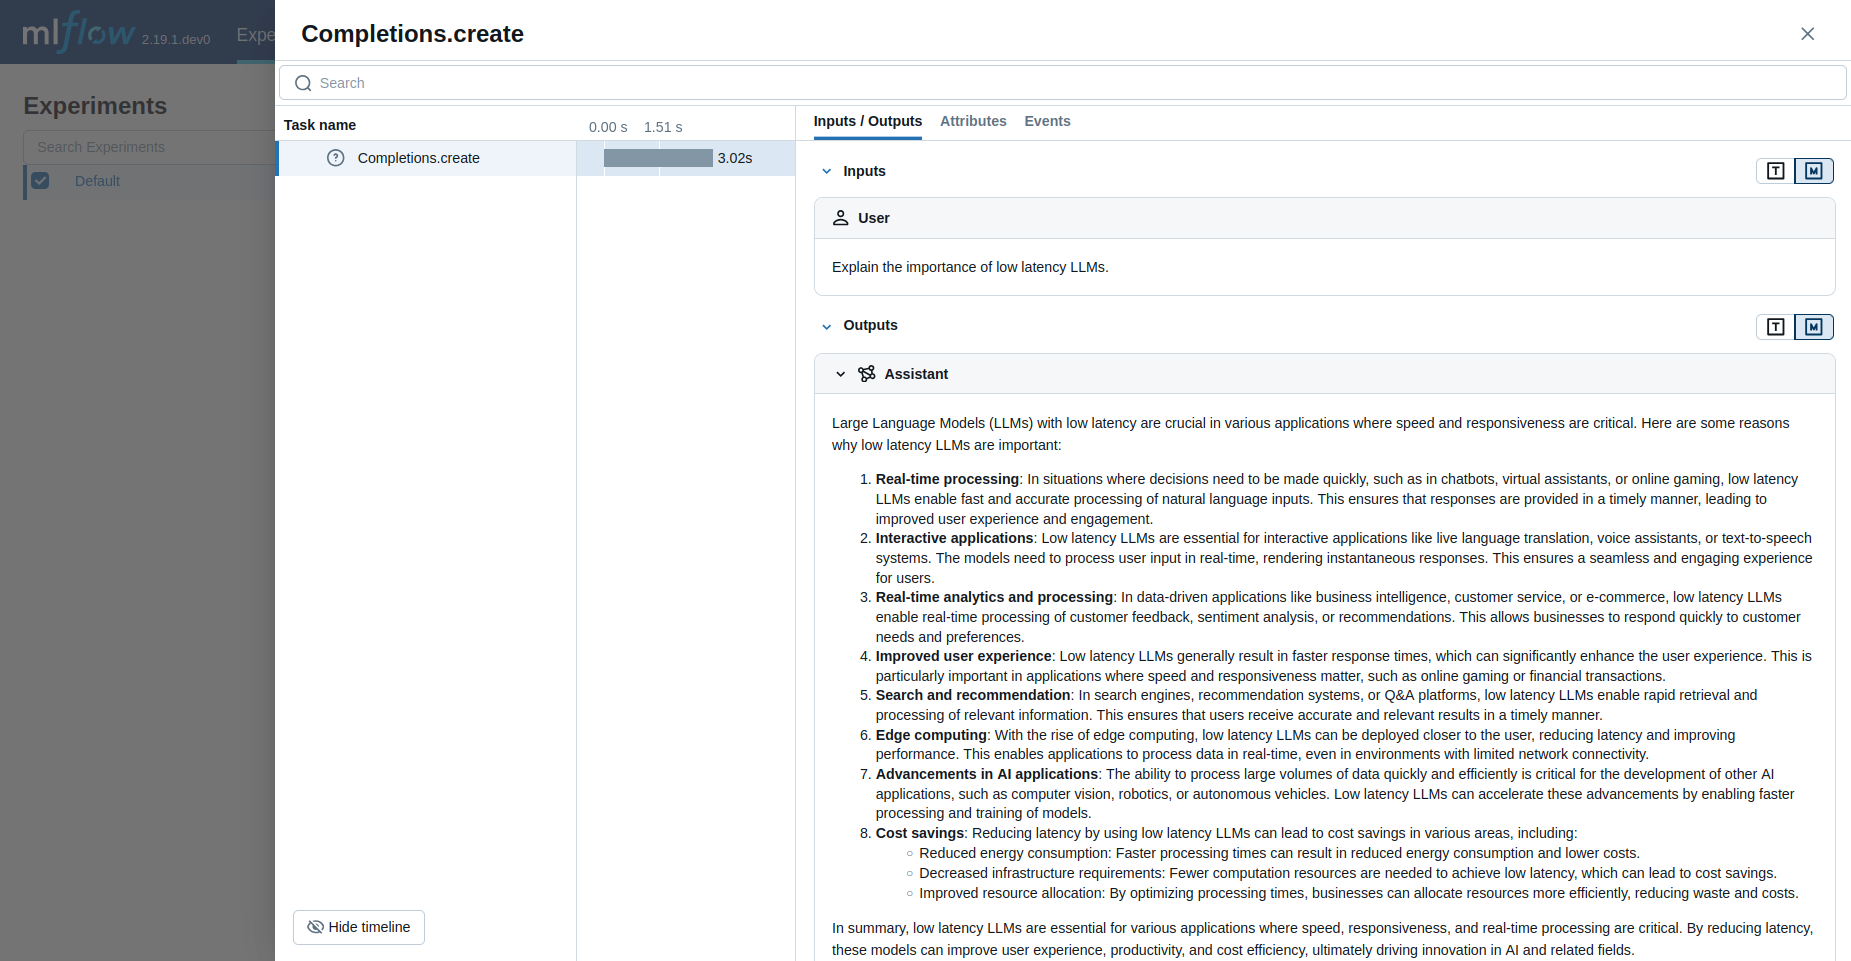
MLflow Tracing provides automatic tracing capability when using Groq.
When Groq auto-tracing is enabled by calling the mlflow.groq.autolog function,
usage of the Groq SDK will automatically record generated traces during interactive development.
note
On serverless compute clusters, autologging is not automatically enabled. You must explicitly call mlflow.groq.autolog() to enable automatic tracing for this integration.
Note that only synchronous calls are supported, and that asynchronous API and streaming methods are not traced.
note
The example below requires MLflow 3.14 or later because it stores traces in Unity Catalog.
Example Usage
Python
import groq

import mlflow
from mlflow.entities.trace_location import UnityCatalog

# Turn on auto tracing for Groq by calling mlflow.groq.autolog()
mlflow.groq.autolog()

# Set up MLflow tracking on Databricks
mlflow.set_tracking_uri("databricks")
mlflow.set_experiment(
    experiment_name="/Shared/groq-demo",
    trace_location=UnityCatalog(
        catalog_name="<UC_CATALOG_NAME>",
        schema_name="<UC_SCHEMA_NAME>",
        table_prefix="<UC_TABLE_PREFIX>",
    ),
)

client = groq.Groq()

# Use the create method to create new message
message = client.chat.completions.create(
    model="llama-3.3-70b-versatile",
    messages=[
        {
            "role": "user",
            "content": "Explain the importance of low latency LLMs.",
        }
    ],
)

print(message.choices[0].message.content)
Disable auto-tracing
Auto tracing for Groq can be disabled globally by calling mlflow.groq.autolog(disable=True) or mlflow.autolog(disable=True).
Additional resources
- Understand tracing concepts - Learn how MLflow captures and organizes trace data
- Debug and observe your app - Use the Trace UI to analyze your Groq application's behavior
- Evaluate your app's quality - Set up quality assessment for your Groq-powered application