Apply tags to notebooks
This feature is in Public Preview.
Use tags to organize and categorize notebooks for easier management. Notebooks also support certification and deprecation system tags to indicate trust or lifecycle status.
For more information about tags, see Apply tags to Unity Catalog securable objects. For information about certification and deprecation, see Flag data as certified or deprecated.
Limitations
- Notebook tags do not propagate to billing.
View tags
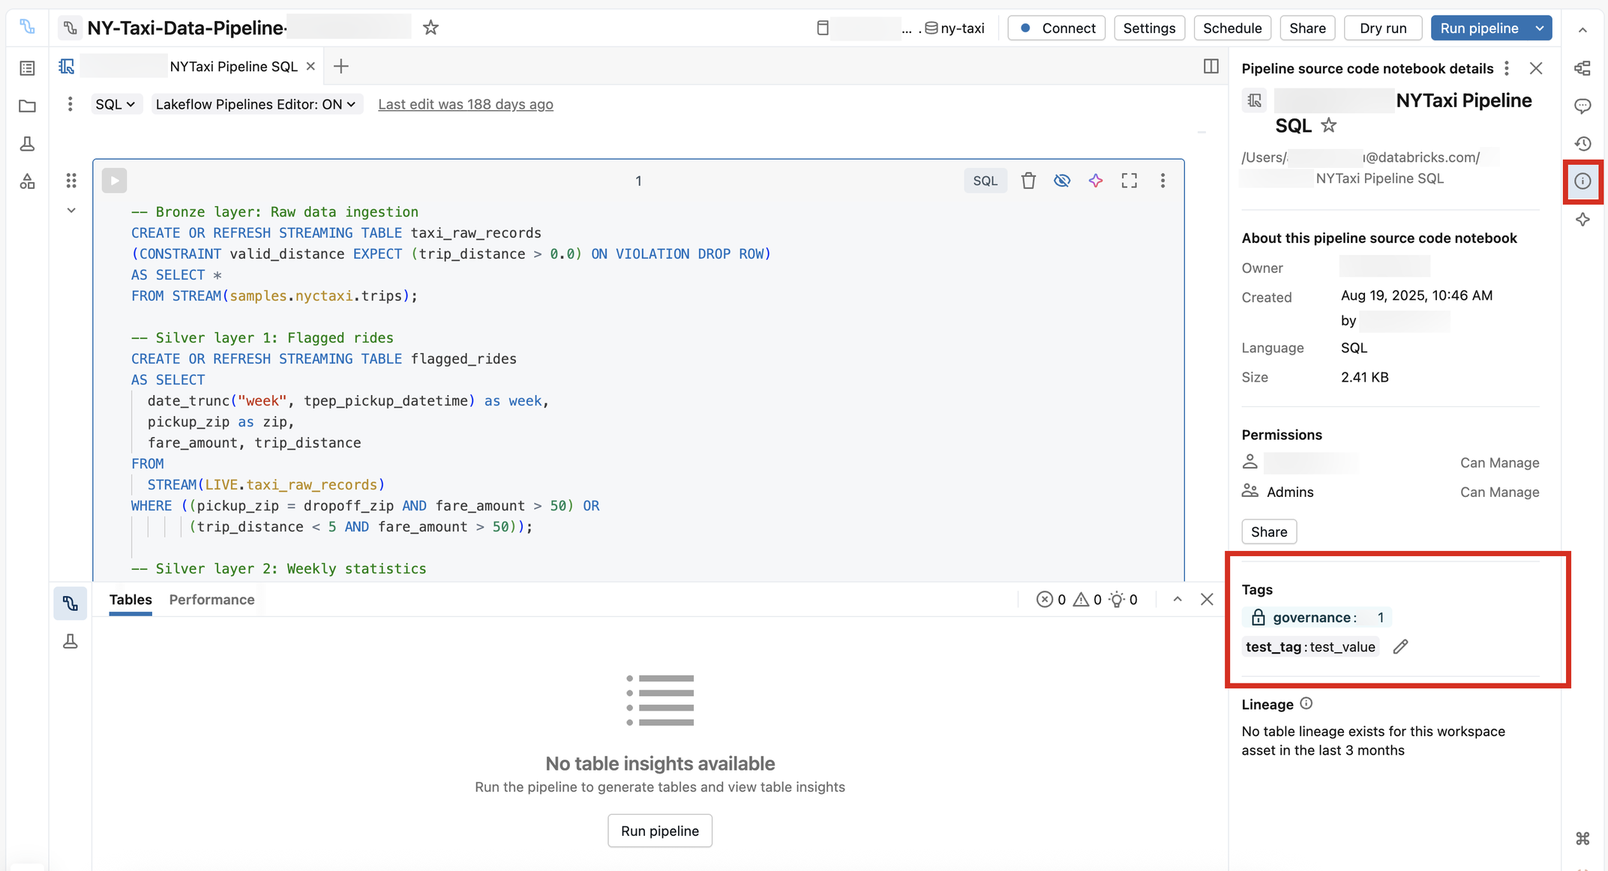
To view tags on a notebook:
- Open your notebook.
- In the right panel, click the
 icon.
icon. - The Tags section displays all tags assigned to the notebook.
Add tags
You must have at least CAN EDIT permissions on a notebook to add a tag. To add a governed tag, you must also have the ASSIGN permission on the governed tag.
To add tags:
-
Open your notebook.
-
In the right panel, click the
icon. -
Under Tags, add or update a tag:
- If there are no tags, click Add tags.
- If there are tags, click the
 Add/Edit tags icon.
-
Select an existing tag Key and Value or enter a name of a new tag.
- Tags that are governed are in the Governed section header and have a lock icon
 .
. - Tag keys are required. Whether a tag value is required depends on the tag key.
- Tags that are governed are in the Governed section header and have a lock icon
Remove tags
You must have at least CAN EDIT permissions on a notebook to remove a tag.
To remove tags:
- Open your notebook.
- In the right panel, click the icon.
- Under Tags, click the Add/Edit tags icon.
- Click the
 next to the tag you want to remove.
 - Click Save.