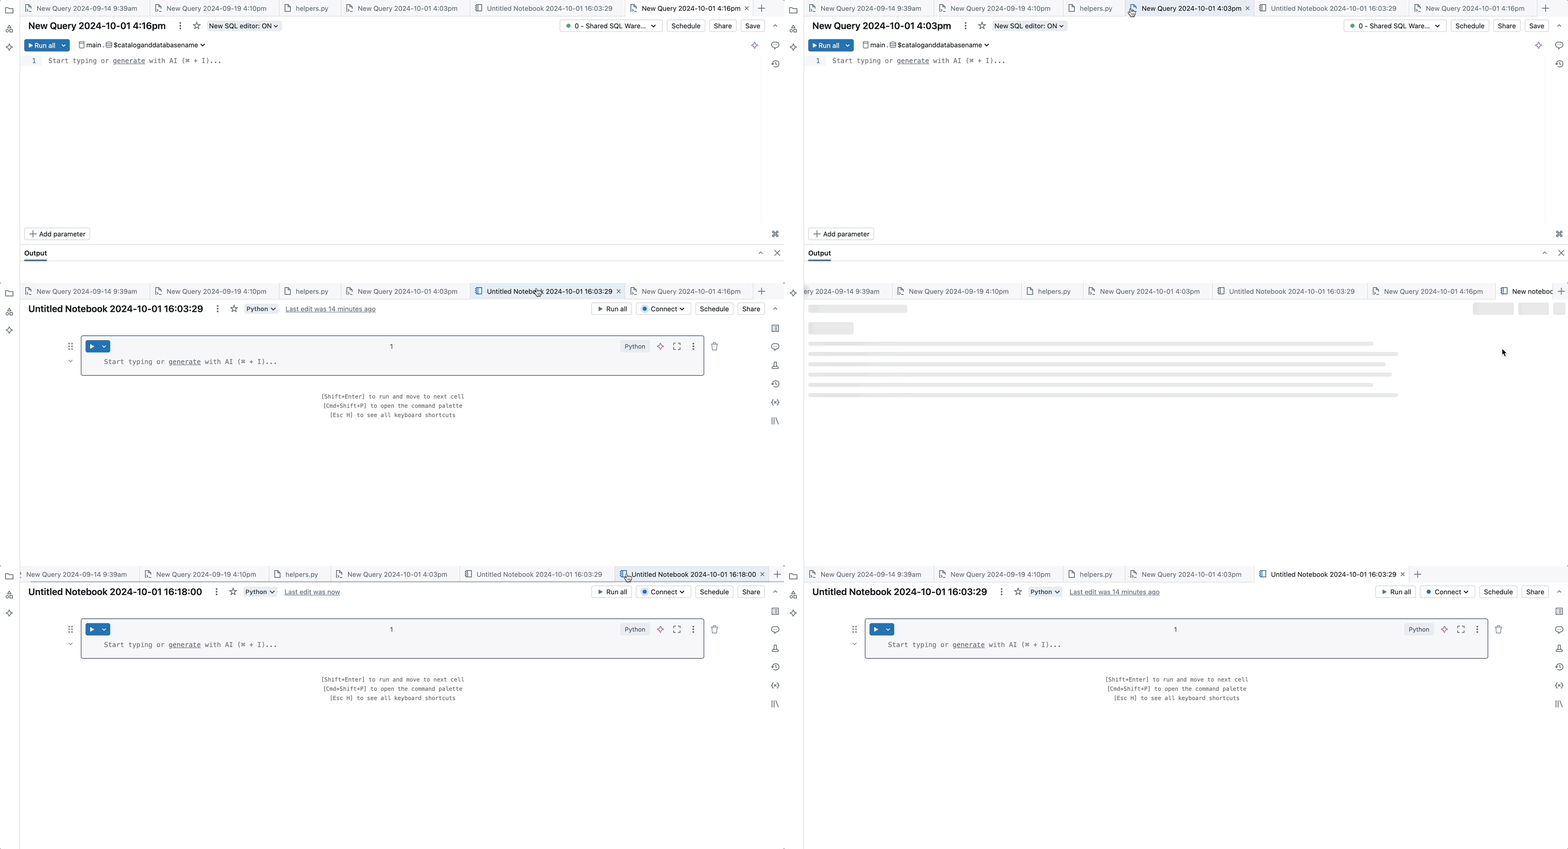
Manage notebooks
You can manage notebooks using the UI, the CLI, and by invoking the Workspace API. This article focuses on performing notebook tasks using the UI. For the other methods, see Databricks CLI and Workspace API.
Create a notebook
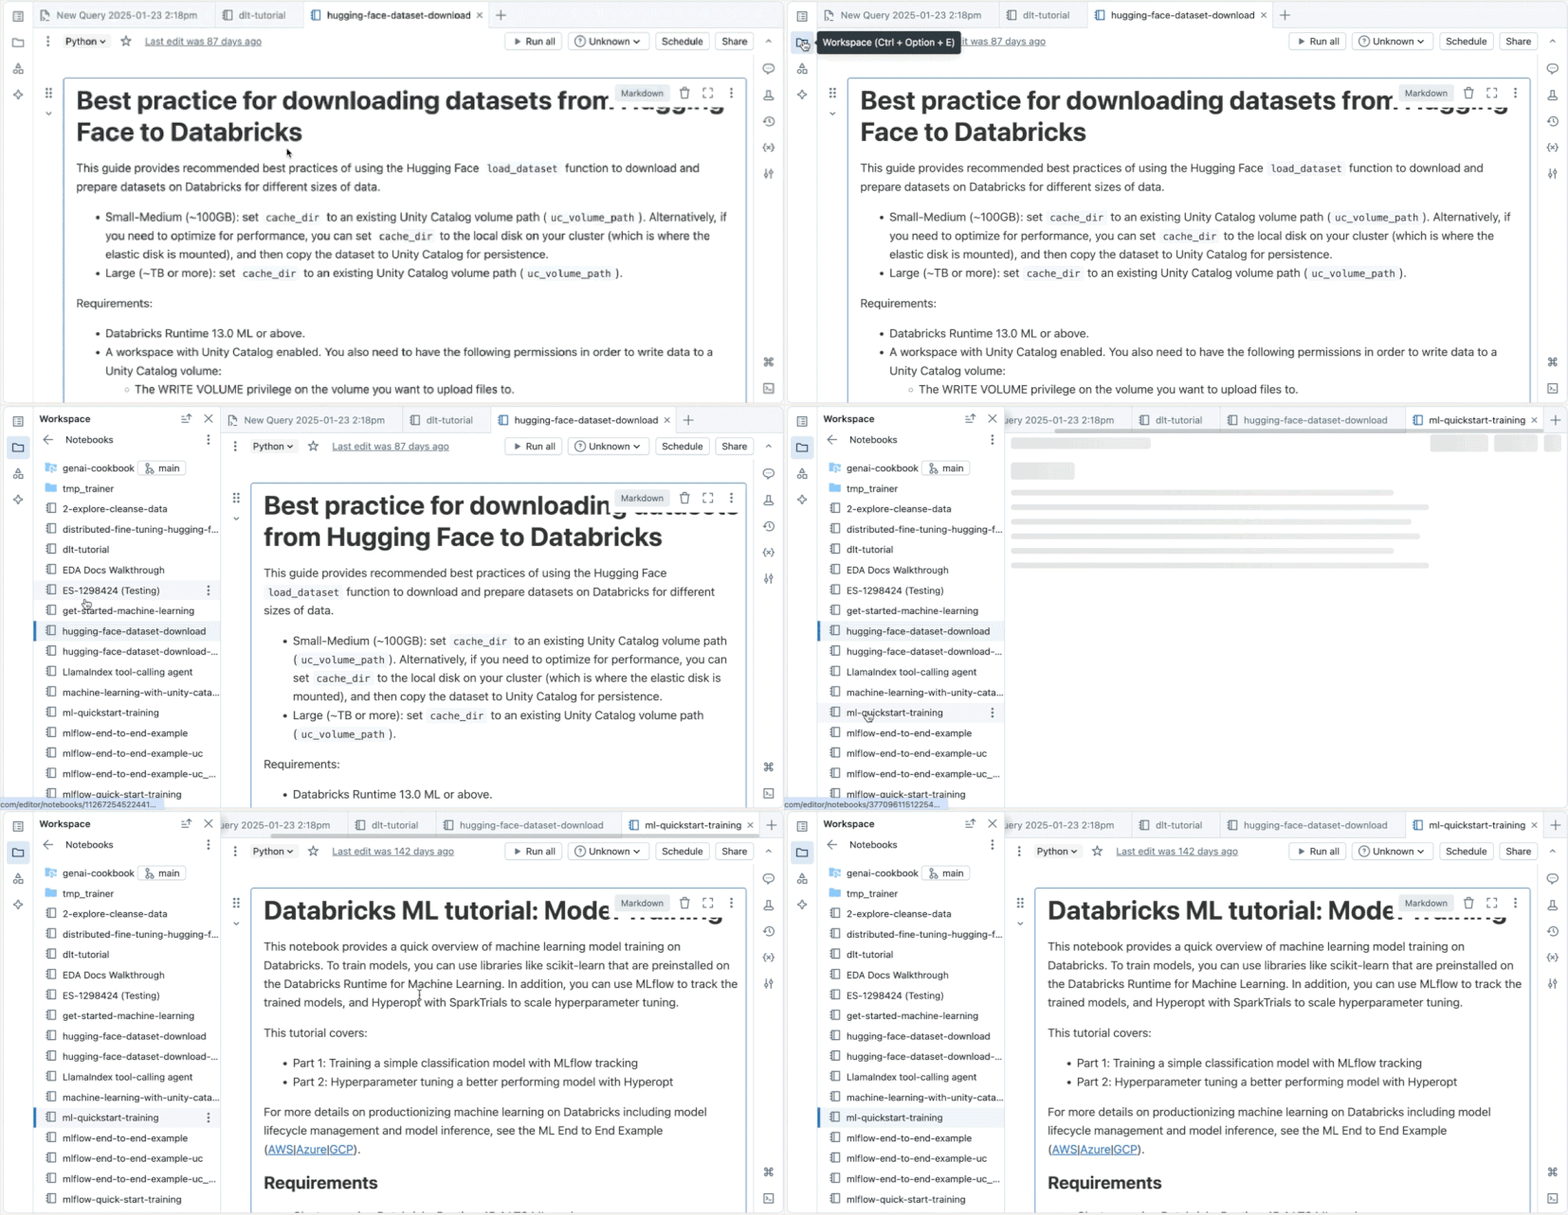
Click the Workspace button
or the Home button
in the sidebar. Do one of the following:
Next to any folder, click the
on the right side of the text and select Create > Notebook.
In the Workspace or a user folder, click
and select Create > Notebook.
In the Create Notebook dialog, enter a name and select the notebook’s default language.
If there are running clusters, the Cluster drop-down displays. Select the cluster you want to attach the notebook to.
Click Create.
Open a notebook
In your workspace, click a . The notebook path displays when you hover over the notebook title.
Delete a notebook
See Folders and Workspace object operations for information about how to access the workspace menu and delete notebooks or other items in the Workspace.
Copy notebook path
To copy a notebook file path without opening the notebook, right-click the notebook name or click the to the right of the notebook name and select Copy File Path.

Rename a notebook
To change the title of an open notebook, click the title and edit inline or click File > Rename.
Control access to a notebook
If your Databricks account has the Premium plan (or, for customers who subscribed to Databricks before March 3, 2020, the Operational Security package), you can use Workspace access control to control who has access to a notebook.
Notebook external formats
Databricks supports several notebook external formats:
- Source file: A file containing only source code statements with the extension
.scala
,.py
,.sql
, or.r
. - HTML: A Databricks notebook with the extension
.html
. - DBC archive: A Databricks archive.
- IPython notebook: A Jupyter notebook with the extension
.ipynb
. - RMarkdown: An R Markdown document with the extension
.Rmd
.
In this section:
Import a notebook
You can import an external notebook from a URL or a file.
Click the Workspace button
or the Home button
in the sidebar. Do one of the following:
Next to any folder, click the
on the right side of the text and select Import.
In the Workspace or a user folder, click
and select Import.
Specify the URL or browse to a file containing a supported external format.
Click Import.
Export a notebook
In the notebook toolbar, select File > Export and a format.
Note
When you export a notebook as HTML, IPython notebook, or archive (DBC), and you have not cleared the results, the results of running the notebook are included.
Publish a notebook
If you’re using Community Edition, you can publish a notebook so that you can share a URL path to the notebook. Subsequent publish actions update the notebook at that URL.
Notebooks and clusters
Before you can do any work in a notebook, you must first attach the notebook to a cluster. This section describes how to attach and detach notebooks to and from clusters and what happens behind the scenes when you perform these actions.
In this section:
Execution contexts
When you attach a notebook to a cluster, Databricks creates an execution context. An execution context contains the state for a REPL environment for each supported programming language: Python, R, Scala, and SQL. When you run a cell in a notebook, the command is dispatched to the appropriate language REPL environment and run.
You can also use the REST 1.2 API to create an execution context and send a command to run in the execution context. Similarly, the command is dispatched to the language REPL environment and run.
A cluster has a maximum number of execution contexts (145). Once the number of execution contexts has reached this threshold, you cannot attach a notebook to the cluster or create a new execution context.
Idle execution contexts
An execution context is considered idle when the last completed execution occurred past a set idle threshold. Last completed execution is the last time the notebook completed execution of commands. The idle threshold is the amount of time that must pass between the last completed execution and any attempt to automatically detach the notebook. The default idle threshold is 24 hours.
When a cluster has reached the maximum context limit, Databricks removes (evicts) idle execution contexts (starting with the least recently used) as needed. Even when a context is removed, the notebook using the context is still attached to the cluster and appears in the cluster’s notebook list. Streaming notebooks are considered actively running, and their context is never evicted until their execution has been stopped. If an idle context is evicted, the UI displays a message indicating that the notebook using the context was detached due to being idle.

If you attempt to attach a notebook to cluster that has maximum number of execution contexts and there are no idle contexts (or if auto-eviction is disabled), the UI displays a message saying that the current maximum execution contexts threshold has been reached and the notebook will remain in the detached state.

If you fork a process, an idle execution context is still considered idle once execution of the request that forked the process returns. Forking separate processes is not recommended with Spark.
Configure context auto-eviction
You can configure context auto-eviction by setting the Spark property spark.databricks.chauffeur.enableIdleContextTracking
.
- In Databricks 5.0 and above, auto-eviction is enabled by default. You disable auto-eviction for a cluster by setting
spark.databricks.chauffeur.enableIdleContextTracking false
. - In Databricks 4.3, auto-eviction is disabled by default. You enable auto-eviction for a cluster by setting
spark.databricks.chauffeur.enableIdleContextTracking true
.
Attach a notebook to a cluster
To attach a notebook to a cluster:
- In the notebook toolbar, click
Detached
.
- From the drop-down, select a cluster.
Important
An attached notebook has the following Apache Spark variables defined.
Class | Variable Name |
---|---|
SparkContext |
sc |
SQLContext /HiveContext |
sqlContext |
SparkSession (Spark 2.x) |
spark |
Do not create a SparkSession
, SparkContext
, or SQLContext
. Doing so will lead to inconsistent behavior.
Determine Spark and Databricks Runtime version
To determine the Spark version of the cluster your notebook is attached to, run:
spark.version
To determine the Databricks Runtime version of the cluster your notebook is attached to, run:
Python
spark.conf.get("spark.databricks.clusterUsageTags.sparkVersion")
Note
Both this sparkVersion
tag and the spark_version
property required by the endpoints in the Clusters API and Jobs API refer to the Databricks Runtime version, not the Spark version.
Detach a notebook from a cluster
In the notebook toolbar, click
Attached <cluster-name>
.
Select Detach.
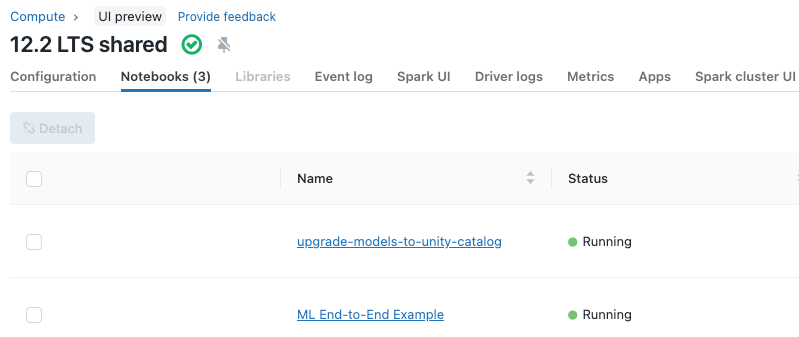
You can also detach notebooks from a cluster using the Notebooks tab on the cluster details page.
When you detach a notebook from a cluster, the execution context is removed and all computed variable values are cleared from the notebook.
Tip
Databricks recommends that you detach unused notebooks from a cluster. This frees up memory space on the driver.
View all notebooks attached to a cluster
The Notebooks tab on the cluster details page displays all of the notebooks that are attached to a cluster. The tab also displays the status of each attached notebook, along with the last time a command was run from the notebook.
Schedule a notebook
To schedule a notebook job to run periodically:
- In the notebook toolbar, click the
button at the top right.
- Click + New.
- Choose the schedule.
- Click OK.
Distribute notebooks
To allow you to easily distribute Databricks notebooks, Databricks supports the Databricks archive, which is a package that can contain a folder of notebooks or a single notebook. A Databricks archive is a JAR file with extra metadata and has the extension .dbc
. The notebooks contained in the archive are in a Databricks internal format.