Develop code in Databricks notebooks
Databricks notebooks support code formatting, autocomplete, multiple languages, and magic commands for developing code in Python, SQL, Scala, and R.
For more details about advanced functionality available with the editor, such as autocomplete, variable selection, multi-cursor support, and side-by-side diffs, see Navigate the Databricks notebook and file editor.
When you use the notebook or the file editor, Genie Code is available to help you generate, explain, and debug code. See Use Genie Code for more information.
Databricks notebooks also include a built-in interactive debugger for Python notebooks. See Debug Databricks notebooks.
The notebook must be attached to an active compute session for code assistance features, including autocomplete, Python code formatting, and the debugger.
Modularize your code
With Databricks Runtime 11.3 LTS and above, you can create and manage source code files in the Databricks workspace, and then import these files into your notebooks as needed.
For more information on working with source code files, see Share code between Databricks notebooks and Work with Python and R modules.
Format code cells
Databricks provides tools that allow you to format Python and SQL code in notebook cells. These tools reduce the effort to keep your code formatted and help to enforce the same coding standards across your notebooks.
Python black formatter library
This feature is in Public Preview.
Databricks supports Python code formatting using black within the notebook. The notebook must be attached to a cluster with black and tokenize-rt Python packages installed.
On Databricks Runtime 11.3 LTS and above, Databricks preinstalls black and tokenize-rt. You can use the formatter directly without needing to install these libraries.
On Databricks Runtime 10.4 LTS and below, you must install black==22.3.0 and tokenize-rt==4.2.1 from PyPI on your notebook or cluster to use the Python formatter. You can run the following command in your notebook:
%pip install black==22.3.0 tokenize-rt==4.2.1
or install the library on your cluster.
For more details about installing libraries, see Python environment management.
For files and notebooks in Databricks Git folders, you can configure the Python formatter based on the pyproject.toml file. To use this feature, create a pyproject.toml file in the Git folder root directory and configure it according to the Black configuration format. Edit the [tool.black] section in the file. The configuration is applied when you format any file and notebook in that Git folder.
How to format Python and SQL cells
You must have CAN EDIT permission on the notebook to format code.
Databricks uses a custom SQL formatter to format SQL and the black code formatter for Python.
You can trigger the formatter in the following ways:
-
Format a single cell
- Keyboard shortcut: Press Cmd+Shift+F.
- Command context menu:
- Format SQL cell: Select Format SQL in the command context dropdown menu of a SQL cell. This menu item is visible only in SQL notebook cells or those with a
%sqllanguage magic. - Format Python cell: Select Format Python in the command context dropdown menu of a Python cell. This menu item is visible only in Python notebook cells or those with a
%pythonlanguage magic.
- Format SQL cell: Select Format SQL in the command context dropdown menu of a SQL cell. This menu item is visible only in SQL notebook cells or those with a
- Notebook Edit menu: Select a Python or SQL cell, and then select Edit > Format Cell(s).
-
Format multiple cells
Select multiple cells and then select Edit > Format Cell(s). If you select cells of more than one language, only SQL and Python cells are formatted. This includes those that use
%sqland%python. -
Format all Python and SQL cells in the notebook
Select Edit > Format Notebook. If your notebook contains more than one language, only SQL and Python cells are formatted. This includes those that use
%sqland%python.
To customize how your SQL queries are formatted, see Custom format SQL statements.
Limitations of code formatting
- Black enforces PEP 8 standards for 4-space indentation. Indentation is not configurable.
- Formatting embedded Python strings inside a SQL UDF is not supported. Similarly, formatting SQL strings inside a Python UDF is not supported.
Code languages in notebooks
Set default language
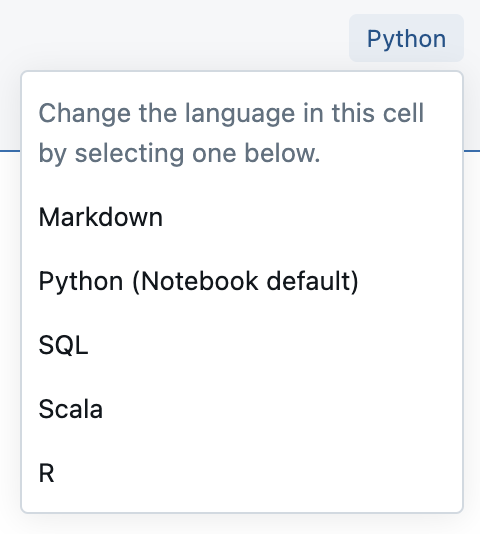
The default language for the notebook appears below the notebook name.

To change the default language, click the language button and select the new language from the dropdown menu. To ensure that existing commands continue to work, commands of the previous default language are automatically prefixed with a language magic command.
Mix languages
By default, cells use the default language of the notebook. You can override the default language in a cell by clicking the language button and selecting a language from the dropdown menu.
Alternatively, you can use the language magic command %<language> at the beginning of a cell. The supported magic commands are: %python, %r, %scala, and %sql.
When you invoke a language magic command, the command is dispatched to the REPL in the execution context for the notebook. Variables defined in one language (and hence in the REPL for that language) are not available in the REPL of another language. REPLs can share state only through external resources such as files in DBFS or objects in object storage.
Notebooks also support a few auxiliary magic commands:
%sh: Allows you to run shell code in your notebook. To fail the cell if the shell command has a non-zero exit status, add the-eoption. This command runs only on the Apache Spark driver, and not the workers. To run a shell command on all nodes, use an init script.%fs: Allows you to usedbutilsfilesystem commands. For example, to run thedbutils.fs.lscommand to list files, you can specify%fs lsinstead. For more information, see Work with files on Databricks.%md: Allows you to include various types of documentation, including text, images, and mathematical formulas and equations. See the next section.
SQL syntax highlighting and autocomplete in Python commands
Syntax highlighting and SQL autocomplete are available when you use SQL inside a Python command, such as in a spark.sql command.
Explore SQL cell results
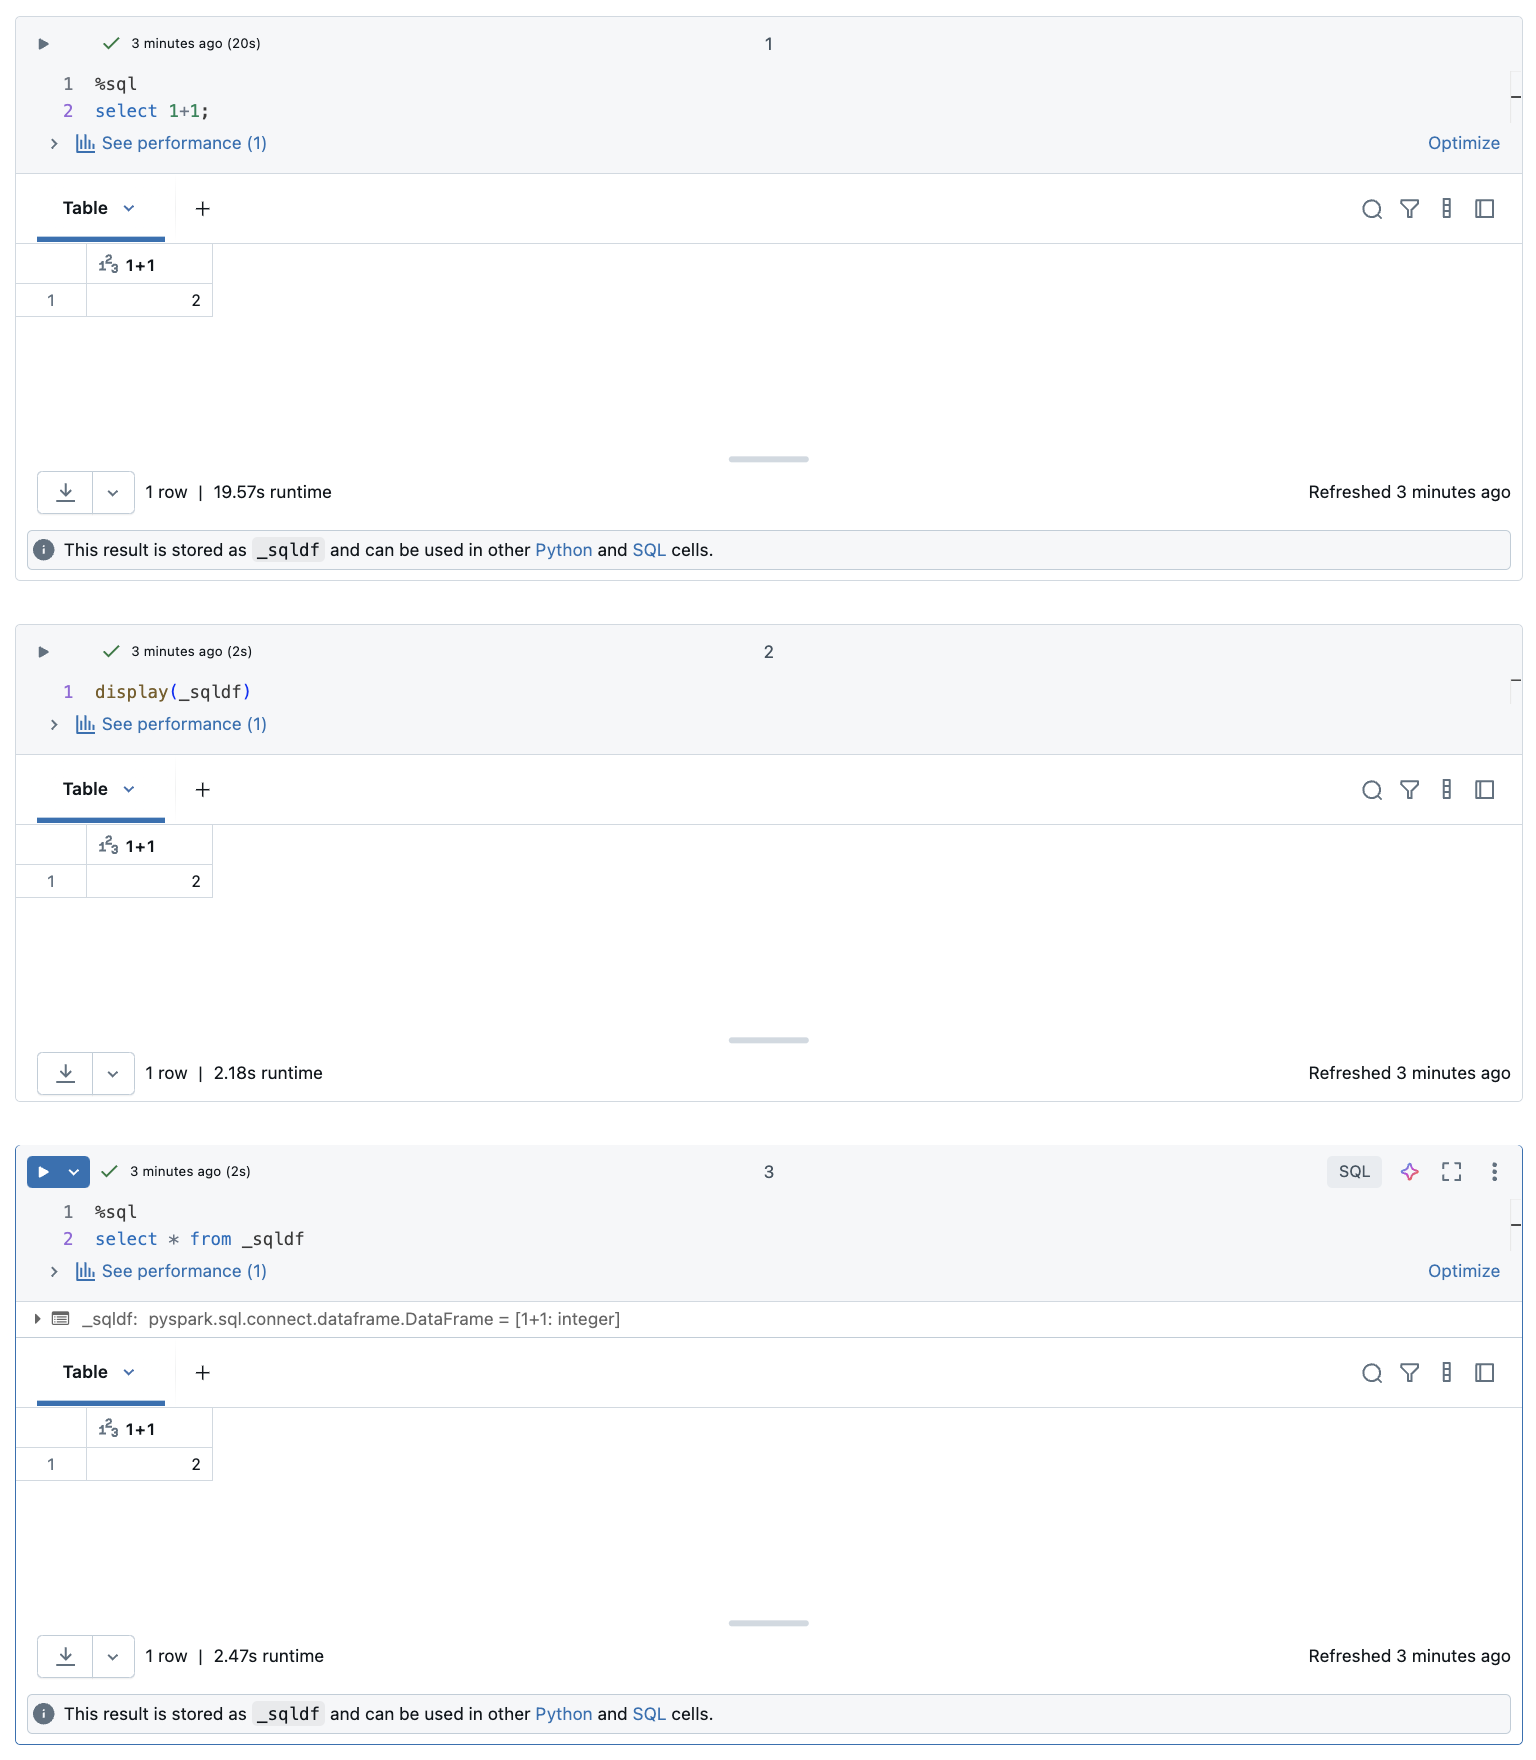
In a Databricks notebook, results from a SQL language cell are automatically made available as an implicit DataFrame assigned to the variable _sqldf. You can then use this variable in any Python and SQL cells you run afterward, regardless of their position in the notebook.
This feature has the following limitations:
- The
_sqldfvariable is not available in notebooks that use a SQL warehouse for compute. - Using
_sqldfin subsequent Python cells is supported in Databricks Runtime 13.3 and above. - Using
_sqldfin subsequent SQL cells is only supported on Databricks Runtime 14.3 and above. - If the query uses the keywords
CACHE TABLEorUNCACHE TABLE, the_sqldfvariable is not available.
The screenshot below shows how _sqldf can be used in subsequent Python and SQL cells:
The variable _sqldf is reassigned each time a SQL cell is run. To avoid losing reference to a specific DataFrame result, assign it to a new variable name before you run the next SQL cell:
- Python
- SQL
new_dataframe_name = _sqldf
ALTER VIEW _sqldf RENAME TO new_dataframe_name
Run SQL cells in parallel
While a command is running and your notebook is attached to an interactive cluster, you can run a SQL cell simultaneously with the current command. The SQL cell is executed in a new, parallel session.
To run a cell in parallel:
-
Click Run now. The cell is immediately executed.

Because the cell is run in a new session, temporary views, UDFs, and the implicit Python DataFrame (_sqldf) are not supported for cells that are executed in parallel. In addition, the default catalog and database names are used during parallel execution. If your code refers to a table in a different catalog or database, you must specify the table name using three-level namespace (catalog.schema.table).
Run SQL cells on a SQL warehouse
You can run SQL commands in a Databricks notebook on a SQL warehouse, a type of compute that is optimized for SQL analytics. See Use a notebook with a SQL warehouse.
Use magic commands
Databricks notebooks support various magic commands that extend functionality beyond standard syntax to simplify common tasks. Line magics are prefixed with % and apply to a single line. Cell magics are prefixed with %% and apply to the entire cell body.
Magic command | Example | Description |
|---|---|---|
|
| Switch cell language to Python. Executes Python code in the cell. |
|
| Switch cell language to R. Executes R code in the cell. |
|
| Switch cell language to Scala. Executes Scala code in the cell. |
|
| Switch cell language to SQL. Results are available as |
|
| Switch cell language to Markdown. Renders Markdown content in the cell. Supports text, images, formulas, and LaTeX. |
|
| Install Python packages (notebook-scoped). See Notebook-scoped Python libraries. |
|
| Execute another notebook, importing its functions and variables. See Notebook workflows. |
|
| Execute dbutils filesystem commands. Shorthand for |
|
| Execute shell commands. Runs only on driver node. Use |
|
| Display TensorBoard UI inline. Available only on Databricks Runtime ML. See TensorBoard. |
|
| Set maximum cell output size. Range: 1-20 MB. Applies to all subsequent cells in notebook. |
|
| Skip cell execution. Prevents the cell from running when the notebook is executed. |
|
| Profile Python code execution. Displays a hierarchical call tree with timing information. Requires Databricks Runtime 17.2 and above. |
|
| Profile object creation during cell execution. Displays a table of net new objects created, grouped by type. Requires Databricks Runtime 17.2 and above. |
|
| Install and manage Python packages (notebook-scoped) with |
IPython Automagic: Databricks notebooks have IPython automagic enabled by default, allowing certain commands like pip to work without the % prefix. For example, pip install pandas works the same as %pip install pandas.
- Variables and state are isolated between different language REPLs. For example, Python variables are not accessible in Scala cells.
- A notebook cell can only have one cell magic command, and it must be the first line of the cell.
%runmust be in a cell by itself, because it runs the entire notebook inline.- When using
%pipon Databricks Runtime 12.2 LTS and below, place all package installation commands at the beginning of your notebook as the Python state is reset after installation.