Connect to pools
If your workload supports serverless compute, Databricks recommends using serverless compute instead of pools to take advantage of always-on, scalable compute. See Connect to serverless compute.
Databricks pools are a set of idle, ready-to-use instances. When cluster nodes are created using the idle instances, cluster start and auto-scaling times are reduced. If the pool has no idle instances, the pool expands by allocating a new instance from the instance provider in order to accommodate the cluster's request.
When a cluster releases an instance, it returns to the pool and is free for another cluster to use. Only clusters attached to a pool can use that pool's idle instances.
Databricks does not charge DBUs while instances are idle in the pool. Instance provider billing does apply. See pricing.
You can manage pools using the UI or by calling the Instance Pools API.
Create a pool
To create a pool, you must have the Allow pool creation entitlement to create pools. By default, only workspace admins have the pool creation entitlement. See Compute entitlements.
To create a pool using the UI:
- Click
 Compute in the sidebar.
 - Click the Pools tab.
- Click the Create Pool button.
- Specify the pool configuration.
- Click the Create button.
Attach a cluster to a pool
To attach a cluster to a pool using the cluster creation UI, select the pool from the Driver Type or Worker Type dropdown when you configure the cluster. Available pools are listed at the top of each dropdown list. You can use the same pool or different pools for the driver node and worker nodes.
If you use the Clusters API, you must specify driver_instance_pool_id for the driver node and instance_pool_id for the worker nodes.
For more best practices related to pools, see Pool best practices.
Pool permissions
There are three permission levels for a pool: NO PERMISSIONS, CAN ATTACH TO, and CAN MANAGE. For details, see Pool ACLs.
Configure pool permissions
This section describes how to manage permissions using the workspace UI. You can also use the Permissions API or Databricks Terraform provider.
You must have the CAN MANAGE permission on a pool to configure permissions.
-
In the sidebar, click Compute.
-
Click the Pools tab.
-
Select the pool you want to update.
-
Click the Permissions button.
-
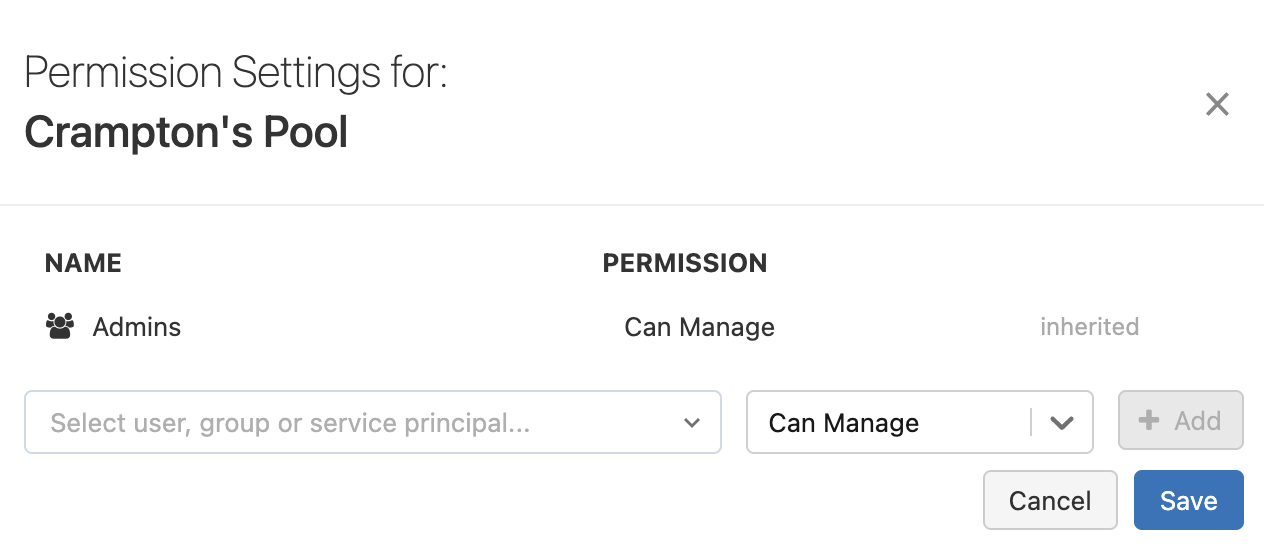
In Permission Settings, click the Select user, group or service principal… drop-down menu and select a user, group, or service principal.
-
Select a permission from the permission drop-down menu.
-
Click Add, then click Save.
Delete a pool
Deleting a pool terminates the pool's idle instances and removes its configuration. To delete a pool, click the ![]() icon in the actions on the Pools page. If you delete a pool:
icon in the actions on the Pools page. If you delete a pool:
- Running clusters attached to the pool continue to run, but cannot allocate instances during resize or up-scaling.
- Terminated clusters attached to the pool will fail to start.
You cannot undo this action.