SQL warehouse admin settings
This article explains the SQL warehouse settings and access controls available to workspace admins.
Databricks recommends retaining the default settings for all workspace-level configurations for SQL warehouses. These settings assume that workspace admins are responsible for creating and configuring all SQL warehouses and that you use Unity Catalog for data governance.
Workspace administrators can configure the following settings for a Databricks workspace:
- Revoke all access to SQL warehouses.
- Grant the ability to create SQL warehouses.
- Configure default parameters that control the SQL warehouse compute environment.
- Configure data access policies for SQL warehouses.
- Set a default warehouse.
By default, all users have access to Databricks SQL. To onboard users to Databricks SQL, perform the following actions:
- Deploy a SQL warehouse. See Create a SQL warehouse.
- Grant users access to the SQL warehouse. See Manage a SQL warehouse.
- Grant access to data using Unity Catalog. See Data access configurations.
By default, new workspaces have serverless SQL warehouses enabled in supported regions. See Enable serverless SQL warehouses.
Revoke access to SQL warehouses
You can revoke access to SQL warehouses for a user, service principal, or group by unassigning the Databricks SQL access entitlement. See Manage entitlements.
Grant SQL warehouse creation privileges
You can grant SQL warehouse creation privileges to a user, service principal, or group by assigning the Allow unrestricted cluster creation entitlement. See Manage entitlements.
Configure SQL parameters
This setting applies to all SQL warehouses in the workspace. It does not apply to serverless compute for notebooks and jobs.
To configure all warehouses with SQL parameters:
-
Click your username in the top bar of the workspace and select Settings from the drop-down menu.
-
Click Compute under the Settings heading on the left side of the screen.
-
Click Manage next to SQL warehouses and serverless compute.
-
In the SQL Configuration Parameters textbox, specify one key-value pair per line. Separate the name of the parameter from its value using a space. For example, to enable
ANSI_MODE: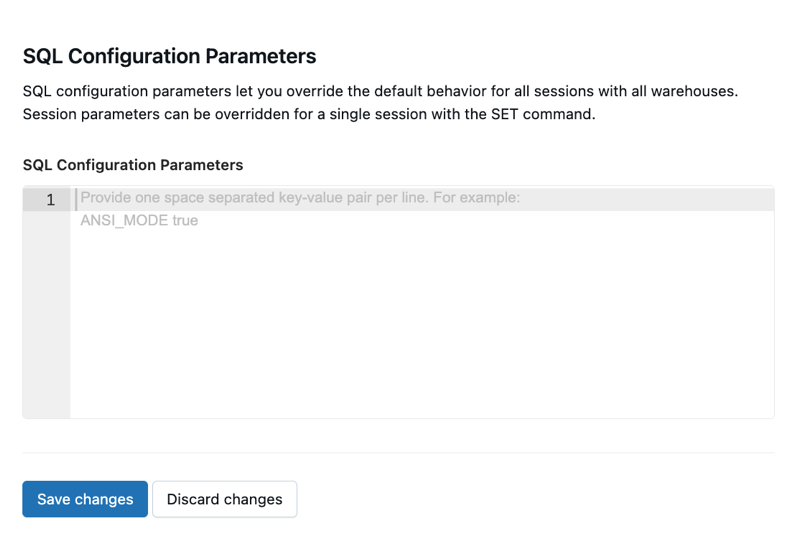
-
Click Save.
When you change a SQL configuration parameter, all running SQL warehouses are automatically restarted.
For a general overview of the available SQL configuration parameters, see Configuration parameters.
To configure all SQL warehouses using the REST API, see SQL Warehouses API.
Configure data access policies for SQL warehouses
Databricks recommends managing data access policies using Unity Catalog.
Some data sources might require additional privileges. See Data access configurations.
When you configure data access policies other than Unity Catalog, legacy table ACLs also apply. See Enable Hive metastore table access control on a cluster (legacy).
Set a default SQL warehouse for the workspace
Setting a default warehouse helps align SQL workloads with appropriately sized compute resources. The default SQL warehouse in a workspace is automatically selected in most SQL authoring surfaces, including the SQL editor, AI/BI dashboards, AI/BI Genie, Alerts, and Catalog Explorer.
Individual users can override this setting by selecting a different warehouse before running a query. They can also define their own user-level default warehouse to apply across their sessions.
To set a default warehouse for your workspace:
- Click your username in the top bar of the workspace and select Settings from the drop-down menu.
- Under Settings, click Compute.
- Use the drop-down menu next to Default warehouse to select a new default. To keep the current behavior, leave the setting as Last selected.
Transfer ownership of a SQL warehouse
The user you transfer ownership of a SQL warehouse to must have the Allow unrestricted cluster creation entitlement.
- As a workspace admin, log in to your Databricks workspace.
- Click SQL Warehouses in the sidebar.
- In a warehouse row, click
 the kebab menu at the far right and select Permissions. The SQL warehouse permissions display.
 - Click the gear icon at the top right and click Assign new owner.
- Select the user to assign ownership to. Service principals and groups cannot be assigned ownership of a SQL warehouse.
- Click Confirm.