Configure AWS storage (legacy)
This documentation has been retired and might not be updated. The products, services, or technologies mentioned in this content are no longer supported. To view current admin documentation, see Manage your Databricks account.
This article only applies to legacy account holders. All new Databricks accounts and most existing accounts should use Create a storage configuration.
Databricks stores your account-wide assets, such as libraries, in an Amazon Web Services S3 bucket. This article walks you through the steps to configure your bucket to complete Databricks deployment.
You can configure AWS storage settings using the account console only when you initially set up your account. To change settings afterwards, contact help@databricks.com.
Step 1: Generate S3 bucket policy
To configure AWS storage for a legacy account:
-
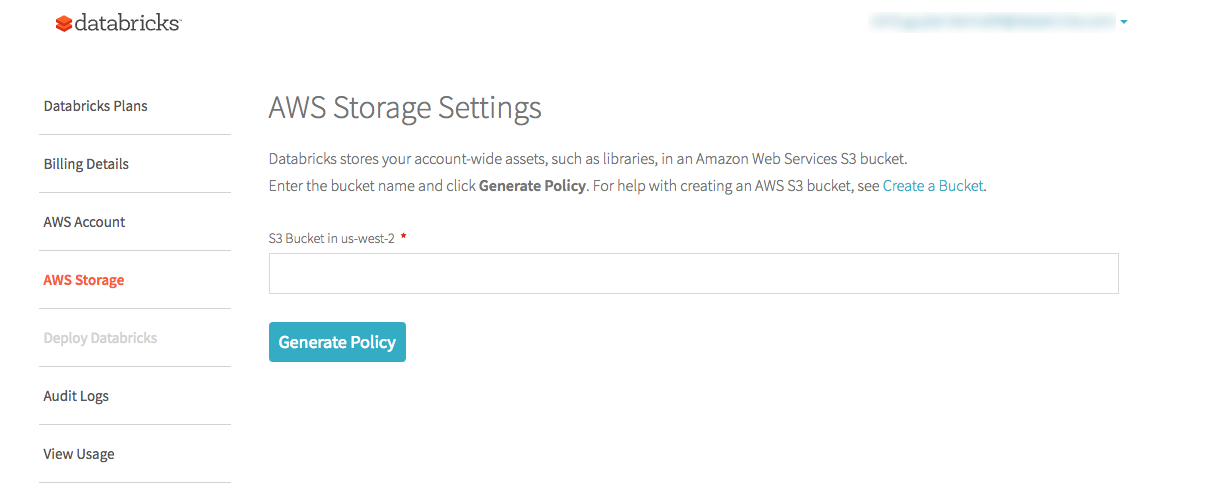
In the Databricks account console, click the AWS Storage tab.
-
In the S3 bucket in <region> field, enter the name of your S3 bucket. For help with creating an S3 bucket, see Create a Bucket in the AWS documentation.
important- The S3 bucket must be in the same region as the Databricks deployment.
- Databricks recommends as a best practice that you use a Databricks-specific S3 bucket.
- Do not reuse a bucket from legacy workspaces. For example, if you are migrating to E2, create a new AWS bucket for your E2 setup.
-
Click Generate Policy.
-
Copy the generated policy. It should be of the following form, where
414351767826is the Databricks account ID and<s3-bucket-name>is the S3 bucket that you specified in the first screen:JSON{
"Version": "2012-10-17",
"Statement": [
{
"Sid": "Grant Databricks Access",
"Effect": "Allow",
"Principal": {
"AWS": "arn:aws:iam::414351767826:root"
},
"Action": [
"s3:GetObject",
"s3:GetObjectVersion",
"s3:PutObject",
"s3:DeleteObject",
"s3:ListBucket",
"s3:GetBucketLocation"
],
"Resource": ["arn:aws:s3:::<s3-bucket-name>/*", "arn:aws:s3:::<s3-bucket-name>"]
}
]
}
Step 2: Configure the S3 bucket
To configure the S3 bucket, you apply the bucket policy generated in the Databricks account console and optionally set up S3 object-level logging (highly recommended).
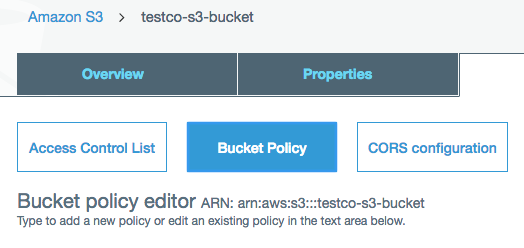
- In the AWS Console, go to the S3 service.
- Click the bucket name.
Apply the bucket policy
-
Click the Permissions tab.
-
Click the Bucket Policy button.
-
Paste the policy that you copied in Step 1 and click Save.
Enable S3 object-level logging (recommended)
Databricks strongly recommends that you enable S3 object-level logging for your root storage bucket. This enables faster investigation of any issues that may come up. Be aware that S3 object-level logging can increase AWS usage costs.
For instructions, see the AWS documentation on CloudTrail event logging for S3 buckets and objects.
Step 3: Apply the change to your Databricks account
- In the Databricks account console, go to the AWS Storage tab.
- Click Apply Change.
Resolve validation failures
Bucket policy permissions can take a few minutes to propagate. You should retry if validation fails due to permissions.