ServiceNowの取り込みのトラブルシューティング
このページでは、 Databricks Lakeflowコネクト の ServiceNow コネクタに関する一般的な問題とその解決方法について説明します。
一般的なパイプラインのトラブルシューティング
実行中にパイプラインが失敗した場合は、失敗したステップをクリックし、エラー メッセージにエラーの性質に関する十分な情報が示されているかどうかを確認します。
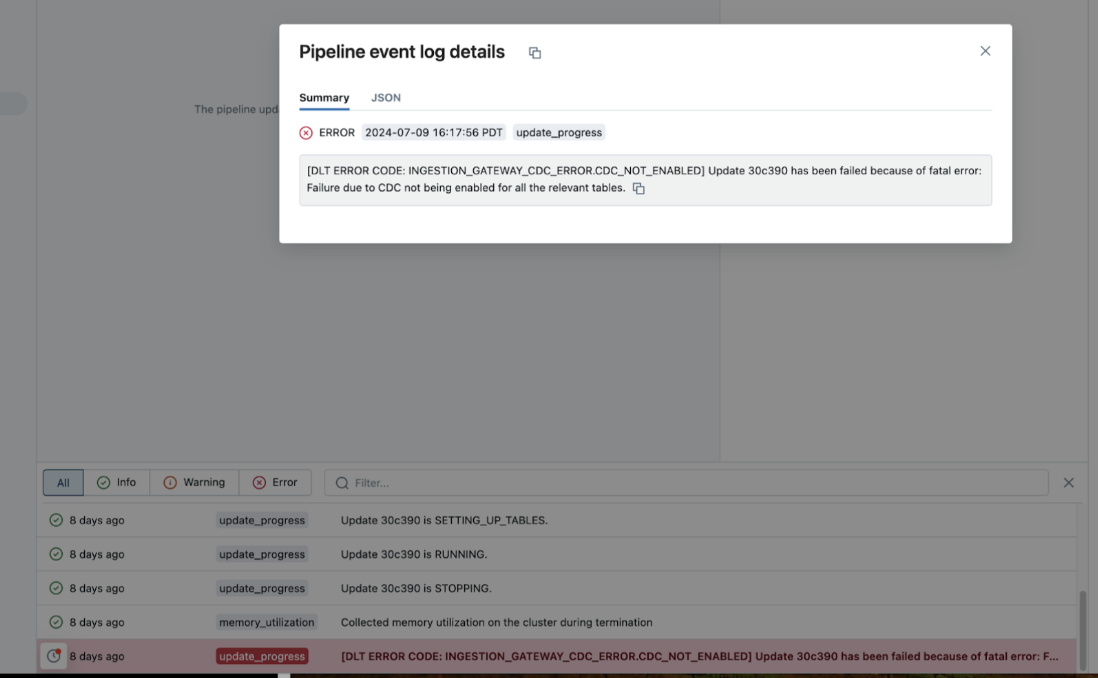
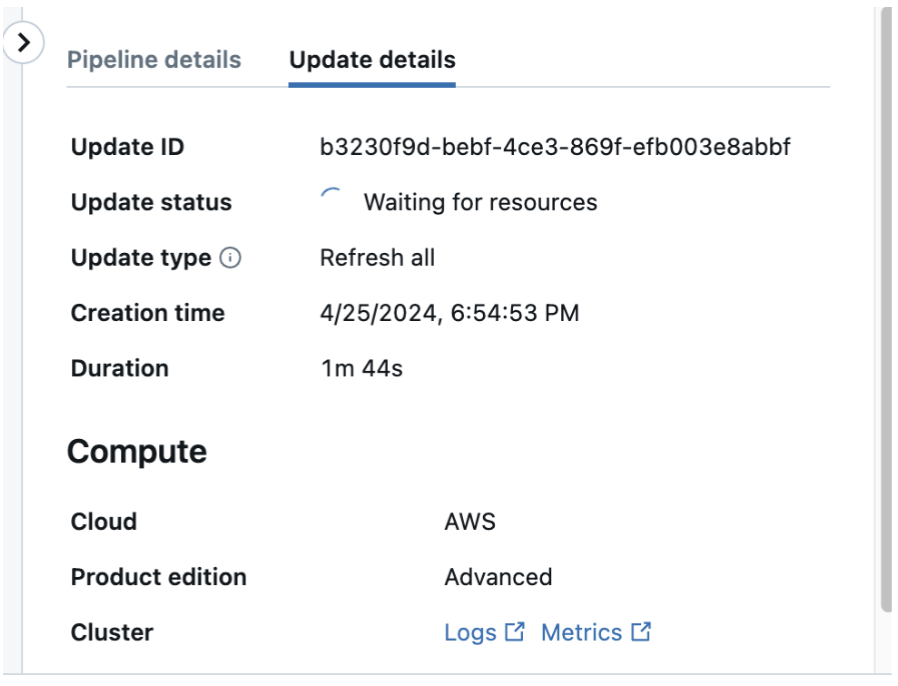
右側のパネルで [詳細の更新] をクリックし、 [ログ] を クリックして、パイプラインの詳細ページからクラスター ログを確認してダウンロードすることもできます。ログをスキャンしてエラーまたは例外がないか確認します。
Databricks アセット バンドルを使用した列の選択
発行:
Databricks Asset Bundles を使用してマネージド インジェスト パイプラインを作成する場合は、列選択機能を使用できません。
解決:
Databricks CLI のバージョンを確認します。バージョンがv0.251.0未満の場合、CLI を再インストールします。
特定のテーブルのインジェストが遅い
最初のステップとして、ServiceNow 管理者と協力してカーソル列のインデックス作成を有効にします。カーソル列は、次のリストから優先順位に従って選択されます: sys_updated_on (最初の選択肢)、 sys_created_on (2 番目の選択肢)、 sys_archived (3 番目の選択肢)。次に、取り込みパイプラインを再試行します。問題が解決しない場合は、チケットを提出してください。ServiceNow でインデックスを有効にする手順については、ServiceNow のドキュメントを参照してください。
表示されるはずの削除が表示されないのはなぜですか?
Databricks は削除を追跡するためにsys_audit_deleteテーブルを使用します。削除内容が ServiceNow 側のsys_audit_deleteテーブルに反映されるまで 3 ~ 5 分かかる場合があります。数分待ってからパイプラインを再試行してください。問題が解決しない場合は、サポート チケットを提出してください。
無効なredirect_uriエラー
これは通常、ServiceNow のリダイレクト URL に入力ミスがあることを意味します。URL をコピーして、任意の URL デコーダーに貼り付けてみてください。デコードされた URL で、 redirect-uriが次の形式であることを確認します。
https://<workspace>/login/oauth/servicenow.html
認証エラー
エラー :
com.databricks.pipelines.execution.conduit.common.DataConnectorException: [SERVICENOW_CONNECTION_ERROR.OAUTH_TOKEN_EXCHANGE] Failed to authenticate to ServiceNow. This can be caused by issues with your UC credentials, ServiceNow OAuth setup, and more...
ステップ1 :
Unity Catalog 接続の作成時に、正しいユーザー名、パスワード、クライアント ID、およびクライアント シークレットを指定したことを確認します。ServiceNowへの認証用のユーザー名とパスワードは、必ずしもSSO用の個人用ユーザー名とパスワードではありません。これらは、外部サービスでの認証とインジェストを目的としたユーザーに関連付けられたユーザー名とパスワードの値です。
- Catalog Explorer
- curl
-
Databricks ワークスペースのサイドバーで、[
 カタログ] をクリックします。
 -
[カタログ ] ウィンドウの上部にある [
 ] 歯車アイコンをクリックし、メニューから [ 接続 ] を選択します。
または、[ クイック アクセス ] ページで [ 外部データ > ] ボタンをクリックし、[ 接続 ] タブに移動します。
-
接続の名前をクリックします。
接続の詳細は、[ 概要 ] タブに一覧表示されます。
次の curl 要求を実行します。括弧内の項目は、実際の接続プロパティに置き換えてください。
curl -X POST "https://<instance-id>.service-now.com/oauth_token.do" \
--header "Content-Type: application/x-www-form-urlencoded" \
--data-urlencode "grant_type=password" \
--data-urlencode "client_id=<client-id>" \
--data-urlencode "client_secret=<client-secret>" \
--data-urlencode "username=<username>" \
--data-urlencode "password=<password>"
要求が成功した場合 (応答でアクセス トークン、更新トークン、スコープを受け取ります)、資格情報は正しいです。次のトラブルシューティング手順に進みます。
要求が失敗すると、次のエラー メッセージが返されます。
{"error_description":"access_denied","error":"server_error"}
ステップ2 :
認証するユーザーに admin ロールがあることを確認します。また、Databricks では、認証するユーザーに snc_read_only ロールを付与して、アクセス許可をさらに制限することをお勧めします。
ステップ3 :
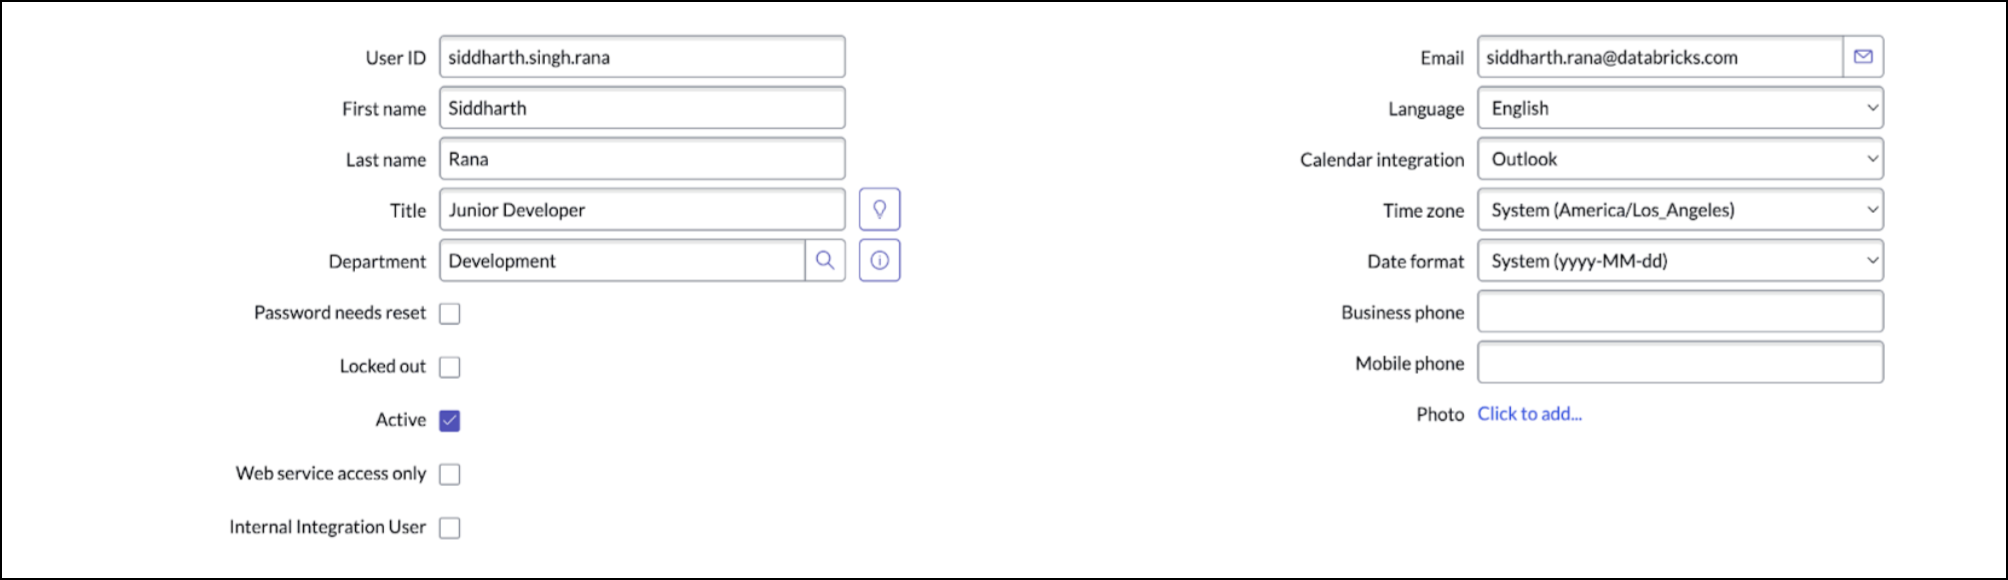
認証するユーザーが アクティブ としてマークされていることを確認します。
-
ServiceNow で、[ 組織] > [ユーザー ] をクリックします。
-
認証に使用する予定のユーザーを選択します。
-
「アクティブ 」チェックボックスが選択されていることを確認します。
ステップ4 :
ServiceNow の OAuth 2.0 プラグインがアクティブであることを確認します。
-
ServiceNow で、[ System Definition (システム定義)] > [Plugins (プラグイン )] をクリックします。
-
[スクリプト - バックグラウンド ] セクションで次のスクリプトを実行します。
var oauthActive = gs.getProperty('com.snc.platform.security.oauth.is.active');
gs.info('OAuth Active: ' + oauthActive);
スクリプトが
trueを返す場合、プラグインのインストールは成功しています。このスクリプトがfalseを返す場合は、アンインストールしてから再インストールします。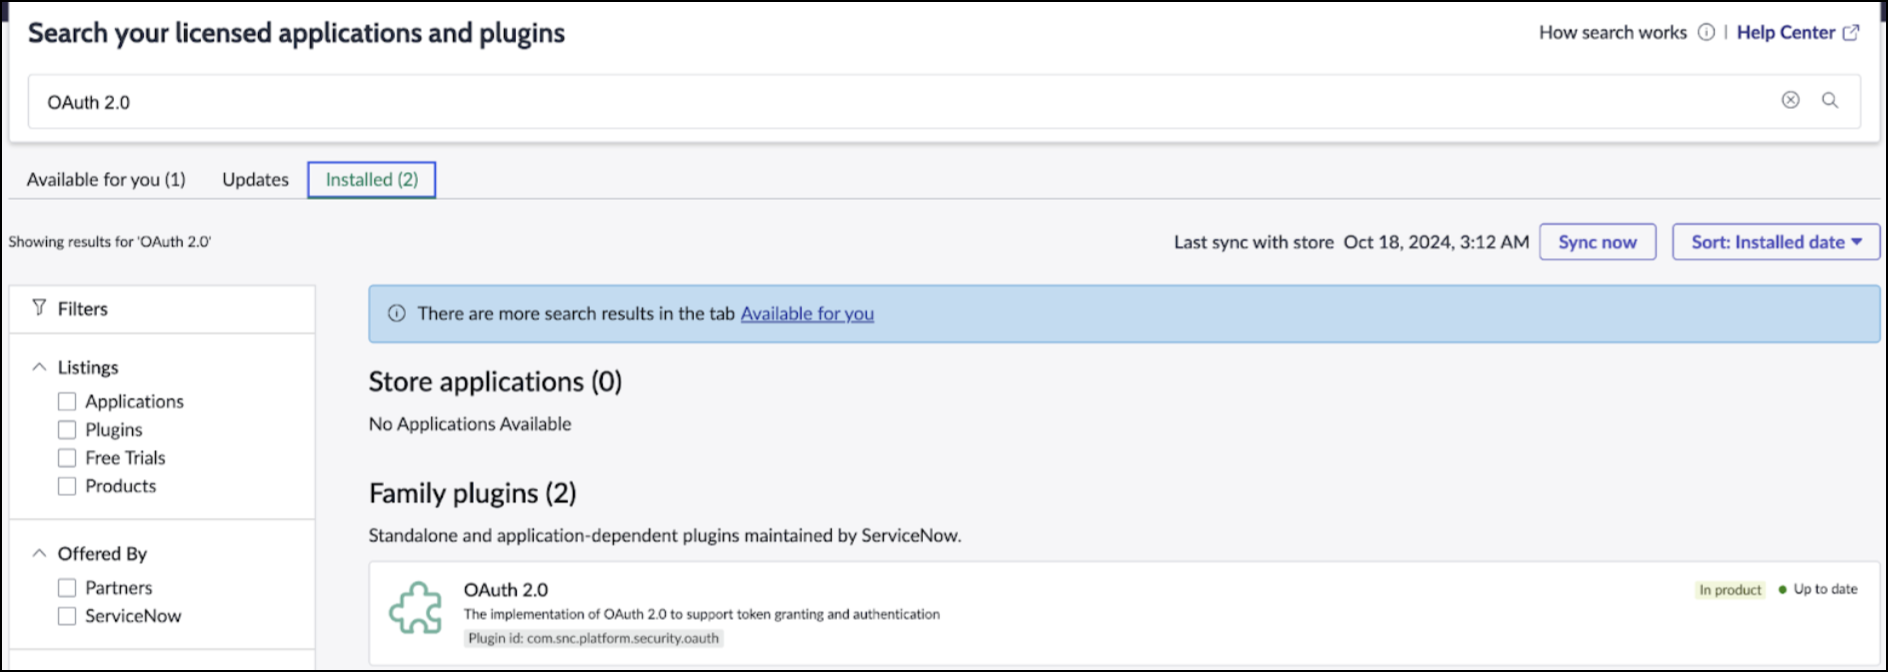
ステップ5 :
多要素認証 (MFA) が適切に構成されていることを確認します。ServiceNow では、U2M OAuth にデフォルトで MFA が必要です。認証に失敗した場合は、次の点を確認してください。
- サインイン時に 2 番目の認証方法を指定しました。
- 認証中のユーザーは MFA ポリシーによってブロックされません。
ServiceNow 管理者は、認証ユーザーを MFA 要件から除外できます。手順については、ServiceNow ドキュメントの「ユーザー免除」を参照してください。
ステップ6 :
OAuth エンドポイントが正しく設定されていることを確認します。
-
ServiceNow で、 System OAuth > Application Registry にアクセスします。
-
右上隅の [ NEW ] をクリックします。
-
OAuth アプリケーションオプションで、「 外部クライアント用の OAuth API エンドポイントを作成する 」をクリックします。
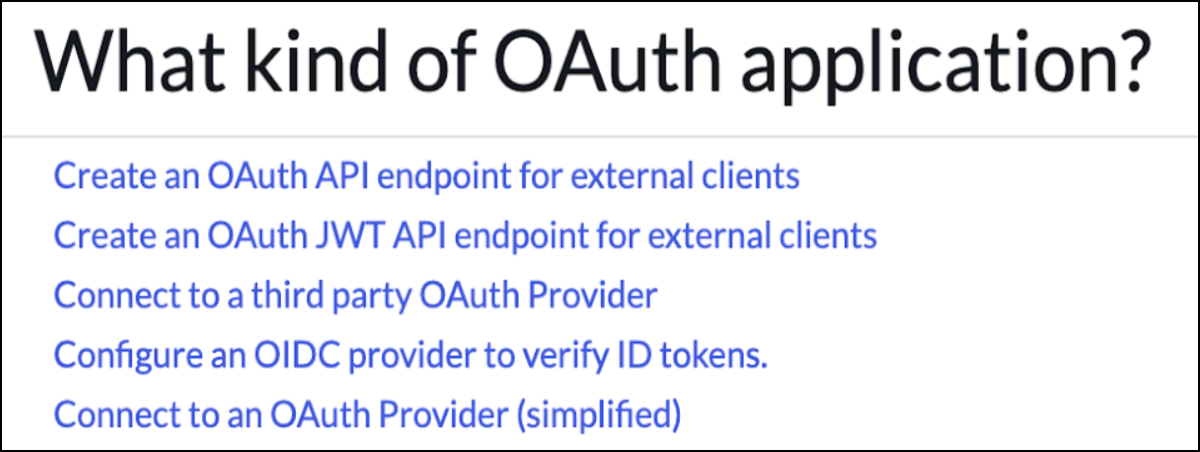
-
「アクティブ 」チェックボックスが選択されていることを確認します。
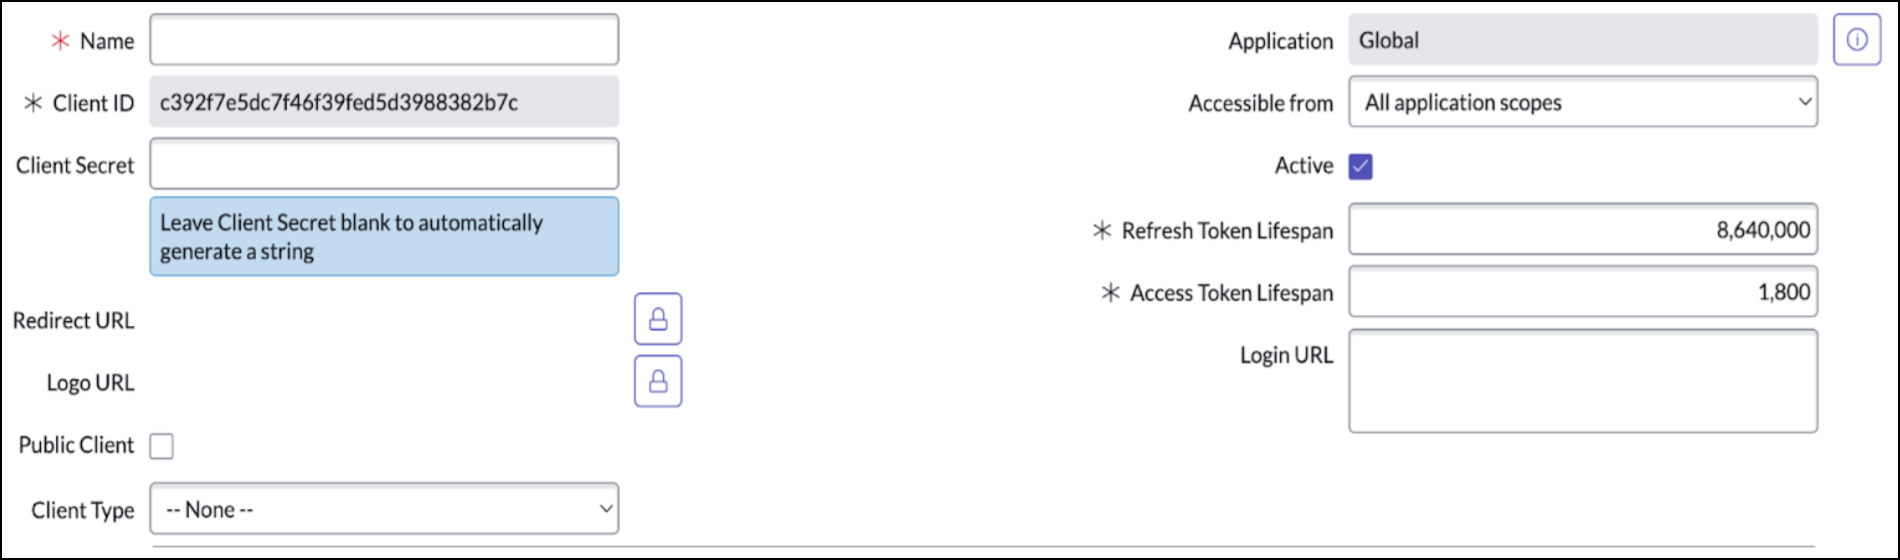
OAuth アプリケーションが正常に作成されると、 そのアプリケーションは [System OAuth (システム OAuth )] > [Application Registry (アプリケーション レジストリ)] のリストに [OAuth クライアント ] タイプで表示されます。
ステップ7 :
これらのトラブルシューティング手順を実行しても問題が解決しない場合は、 サポート チケットを提出してください。