Configure customer-managed keys for encryption
This page explains how to configure customer-managed keys for encryption for managed services and workspace storage.
What is an encryption keys configuration?
Customer-managed keys are managed with encryption keys configurations. Encryption keys configurations are account-level objects that reference your cloud's key. Account admins create encryption keys configurations in the account console. An encryption keys configuration can be attached to one or more workspaces.
Account admins can use the Databricks account console to configure customer-managed keys for encryption. You can also configure customer-managed keys using the Account Key Configurations API.
There are two Databricks use cases for adding a customer-managed key:
- Managed services data in the Databricks control plane (notebooks, secrets, and Databricks SQL query data, and default storage in serverless workspaces).
- Workspace storage data, which contains DBFS root and the EBS volumes of compute resources in the classic compute plane. Does not apply to default storage in serverless workspaces.
For serverless workspaces you only need to configure the managed services key. This is because the default storage in serverless workspaces is a managed service.
Additionally, keys for EBS volumes, does not apply to serverless compute resources. Disks for serverless compute resources are short-lived and tied to the lifecycle of the serverless workload. When compute resources are stopped or scaled down, the VMs and their storage are destroyed.
To compare the customer-managed key use cases, see Compare customer-managed keys use cases.
You can share a Databricks key configuration object between the two different encryption use cases (managed services and workspace storage).
For a list of regions that support customer-managed keys, see Databricks clouds and regions. This feature requires the Enterprise tier.
Step 1: Create or select a key in AWS KMS
You can use the same AWS KMS key between the workspace storage and managed services use cases.
- Create or select a symmetric key in AWS KMS, following the instructions in Creating symmetric CMKs or Viewing keys.
The KMS key must be in the same AWS region as your workspace.
-
Copy these values, which you need in a later step:
- Key ARN: Get the ARN from the console or the API (the
Arnfield in the JSON response). - Key alias: An alias specifies a display name for the CMK in AWS KMS.
- Key ARN: Get the ARN from the console or the API (the
-
On the Key policy tab, switch to the policy view. Edit the key policy to add the below JSON in the
"Statement"section. Do not delete the existing key policies.Select a tab for your encryption use case below and click Copy.
noteFor Serverless workspaces, only configure the managed services use case. Default storage in serverless workspaces is a managed service.
The policy uses the AWS account ID
414351767826. If you are are using Databricks on AWS GovCloud use the AWS account ID044793339203for AWS GovCloud or170661010020for AWS GovCloud DoD.- Both managed services and workspace storage
- Managed services
- Workspace storage
To allow Databricks to encrypt cluster EBS volumes, replace the
<cross-account-iam-role-arn>in the policy with the ARN for the cross-cloud IAM role that you created to allow Databricks to access your account. This is the same Role ARN that you use to register a Databricks credential configuration for a Databricks workspace.JSON{
"Sid": "Allow Databricks to use KMS key for DBFS",
"Effect": "Allow",
"Principal":{
"AWS":"arn:aws:iam::414351767826:root"
},
"Action": [
"kms:Encrypt",
"kms:Decrypt",
"kms:ReEncrypt*",
"kms:GenerateDataKey*",
"kms:DescribeKey"
],
"Resource": "*",
"Condition": {
"StringEquals": {
"aws:PrincipalTag/DatabricksAccountId": ["<databricks-account-id>(s)"]
}
}
},
{
"Sid": "Allow Databricks to use KMS key for managed services in the control plane",
"Effect": "Allow",
"Principal": {
"AWS": "arn:aws:iam::414351767826:root"
},
"Action": [
"kms:Encrypt",
"kms:Decrypt"
],
"Resource": "*",
"Condition": {
"StringEquals": {
"aws:PrincipalTag/DatabricksAccountId": ["<databricks-account-id>(s)"]
}
}
},
{
"Sid": "Allow Databricks to use KMS key for EBS",
"Effect": "Allow",
"Principal": {
"AWS": "<cross-account-iam-role-arn>"
},
"Action": [
"kms:Decrypt",
"kms:GenerateDataKey*",
"kms:CreateGrant",
"kms:DescribeKey"
],
"Resource": "*",
"Condition": {
"ForAnyValue:StringLike": {
"kms:ViaService": "ec2.*.amazonaws.com"
}
}
}JSON{
"Sid": "Allow Databricks to use KMS key for managed services in the control plane",
"Effect": "Allow",
"Principal": {
"AWS": "arn:aws:iam::414351767826:root"
},
"Action": ["kms:Encrypt", "kms:Decrypt"],
"Resource": "*",
"Condition": {
"StringEquals": {
"aws:PrincipalTag/DatabricksAccountId": ["<databricks-account-id>(s)"]
}
}
}To allow Databricks to encrypt cluster EBS volumes, replace the
<cross-account-iam-role-arn>in the policy with the ARN for the cross-cloud IAM role that you created to allow Databricks to access your account. This is the same Role ARN that you use to register a Databricks credential configuration for a Databricks workspace.JSON{
"Sid": "Allow Databricks to use KMS key for DBFS",
"Effect": "Allow",
"Principal":{
"AWS":"arn:aws:iam::414351767826:root"
},
"Action": [
"kms:Encrypt",
"kms:Decrypt",
"kms:ReEncrypt*",
"kms:GenerateDataKey*",
"kms:DescribeKey"
],
"Resource": "*",
"Condition": {
"StringEquals": {
"aws:PrincipalTag/DatabricksAccountId": ["<databricks-account-id>(s)"]
}
}
},
{
"Sid": "Allow Databricks to use KMS key for EBS",
"Effect": "Allow",
"Principal": {
"AWS": "<cross-account-iam-role-arn>"
},
"Action": [
"kms:Decrypt",
"kms:GenerateDataKey*",
"kms:CreateGrant",
"kms:DescribeKey"
],
"Resource": "*",
"Condition": {
"ForAnyValue:StringLike": {
"kms:ViaService": "ec2.*.amazonaws.com"
}
}
}noteTo retrieve your Databricks account ID, follow Locate your account ID.
Step 2: Add an access policy to your cross-account IAM role (Optional)
If your KMS key is in a different AWS account than the cross-account IAM role used to deploy your workspace, then you must add a policy to that cross-account IAM role. This policy enables Databricks to access your key. If your KMS key is in the same AWS account as the cross-account IAM role used to deploy your workspace, then you do not need to do this step.
- Log into the AWS Management Console as a user with administrator privileges and go to the IAM console.
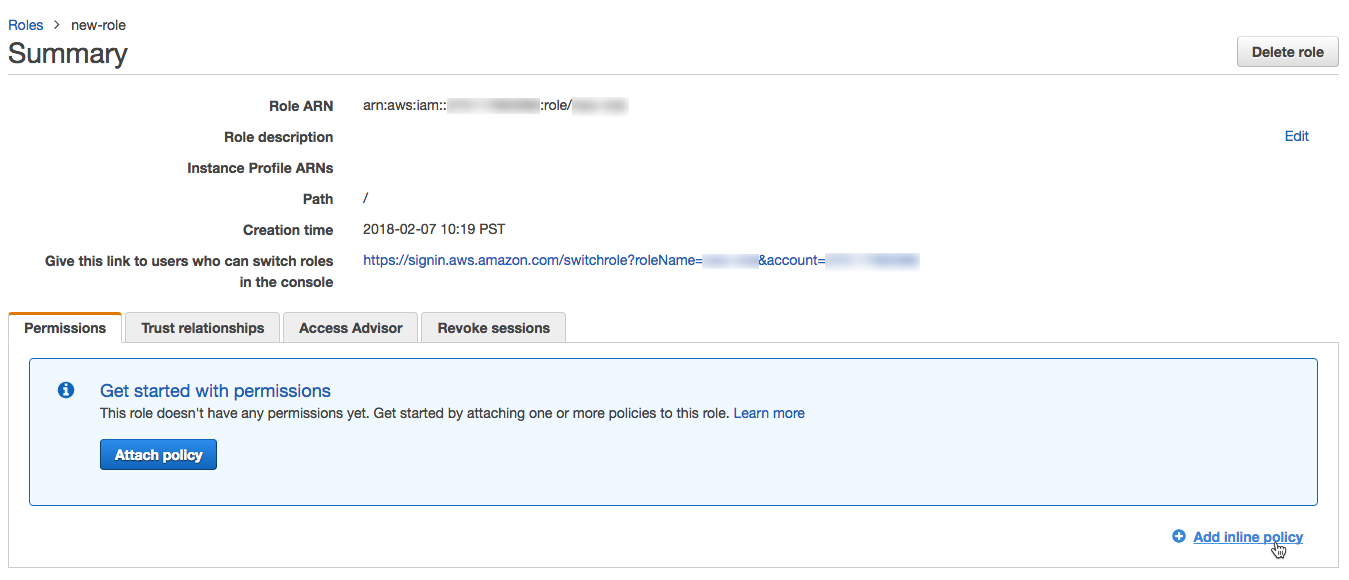
- In the left navigation pane, click Roles.
- In the list of roles, click the cross-account IAM role that you created for Databricks.
- Add an inline policy.
-
On the Permissions tab, click Add inline policy.
-
In the policy editor, click the JSON tab.
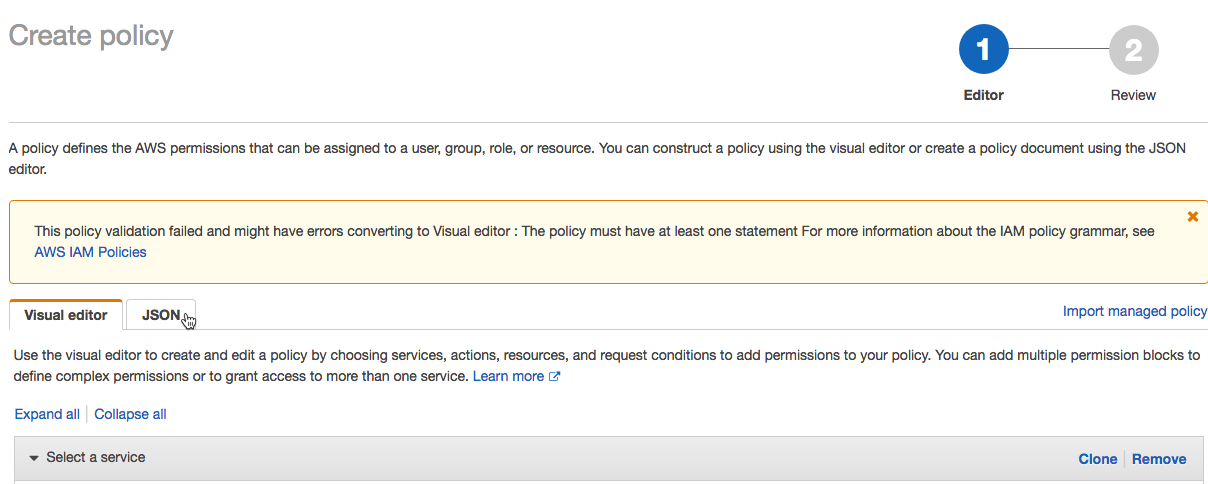
-
Copy the access policy below
JSON{
"Sid": "AllowUseOfCMKInAccount <AccountIdOfCrossAccountIAMRole>",
"Effect": "Allow",
"Action": ["kms:Decrypt", "kms:GenerateDataKey*", "kms:CreateGrant", "kms:DescribeKey"],
"Resource": "arn:aws:kms:<region>:<AccountIdOfKMSKey>:key/<KMSKeyId>",
"Condition": {
"ForAnyValue:StringLike": {
"kms:ViaService": "ec2.*.amazonaws.com"
}
}
} -
Click Review policy.
-
In the Name field, enter a policy name.
-
Click Create policy.
-
Step 3: Create a new key configuration
Create a Databricks encryption key configuration object using the Databricks account console. You can use an encryption key configuration across multiple workspaces.
- As an account admin, log in to the account console.
- In the sidebar, click Security.
- Click the Encryption keys tab.
- Click Add encryption key.
- Select the use cases for this encryption key:
- Both managed services and workspace storage
- Managed services
- Workspace storage
- In the AWS key ARN field, enter the key ARN that you copied above.
- In the AWS key alias field, enter the key alias that you copied above.
- Click Add.
- In Configurations, copy the Id.
Step 4: Add the key configuration to a workspace
To create a new workspace using the encryption key configuration, follow the instructions in Create a workspace with manual AWS configurations or Create a workspace using the Account API.
The account console doesn't support adding workspace storage encryption keys to existing workspaces. Use the Databricks CLI or the Update workspace configuration API instead.
Complete the following steps to use the Databricks CLI:
Updates to customer-managed keys for workspace storage can take up to 24 hours to take effect.
-
Terminate all running compute resources in your Databricks workspace.
-
Update a workspace with your key configuration.
To add the key for managed services, set
managed_services_customer_managed_key_idto the key ID that you copied above.To add the key for workspace storage, set
storage-customer-managed-key-idto the key ID that you copied above.Replace
<workspace-id>with your Databricks workspace ID.For example:
Bashdatabricks account workspaces update <workspace-id> --json '{
"managed_services_customer_managed_key_id": "<databricks-encryption-key-id>",
"storage-customer-managed-key-id": "<databricks-encryption-key-id>",
}' -
Restart compute that you terminated in a previous step.
Rotate an existing key
You can only rotate (update) an existing key for customer-managed key for managed services. You cannot rotate an existing key for customer-managed key for storage. However, AWS provides automatic CMK master key rotation, which rotates the underlying key without changing the key ARN. Automatic CMK master key rotation is compatible with Databricks customer-managed keys for storage. For more information, see Rotating AWS KMS keys.
To rotate an existing key for managed services, follow the instruction in Step 4: Add the key configuration to a workspace. You must keep your old KMS key available to Databricks for 24 hours.