Databricksにおけるモデルコンテキストプロトコル (MCP)
MCPは、AIエージェントをツール、リソース、プロンプト、その他のコンテキスト情報に接続するためのオープンソース標準です。Databricksでは、MCPサーバーはUnity AI Gatewayによって管理されます。Unity AI Gatewayは、MCPサーバーとLLMエンドポイント全体にわたるアクセスを管理し、アクティビティを監視するエンタープライズ制御プレーンです。
- アクセス制御 : 管理対象および外部 MCP サーバーは、 Unity Catalog権限を使用して、どのユーザーとサービスプリンシパルが各サーバーとその基礎となるデータにアクセスできるかを制御します。
- 認証情報管理 :外部MCPサーバーは、 Unity Catalog接続とマネージドOAuthを使用して、エンドユーザーに認証情報を公開することなく、安全に認証を処理します。
- 一元化された可視性 :Unity AI Gatewayからワークスペース内のすべてのMCPサーバーを表示および管理できます。
MCPサーバーをセットアップする
-
- 外部MCPをインストールします
- 管理された接続を使用して、Databricks の外部でホストされている MCP サーバーに安全に接続します。
-
- カスタムMCPをホストする
- カスタム MCP サーバーを Databricks アプリとしてホストします。
エージェントをMCPサーバーに接続する
エージェントから呼び出すMCPサーバーの種類を選択してください。
-
- Databricksが管理するMCPサーバー
- AI検索、Genie Space、Databricks SQL、およびUnity Catalog関数向けの事前構成済みDatabricksサーバーセットアップは不要です。
-
- 外部MCPサーバー
- エージェントコードから、Databricksが管理するプロキシ経由でサードパーティのMCPサーバーを呼び出します。
-
- カスタムMCPサーバー
- DatabricksアプリとしてホストされているカスタムMCPサーバーに接続します。
-
- クライアントをDatabricks MCPに接続する
- Claude、Cursor、MCP Inspector、およびその他のクライアントをDatabricks MCPに接続します。
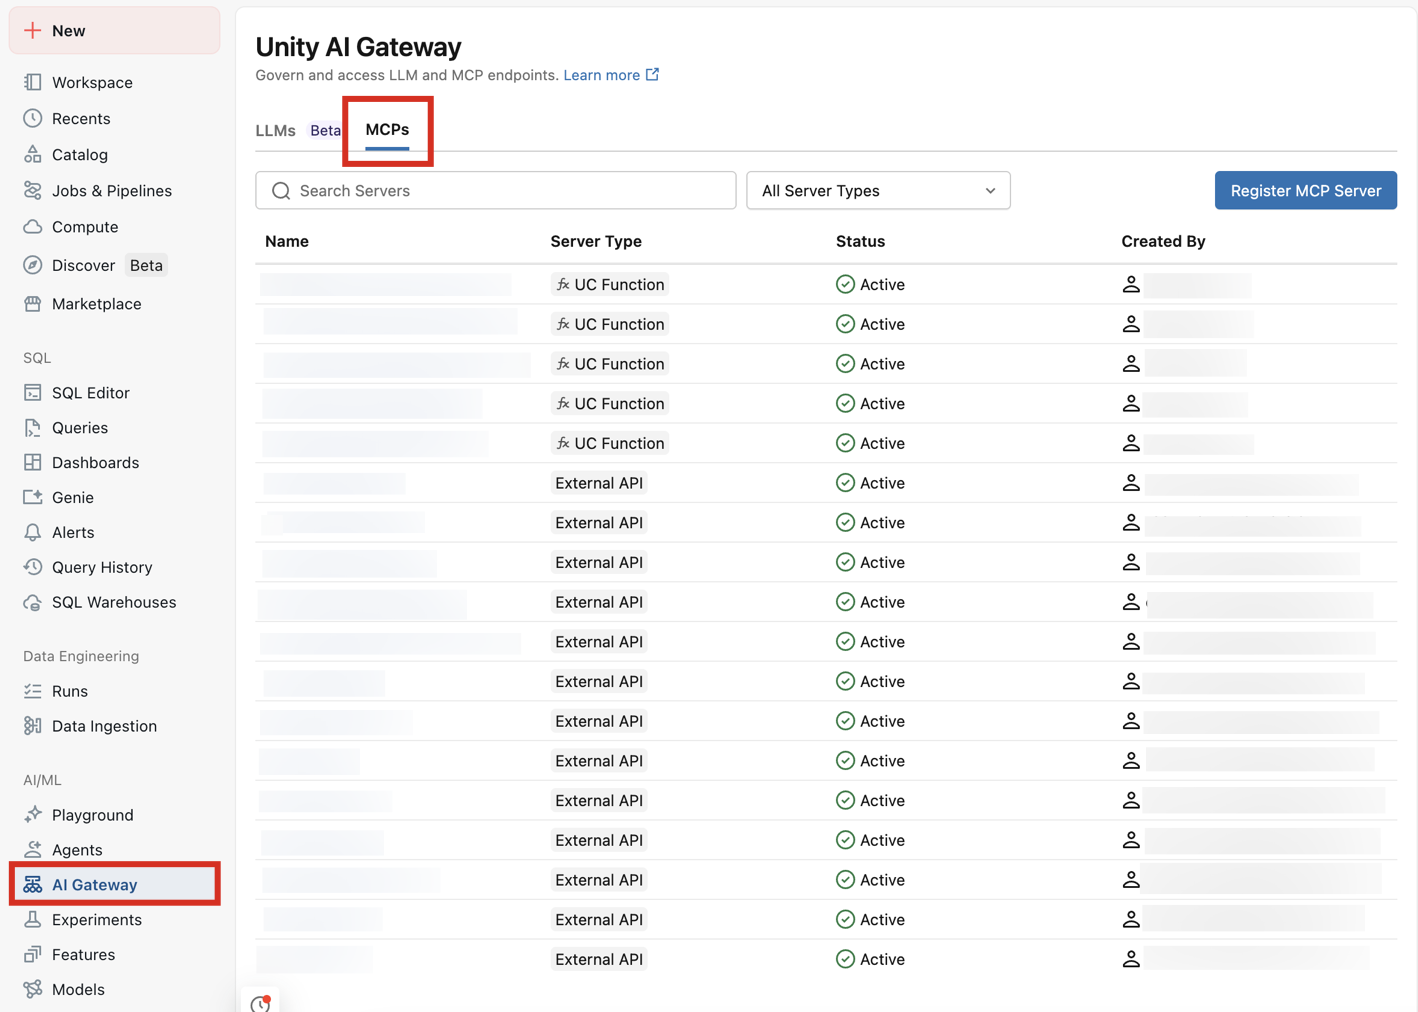
利用可能な MCP サーバーを確認するには、ワークスペース > AI Gateway > MCP に移動してください。
コンピュートの価格
カスタム MCP サーバーには、 Databricks Apps の価格が適用されます。
マネージド MCP サーバーの価格は機能の種類によって異なります。
-
Unity Catalog機能は、サーバーレスの一般的なコンピュート価格を使用します。
-
GenieスペースはサーバーレスSQLコンピュート価格を使用します。
-
Databricks SQL サーバーはDatabricks SQL 価格設定を使用します。
-
AI検索インデックスは、AI検索価格を使用します。